Setting up Holiday Hours on your AT&T Office@Hand Account
Article #2606
How do I set my holiday hours?
Setting up a User’s holiday hours can be configured in the Office@Hand online account under the Advanced Call Handling section. This allows you to create a call handling rule to manage calls based on specific time and date.
Setting Up Holiday Hours
Select How to Handle Incoming Calls
Setting Up Holiday Hours
- Log in to your Office@Hand online account.
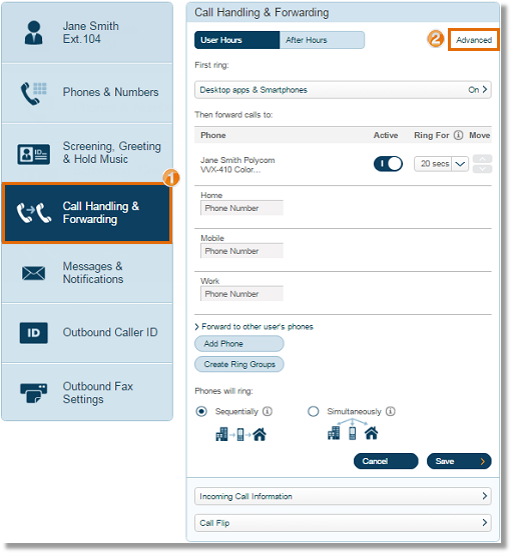
- Click Settings.

- Click Call Handling and Forwarding > Advanced.
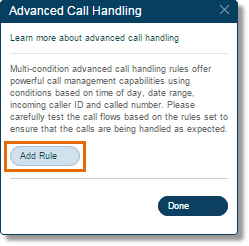
- Click Add Rule.
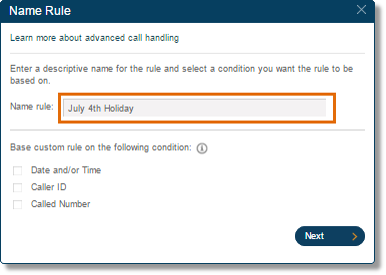
- Set a name for the rule you are about to create.
Note: In this example, we have used July 4th holiday ad the name rule.
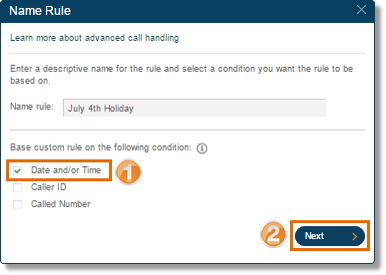
- Click the Date and/or Time check box and click Next.
- Select Specific Date Range.
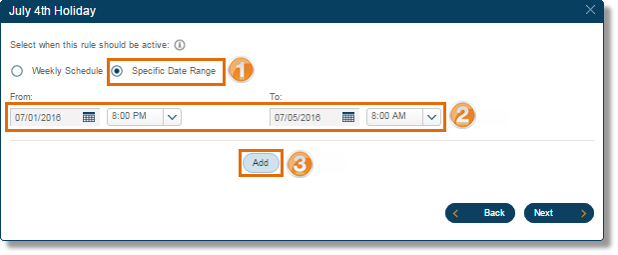
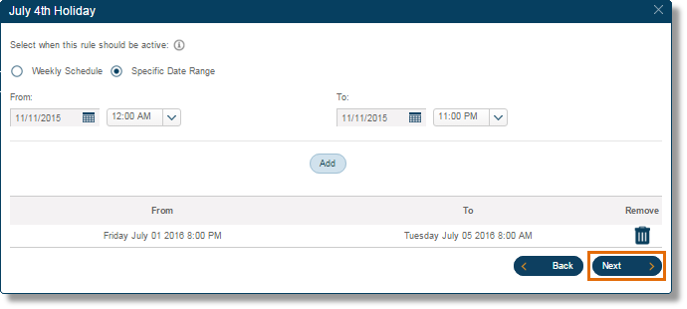
- You will have a chance to review the Date and Time before clicking Next. You can click the
 to delete the entry. You can then re-enter the correct Date and Time, and then click Next to proceed.
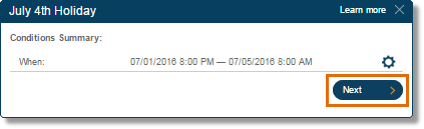
- You will be able to see the Conditions Summary where you can edit the Date and Time for the last time by clicking on
 . Click Next.
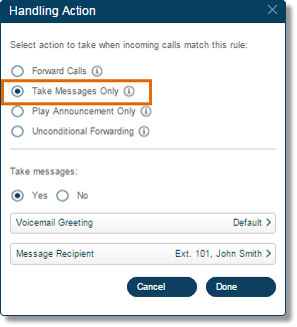
- Select How to Handle Incoming Calls
Forward Calls
Take Messages Only
Play Announcement Only
Unconditional Forwarding
Forward Calls
- Select Forward Calls.
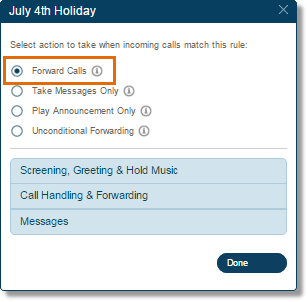
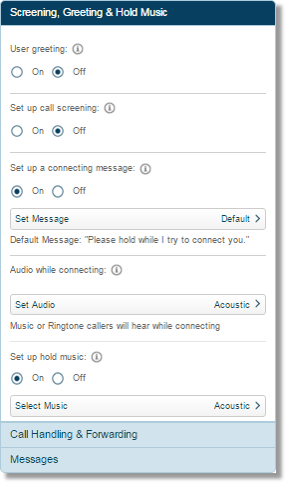
- Click Screening, Greeting and Hold Music, and configure to your preferred settings.
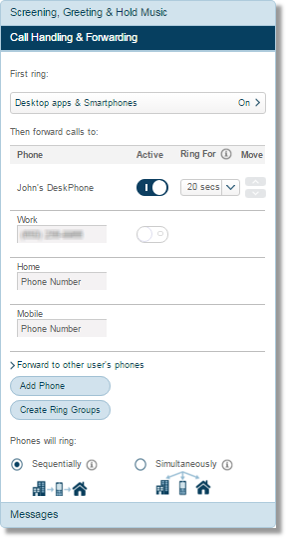
- Click Call Handling & Forwarding, and configure to your preferred settings.
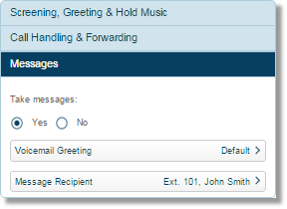
- Click Messages, and configure to your preferred settings. Click Done.
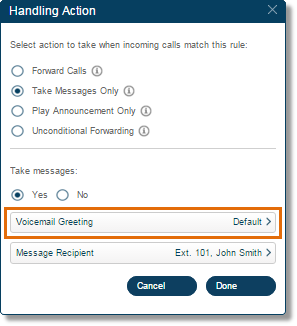
Take Messages Only
This option sends callers directly to voicemail.
- Select Take Messages Only.
- Click Voicemail Greeting to configure what your callers will hear before they leave their voice message. You can keep the default settings, or you can customize by recording your greeting or uploading a pre-recorded audio file.
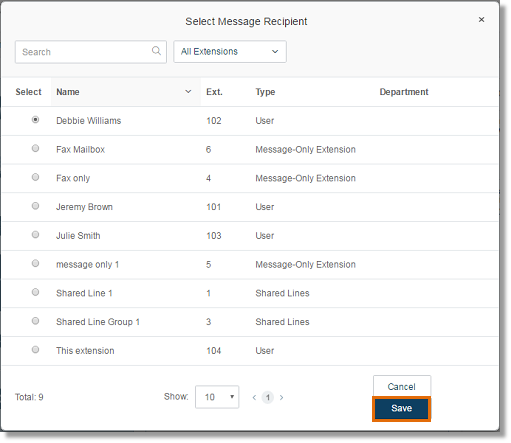
- Click Message Recipient.
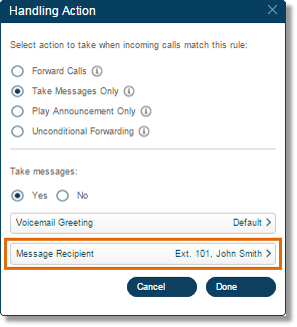
- Click the radio button of the extension where the voicemail messages will be saved and then, click Save.
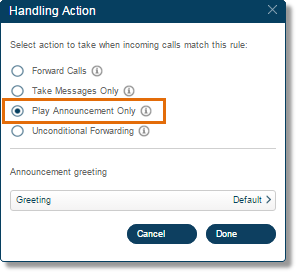
Play Announcement Only
Play a pre-recorded announcement and end the call afterwards.
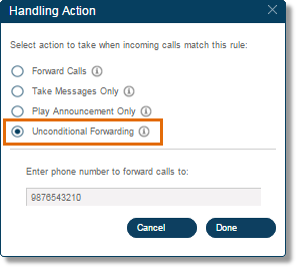
Unconditional Forwarding
Select if you want to forward the call to a different phone number without having to go through your greeting settings. This option is good when you want the call to go directly to your personal voicemail when you don’t pick-up. Enter the phone number on the field provided.
Keywords: 2606, extension, custom rules, settings, call screening, call handling, extension settings, adding custom rule, how to add rule
Was this page helpful? Yes No