Deskphones Cisco SPA 525g or SPA 525g2 Connect to your WiFi Network | AT&T Office@Hand
Article #5210
Cisco SPA525g or SPA525g2 phones allow you to connect to a WiFi network manually. You can connect using the Wireless Profile or connect using the WiFi Protected Setup.
Deskphones Cisco SPA 525g or SPA 525g2 Connect to your WiFi Network | AT&T Office@Hand
The Cisco SPA525g and the Cisco SPA525g2 desk phones are 5line IP Phones with color display and wireless capability, manufactured by Cisco Systems. Follow these steps when connecting these phones to a wireless network.
Note: Before setting up the Cisco SPA525g network, make sure you know the following details for the network you will connect to.
- Wireless Network Name/SSID
- Security Mode
- Security Type
- Wireless Password
- Cipher Type
First step is to enable the phone’s wireless connection. Next step is to connect to the wireless network. You have 2 options to connect to the wireless network:
Enable the phone’s Wireless Connection
IMPORTANT: Disconnect the Ethernet cable from the Cisco phone to activate the Wireless feature. When the Ethernet cable is connected to the phone, the phone’s WiFi connection is disabled.
- Power ON the phone using the power adapter that came with the device.
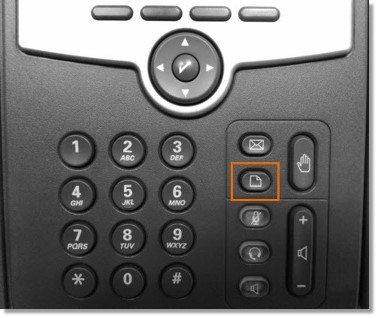
- Press the Setup button on your Cisco phone.
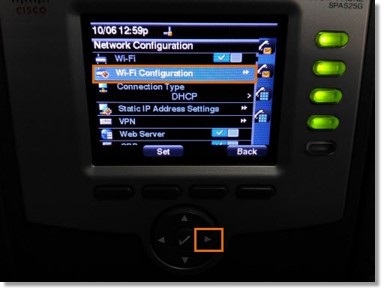
- Go to Network Configuration and then press the Select key.

- Go to WiFi and then press the phone’s Right Arrow key to toggle WiFi ON, and then press Set.

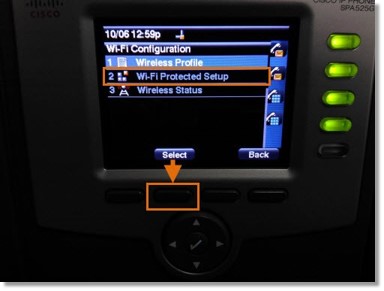
- Go to WiFi Configuration and press the Right arrow key.
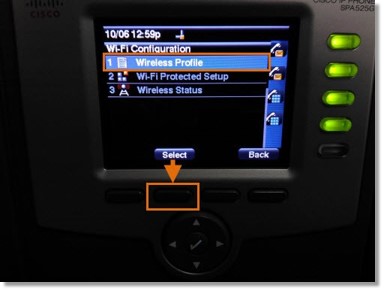
- You will have 2 options to connect your phone to the WiFi network:
- Wireless Profile – Use this option to add a new or edit an existing wireless profile.
- WiFi Protected Setup – Use this option if your wireless router supports WiFi Protected Setup
(WPS).
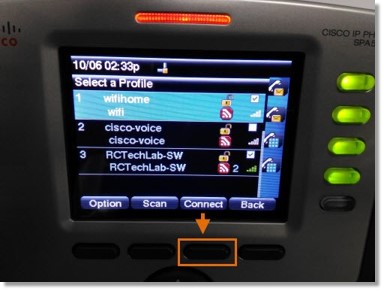
Wireless Profile
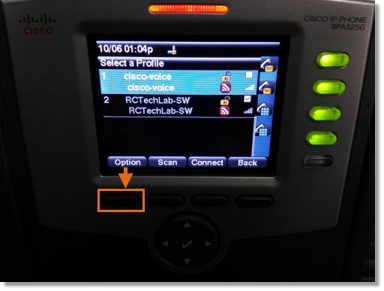
- Go to Wireless Profile, and then press Select.
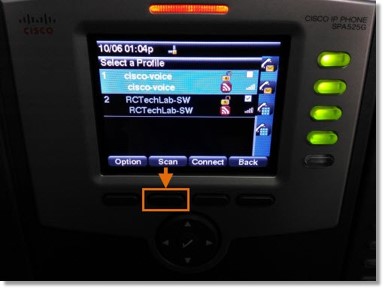
- The current WiFi profiles are displayed. You have 2 choices:
- Scan for available wireless networks
- Manually add a network
Scan for available wireless networks
- Press Scan.
- Highlight the network that you wish to connect to, and then press Add.
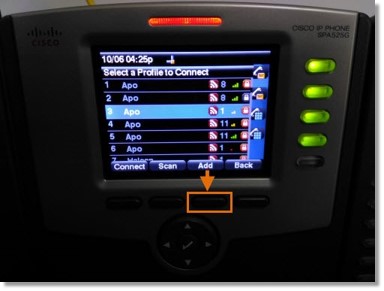
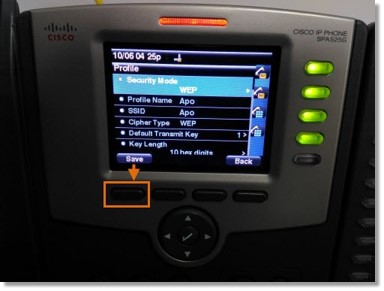
- Enter the required setting to connect your network, and then press Save.
- Security Mode and Cipher Type This is the wireless network’s password. (case sensitive)
- Profile Name Enter a descriptive name for the wireless profile
Manually add a network
- Press Option.
- Highlight Add New, and then press Select.
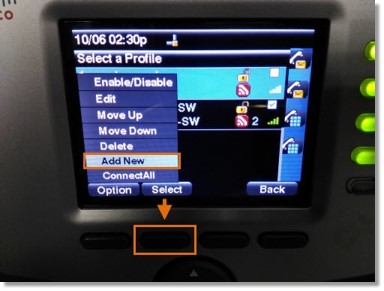
- Enter the required setting to connect your network, and then press Save.
- Security Mode and Cipher Type This is the wireless network’s password. (case sensitive)
- Profile Name Enter a descriptive name for the wireless profile
- SSID This is the wireless network’s name.
- Press Connect.
WiFi Protected Setup
If your router has a WPS button, you can use WiFi Protected Setup to add a new wireless network profile.
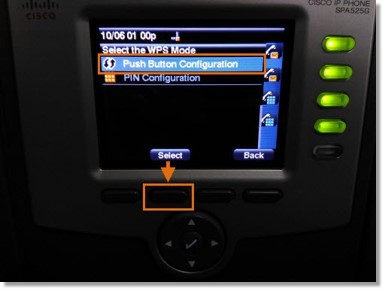
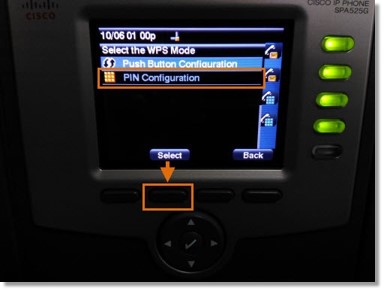
- Under Wireless Configuration, select WiFi Protected Setup.
- You have 2 options:
- Push Button Configuration
- PIN Configuration
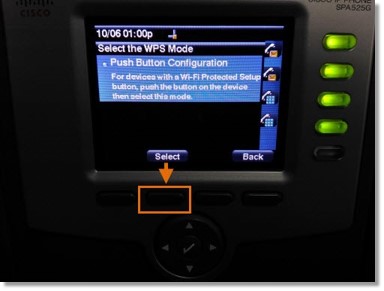
Push Button Configuration
- Press the WPS button on your router.
- On your phone, highlight Push Button Configuration, and then press Select.
- Press Select.
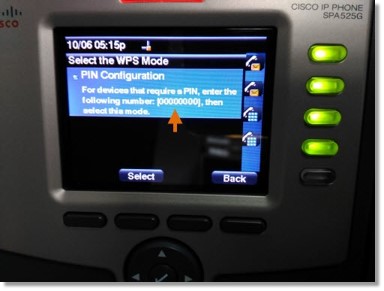
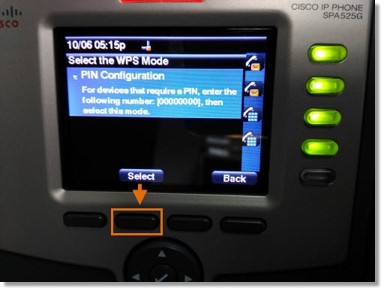
PIN Configuration
- On your phone, highlight PIN Configuration, and the press Select.
- The PIN will be displayed on your phone. Note the PIN displayed.
- Connect to your router interface by using a computer.
- Go to the router’s Wireless Protected Setup configuration menu, and then enter the PIN into the field that allows you to setup wireless devices by using a PIN.
- Click Save.
- On your phone, with PIN Configuration highlighted, press Select.
Note: To add the connection as a Wireless Profile, press OK.
Key Words: 525, SPA525, SPA 525, Cisco, 525g, SPA525g, SPA 525g, wifi, wireless, connect, configure, 5210
Was this page helpful? Yes No