Manage User Utilities in AT&T Collaborate Enhanced Mobile
User utilities include the user’s personal phone number list, call logs, feature access codes, registration report, and account or authorization codes (if applicable).
Note: Account or authorization codes are available only with the AT&T Collaborate ─ Enhanced Voice Features Bundle.
Getting started
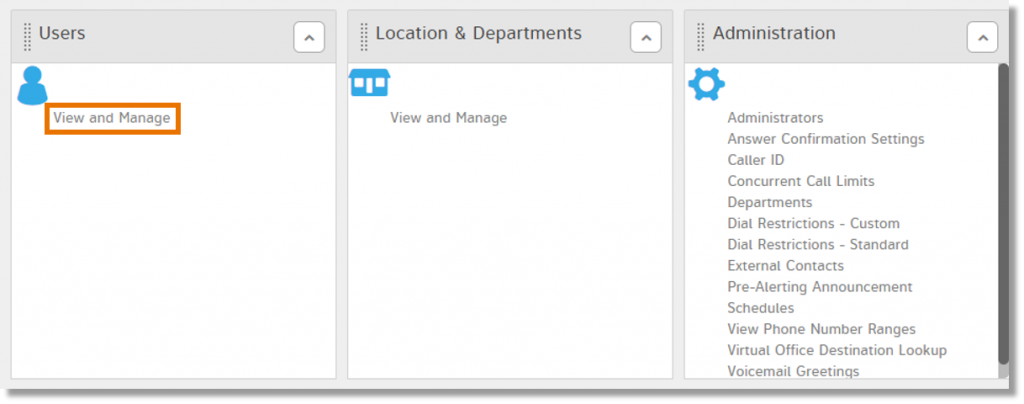
- On the AT&T Collaborate homepage, in the Users widget, click View and Manage. The View Users page appears.
- Locate the user whose device you want to manage, and then click the Edit icon (
 ) to the right.

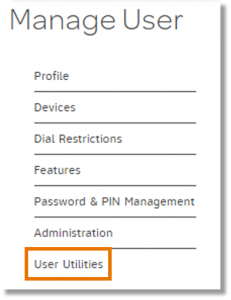
- On the left menu, click User Utilities.
- For each of the features you want to manage, follow the steps in the corresponding procedures below.
Access a user’s personal phone number list
You can view, edit, and add contacts to a user’s personal phone number list.
- Follow the steps in Getting started.
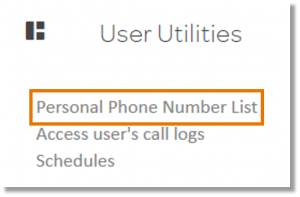
- Click Personal Phone Number List. The user’s personal phone list appears.
Note: To make changes to an entry, click the Edit icon ( ). To delete an entry, click the Delete icon ( ).
).
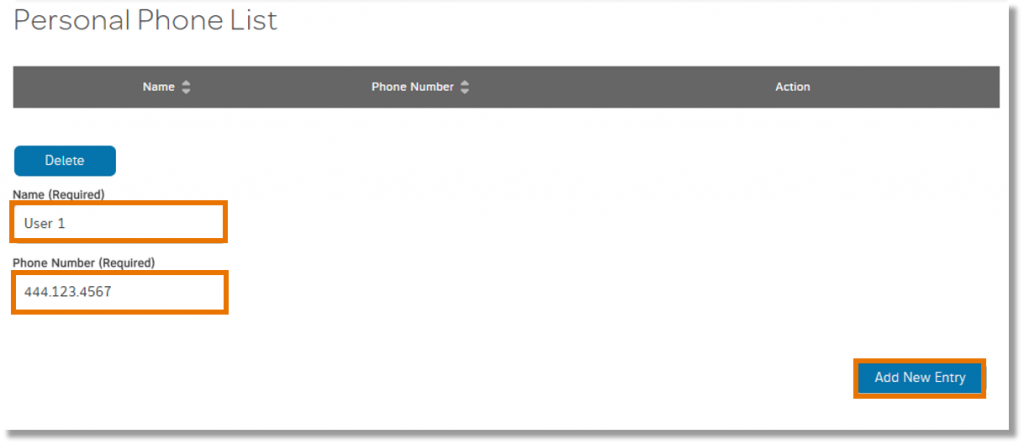
- To add an entry, enter a name and 10-digit phone number (without spaces or dashes or parentheses), and then click Add New Entry. The new contact appears in the Personal Phone List.
Access a user’s call logs
You can also view a user’s call logs.
- Follow the steps in Getting started.
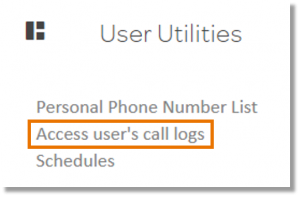
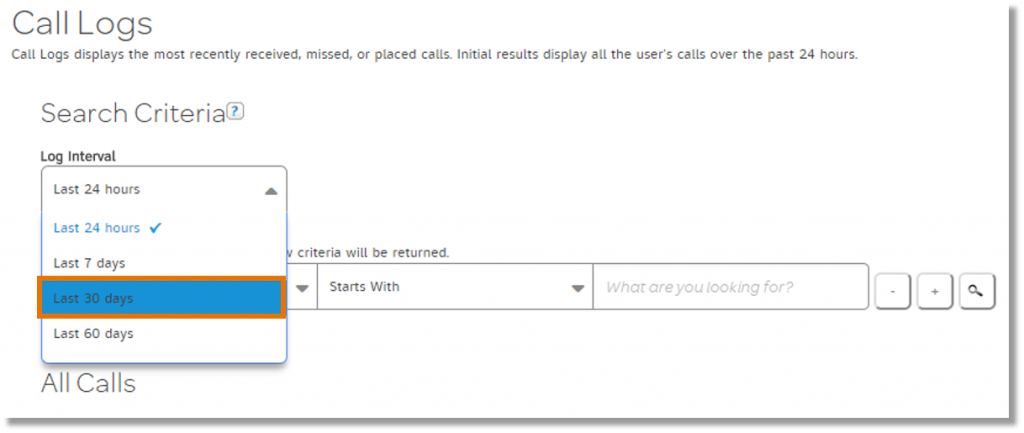
- Click Access user’s call logs. The Call Logs page appears, showing the user’s most recent received, missed, and placed calls.
- To change the time period for the calls displayed, select a period from the Log Interval dropdown list.
- To view only certain calls, click the corresponding button at the bottom of the page:
– View All Calls Log
– View Received Calls Log
– View Missed Calls Log
– View Placed Calls Log

Note: You can sort the table by clicking the column headers.
View a user’s feature access codes
You can view (but not edit) the feature access codes available to the user. Availability for each user depends on the features assigned to the user.
- Follow the steps in Getting started.
- Click Feature Access Codes. The Feature Access Codes page appears.
Note: To sort by feature access code or feature name, click the column header.
View account and authorization codes
You can view the account and authorization codes available to the user. Account and authorization codes appear only if that feature is available to the user’s location.
Note: You can’t manage the location’s account or authorization code settings here. To manage codes by location, see Manage Account and Authorization Codes.
- Follow the steps in Getting started.
- Click Account/Authorization Codes. The codes available to this user appear.
View a registration report
When you want to check that the user’s devices are active and connected to the network, you can view device registration information.
- Follow the steps in Getting started.
- Click View User’s Registrations. A list of active devices assigned to this user appears.
View and manage user schedules
- Follow the steps in Getting started.
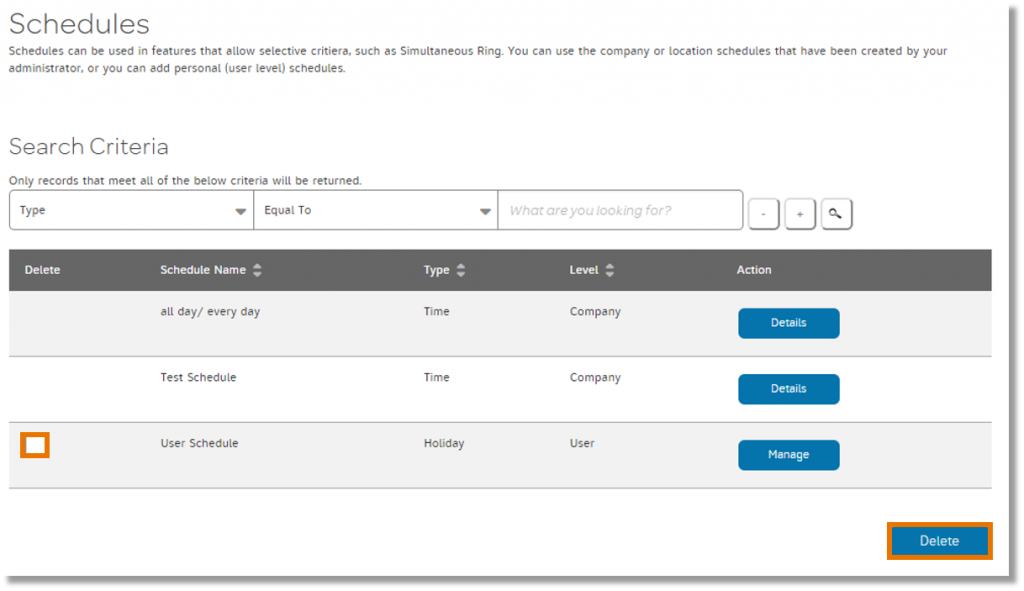
- Click Schedules. A list of all company, location, and user schedules for this user appears.

- To delete a user’s schedule, check the box next to the schedule to delete, scroll to the bottom of the page, and then click Delete.
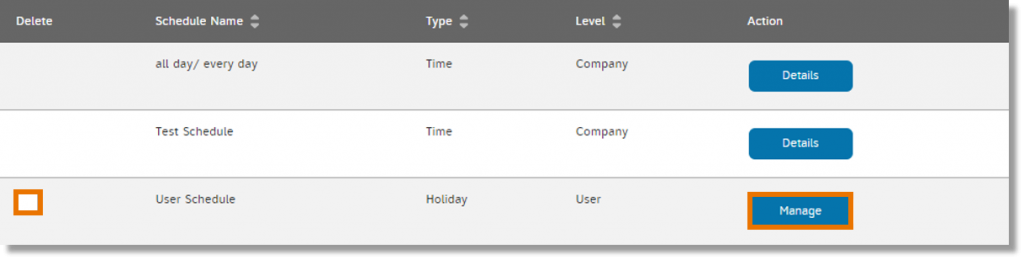
- To manage a user’s schedule, locate the schedule you want, and then click Manage.
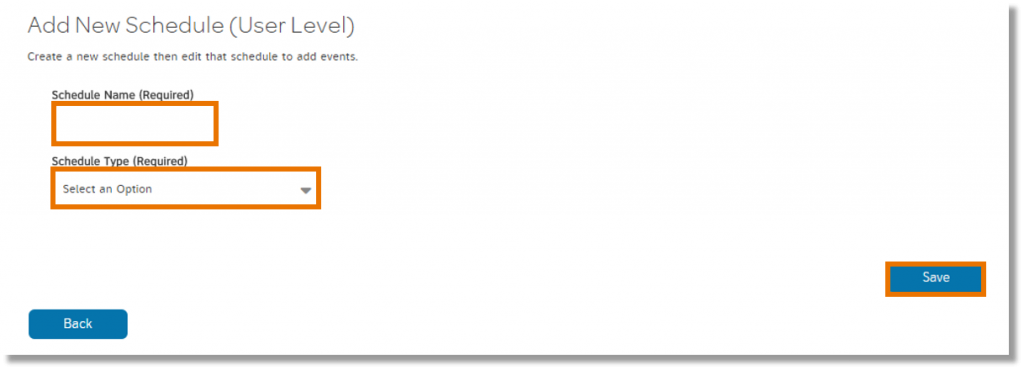
- To add a schedule for this user, in the Add New Schedule (User Level) section, add a schedule name, select a schedule type (Time or Holiday), and then click Save.
- To view schedules, locate the schedule you want, and then click Details.

Note: You create and manage user schedules in the same way as company or location schedules.For more information, see Manage Schedules.