Maintain Users in AT&T Fleet Complete
Add a User
Edit a User
Delete a User
User List Columns
Add a User
- Click Settings on the left side bar.
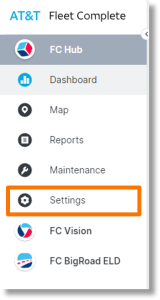
- Click Users.

- Click the Add icon to add a new user.
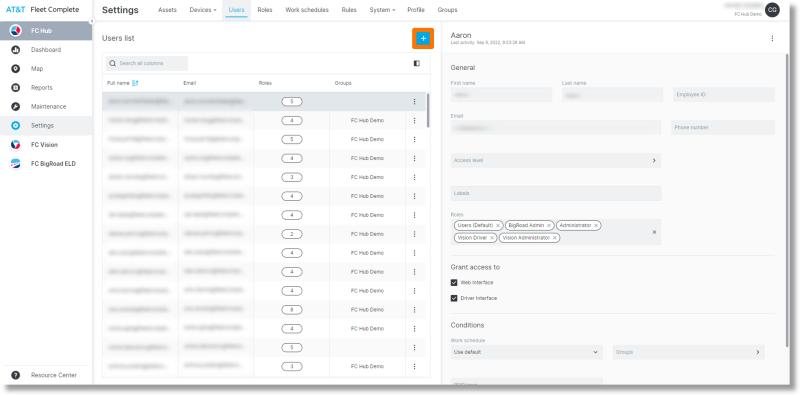
- A form displays to the right side of “Users list”. Begin entering information for the “General” section for the following fields:
- First Name
- Last Name
- Employee ID
- Email
- Phone number
- Access level
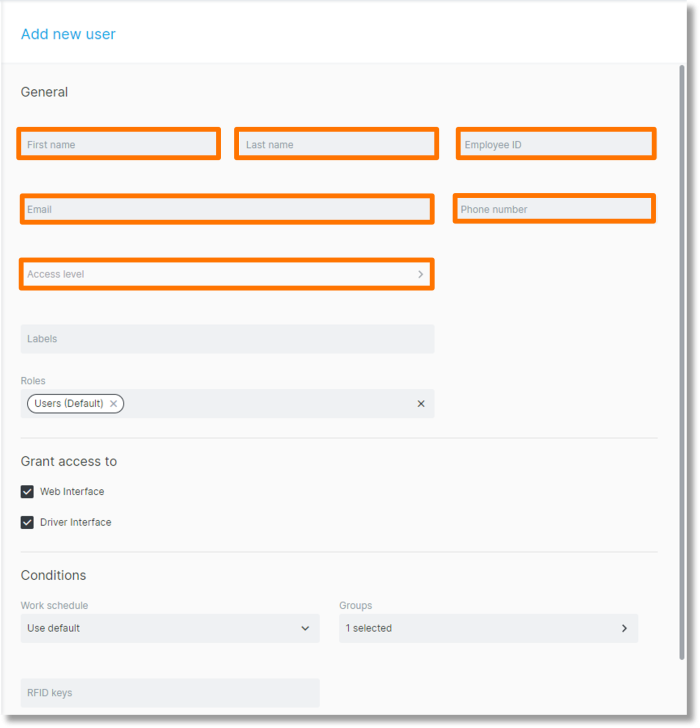
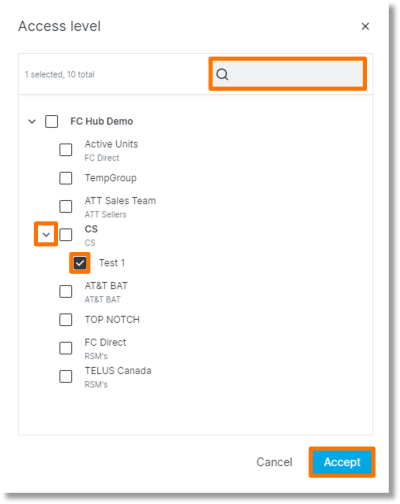
- In the Access level field, select the groups where the new user will be added.
Note: These groups are created and edited in the “Groups” tab.
- Click Accept once the desired groups are selected.
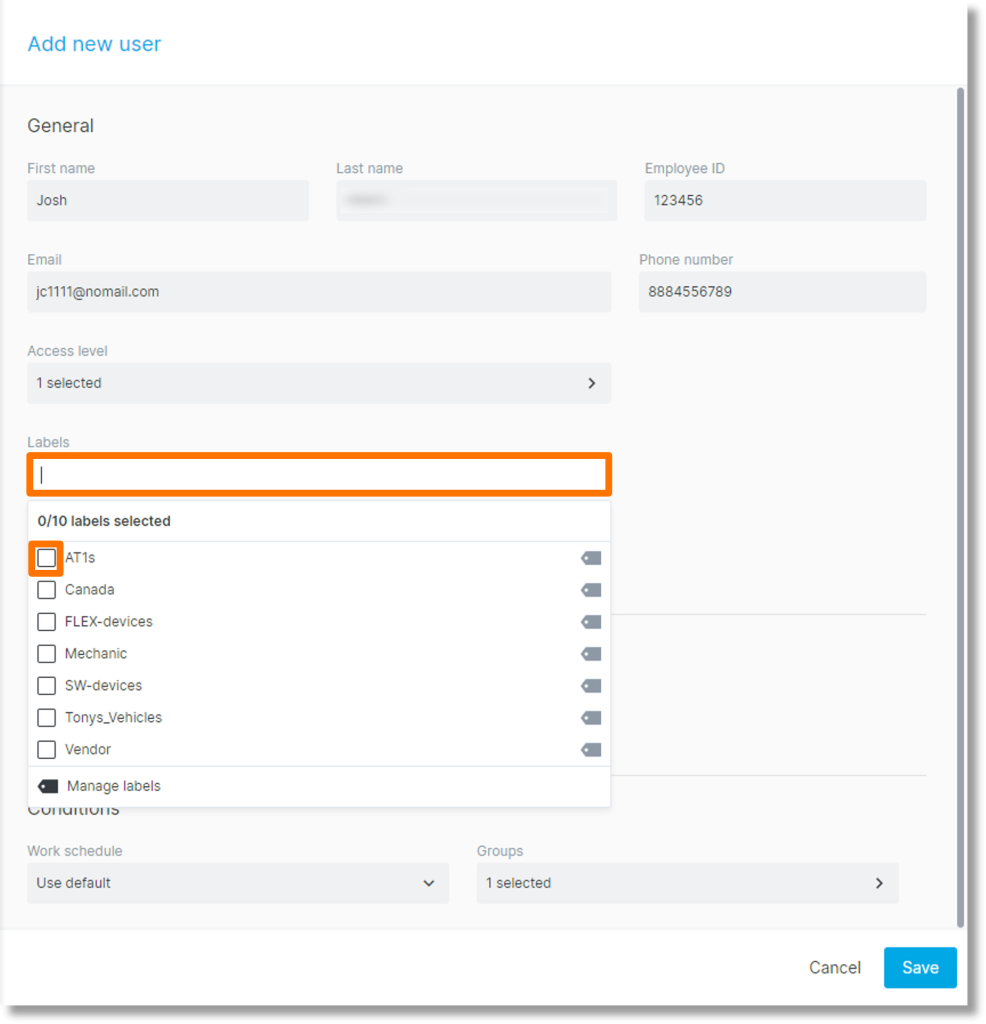
- Click inside the “Labels” field and select the label(s) for this user.
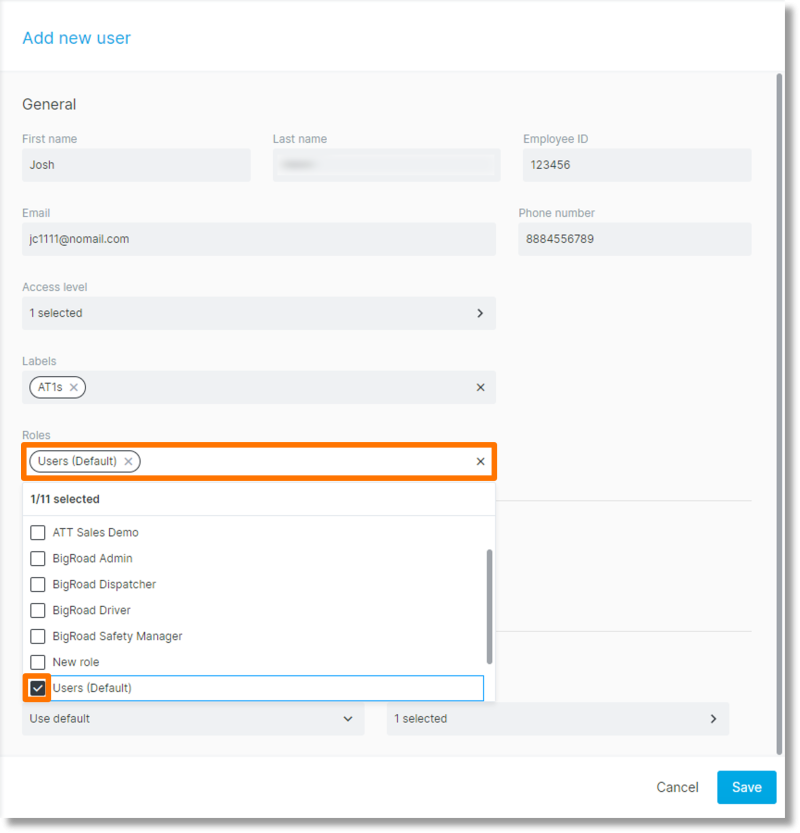
- Click inside the “Roles” field and select the desired role(s) for this user.
Note: Roles allow you to grant and restrict access to users. Create the roles in the “Roles” section prior to creating users.
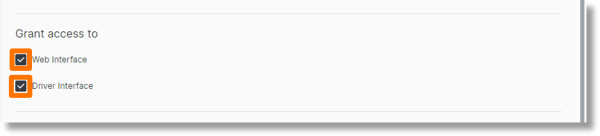
- In the “Grant Access to” section, click the check boxes to select or deselect the access to the Web and Driver Interfaces.
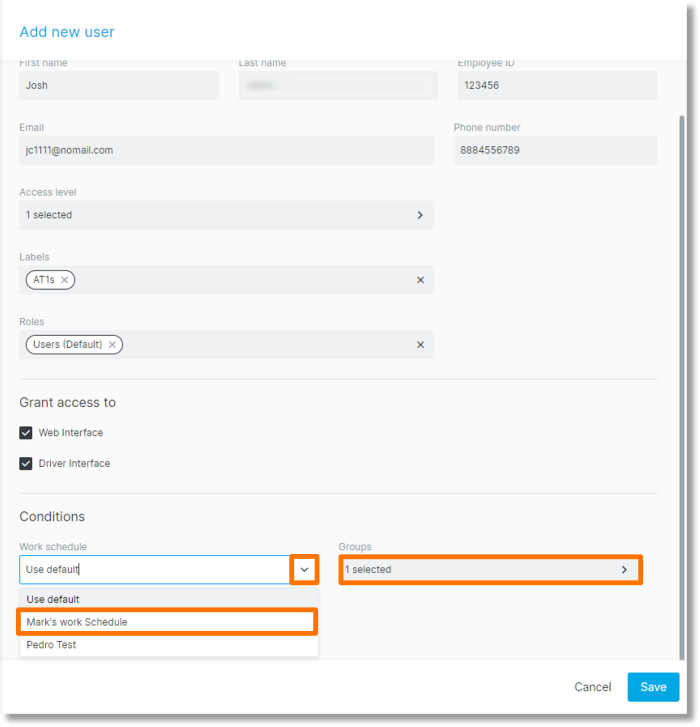
- In the “Conditions” section, Select the down arrow in the field below “Work schedule” to select a work schedule.
Note: Work schedules are created in the “Work Schedules” tab. A schedule must be created before it can be selected by a user.
- Click on the optional field below “Groups” and select any desired groups.
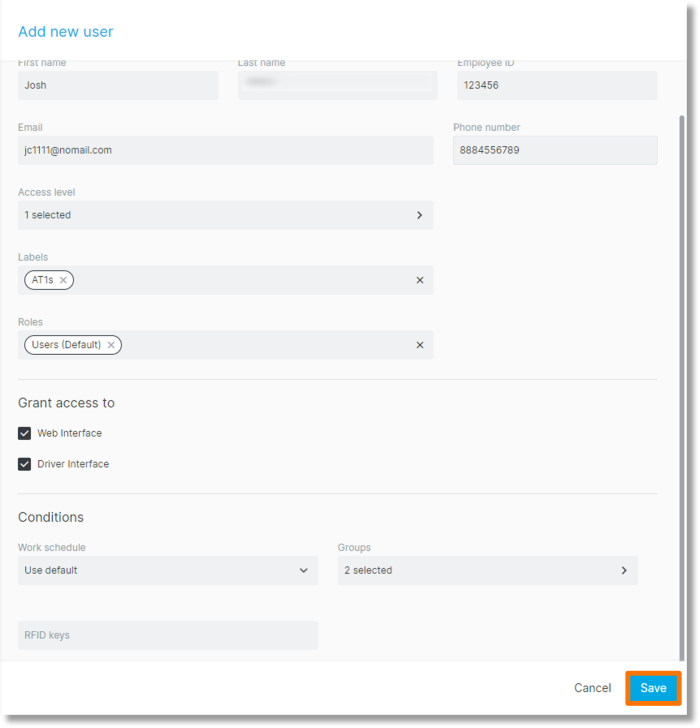
- Under the “RFID keys” section, if the driver interface is selected and you are using the RFID Key Solution, you can type in the corresponding number.
- Click Save to finalize adding the new user. Once you have successfully created a new user, the system will send an email to the user with login instructions.
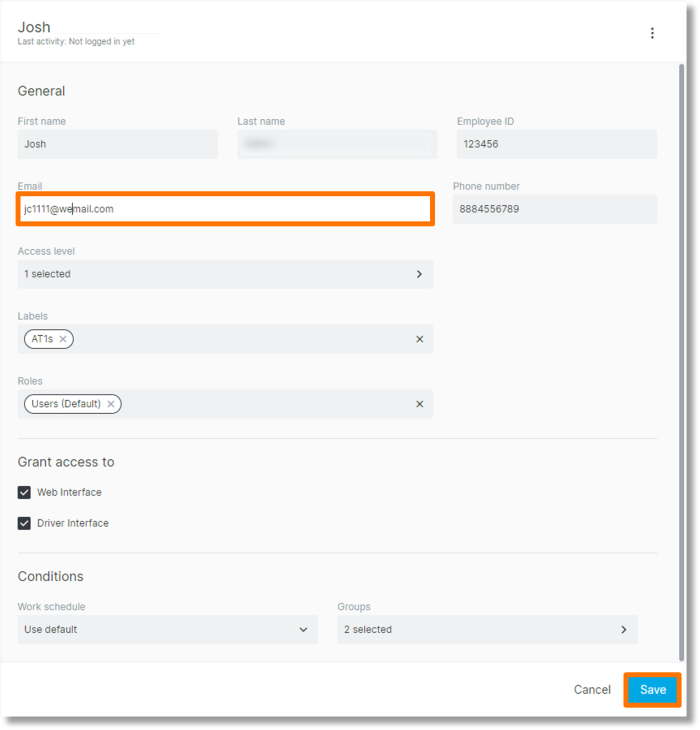
Edit a User
- To edit a user, simply click inside the browser and perform the edit. Click inside the fields to update any options. Click Save once all updates are made.
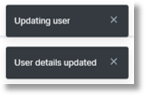
- Confirmation of changes display in a temporary pop-up on the top right.
Delete a User
- Select the user from the Users list that is to be deleted.
Note: Users can be searched or filtered by any piece of their general information.
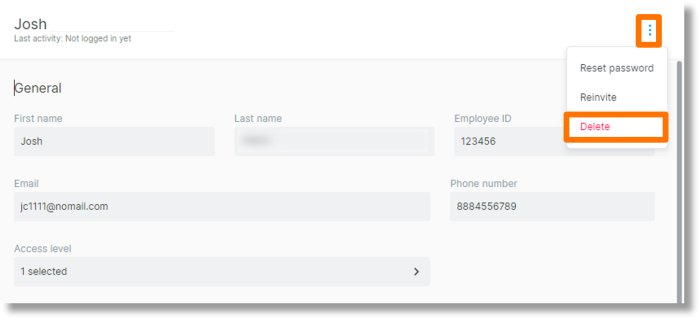
- Click the ellipses icon to the right of the user’s name.
- Click Delete to delete the user.
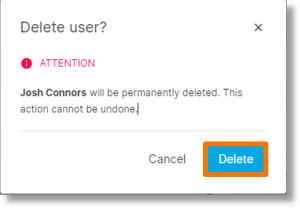
- A message populates to confirm that you want to delete the template. Click Delete.
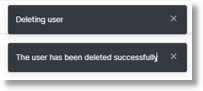
- A notification appears in the top right corner to confirm the template is successfully deleted.
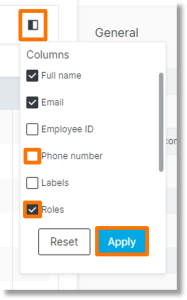
User List Columns
- Navigate to the “Users” tab.
- Under the “Users” tab, you can click the Columns
 icon to select the columns that initially appear on the list of users.
- Click the check boxes to the left of options to select/deselect the column options.
- Once the desired options are selected, click Apply.