Maintain Roles in AT&T Fleet Complete
Add a Role
Edit a Role
Delete a Role
Roles List Columns
Note: Roles allow you to grant and restrict access to users. Create the roles prior to creating users.
Add a Role
- Click Settings on the left side bar.
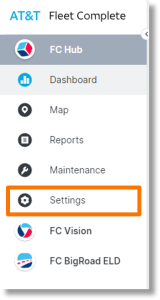
- Click Roles.
- Click the Add icon to add a new role.

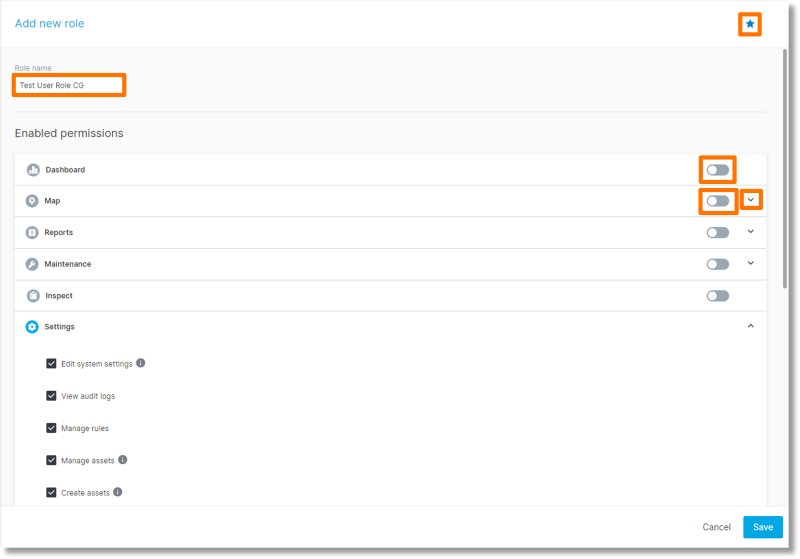
- A form displays to the right side of the “Roles” list. Enter the name of the new role in the field below “Role name”.
- To make this role a default role, click the star icon at the top right.
- Click the slider to the right of “Dashboard” to enable the dashboard for this role.
- Click the slider to the right of “Map” to enable and open the section.
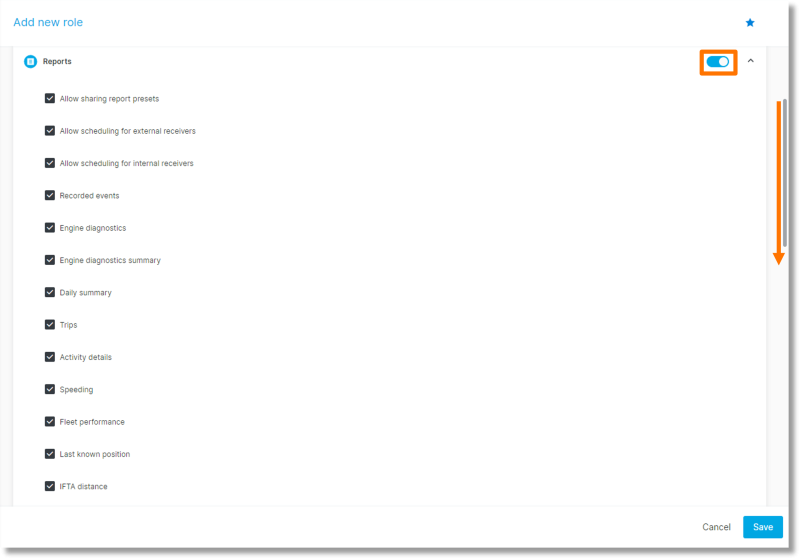
- Click the slider to the right of “Reports” to enable and expand the section. Select the reports for this role, and then scroll down to see more options for the “Reports” field.
- After selecting applicable options in the “Reports” section, click the slider to the right of “Maintenance” to enable and expand the section. Click the downward arrow to only expand the section.
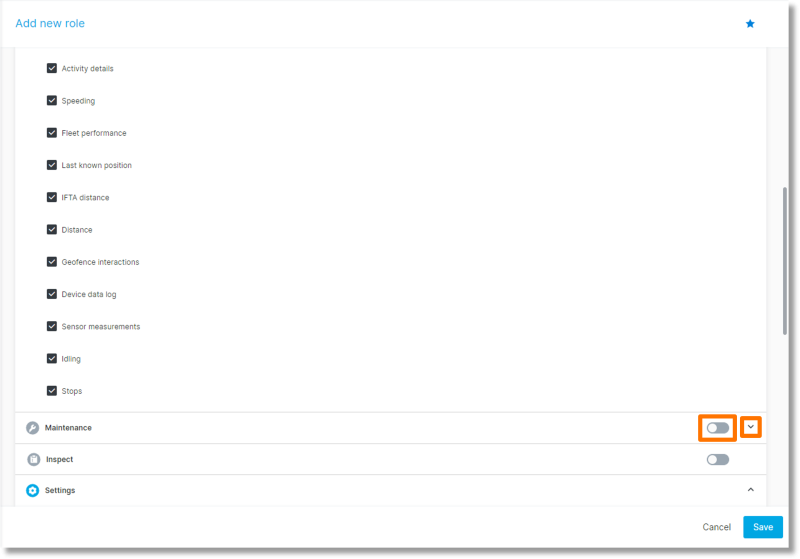
- Check the checkbox to select/deselect the option for “Maintenance”.
- Click the slider to the right of “Inspect” to enable this option.
- Click the arrow to expand the “Settings” section.
- Click the check boxes to select/deselect the options for “Settings”.
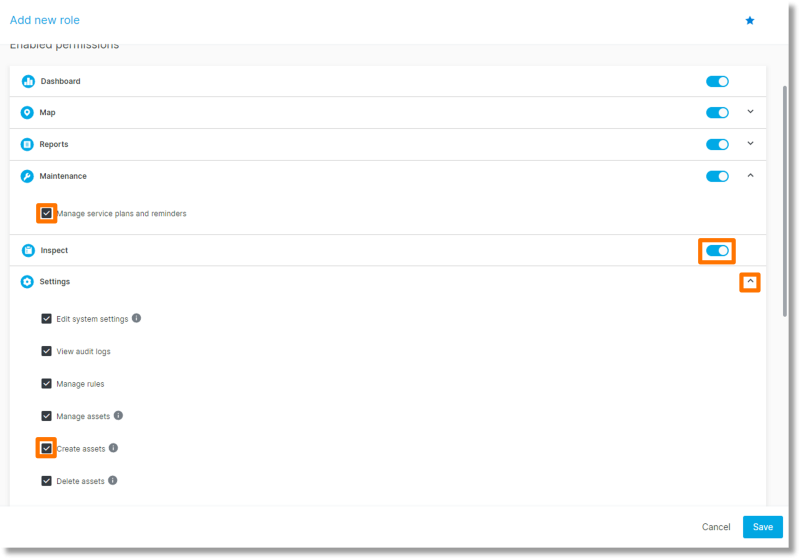
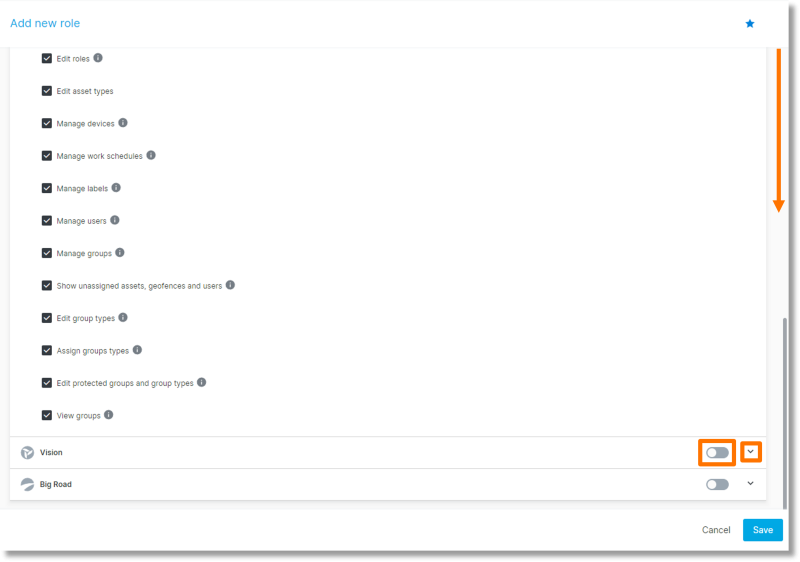
- Scroll down and continue to select/deselect the options for the “Settings” section.
- Click the slider to the right of “Vision” to enable and expand this section. Click the downward arrow to only expand the section.
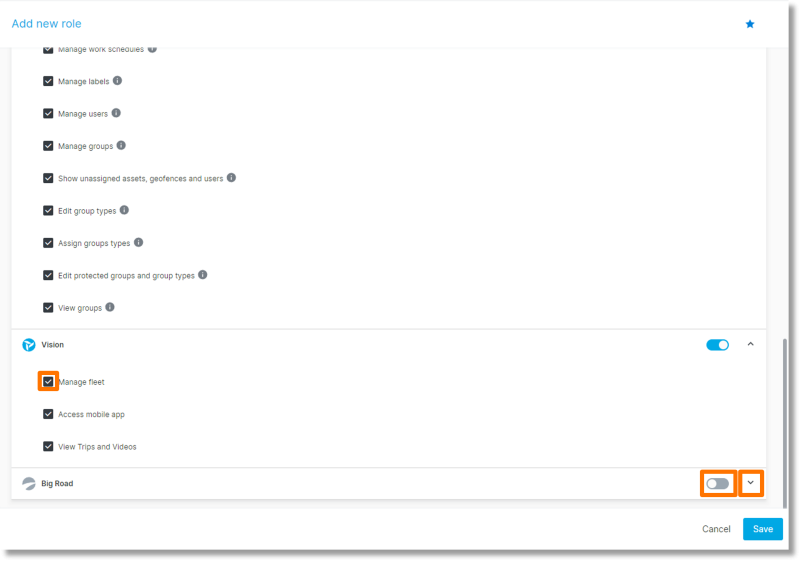
- Click inside the check boxes to select/deselect options for the “Vision” section.
- Click the slider to the right of “Big Road” to enable and expand the section. Click the downward arrow to only expand the section.
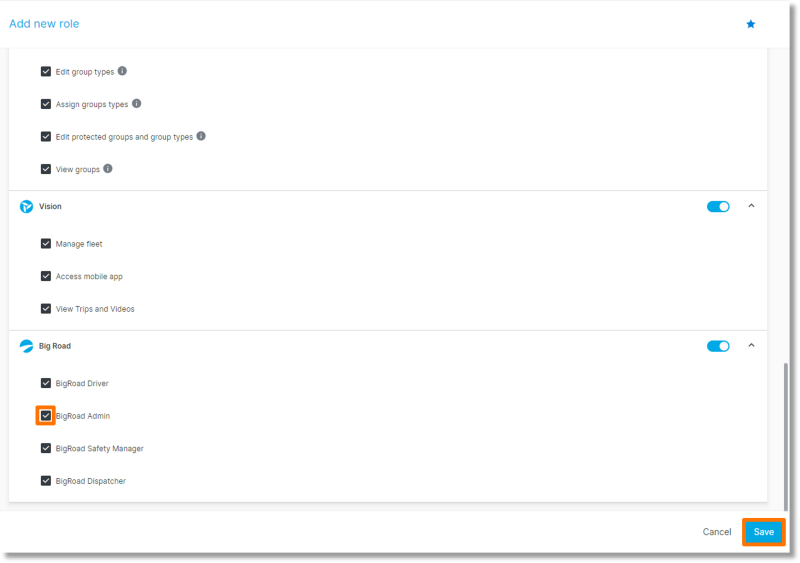
- Select the desired options for the “Big Road” section.
- Once all options are selected or enabled in each section, click Save.
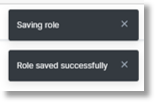
- An update populates that the role is being saved and then, a confirmation that the role is successfully saved.
Edit a Role
- Navigate to the Roles tab and select the role.
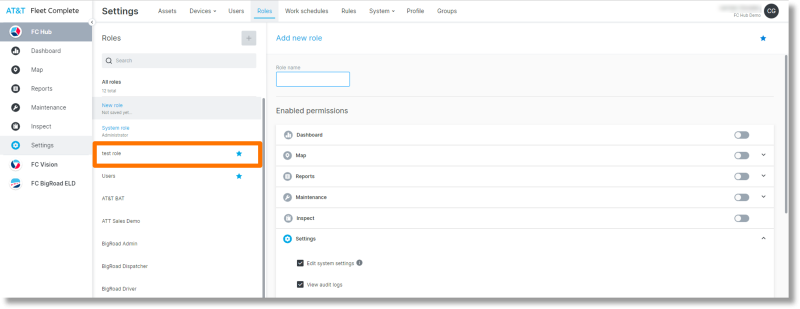
- The role will populate on the right side of the screen.
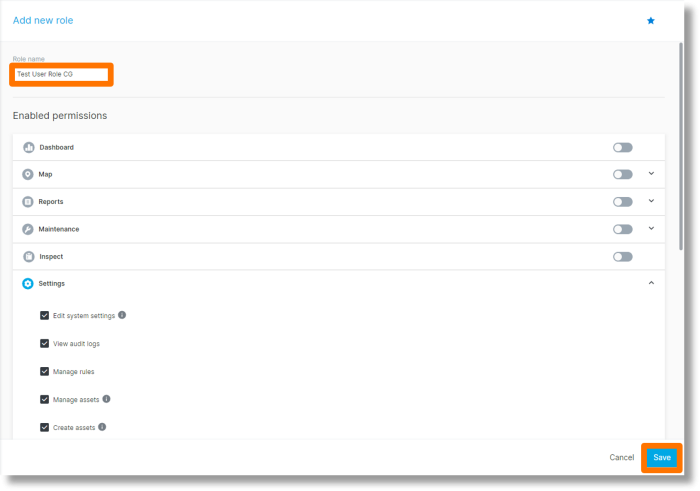
- The role name can be edited. Click inside the “Role Name” box to edit the name.
- The enabled permissions can be edited. Expand the desired section and click the check boxes to select/deselect options.
- When all options have been edited, click Save.
- Confirmation of changes display in a temporary pop-up on the top right of the screen.

Delete a Role
- Navigate to the Roles tab and click the ellipsis to the right of the role name.
- Select Delete role.
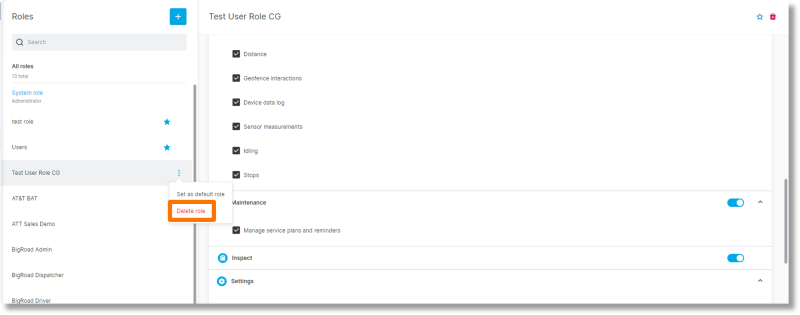
- The role can also be selected. Once the role is selected, click the Delete role
 icon to the right of the Role name.

- A message populates to confirm that you want to delete the role. Click Delete.
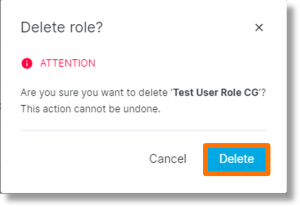
- A notification appears in the top right corner to confirm the role is deleting, and then is successfully deleted.

Roles List Columns
- Under the “Roles” tab, you can click the Columns
 icon to view or edit the columns that initially appear on the list of roles.
- Click the check boxes to the left of the options to select/deselect the column options.
- Once the desired options are selected, click Apply.
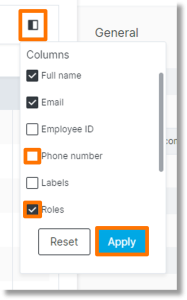
- The updated columns now display in the Roles list.


