TOP

AT&T Business Messaging

Learn how to use your AT&T Business Messaging service. Receive tips on how to log in to the AT&T Business Notification Center website to build lists and send messages, or integrate with notification applications. Use our step by step walk-throughs to learn how to create, edit, import, and export both contacts and groups.

Back to Product Page
Use the dropdown to get support, or purchase this product

Import contacts in AT&T Business Notification Center

  1. Access the AT&T Business Notification Center.
  2. Click Contacts.

    Click Contacts

  3. Click the ellipsis icon and then click Import/Export.

    Click the ellipsis icon and then click Import/Export.

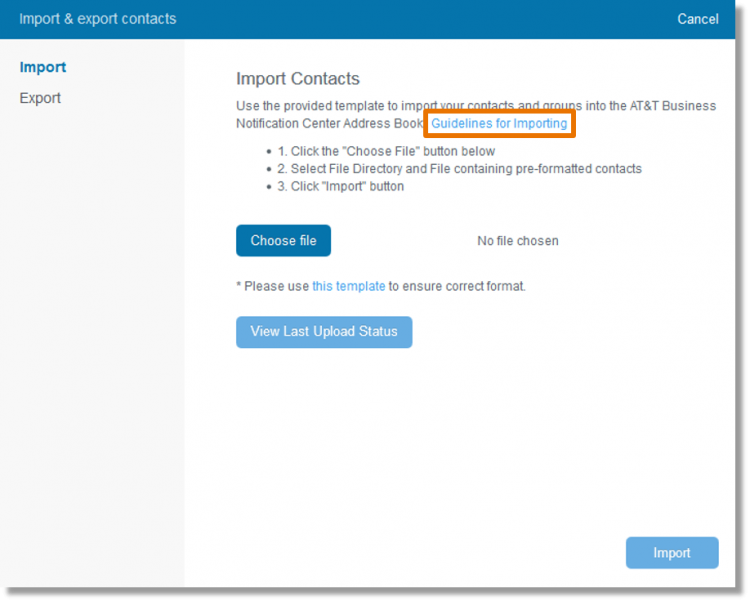
  4. The “Import & export contacts” window populates. Click Guidelines for Importing to see the guidelines for importing documents.

    Click Guidelines for Importing to see the guidelines for importing documents.

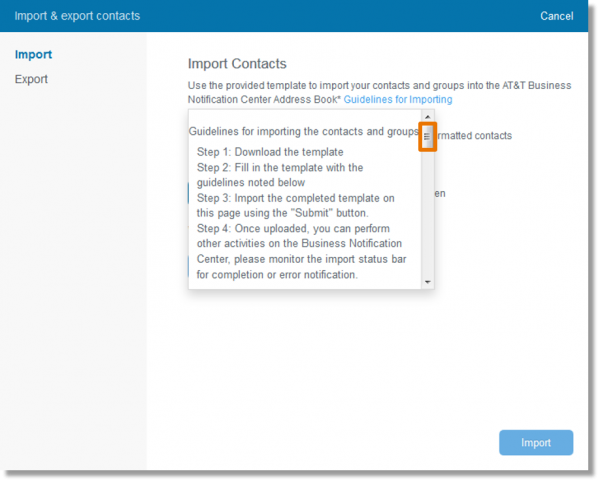
  5. The guidelines for importing contacts displays.

    The guidelines for importing contacts displays.
    Guidelines

    • A contact in the template that does not exist in your address book will be created when you import the template. The Username (Phone Number/Email Address) column is required. This field must be entered with the phone number for mobile device users and the email address for data-capable tablet users.
    • A banner appears briefly to inform users that there has been a change to the template file. It appears the first time the user logs in after the template change.
    • Private and public group columns in the template are optional, and can be removed.
    • Private group columns with a prefix “private-” can be used to create new private groups and to manage private group membership.
    • Public group columns with a prefix “public-” can be used to create new public groups and to manage public group membership.
    • T o create new private and public groups, replace the template group name examples with your private and public group name(s).
    • A new group in the file without a prefix of “public-” or “private-” will be created as a private group.
    • To add or remove contacts from existing private and public groups, replace the group name examples (without a prefix) in the template with your existing group name(s).
    • For each contact in the group column, add either:
      • Yes: This will add the new or existing contact to the group.
      • No: This will remove an existing contact from the group or will not add a new contact to the group.
    • Public group names cannot contain special characters and should only include upper and lower case letters from a-z and/or digits from 0 to 9.
    • Private group names cannot start with a digit.
    • Private Group Name, First Name, Last Name and Alias cannot contain special characters backslash “\” and comma “,.”
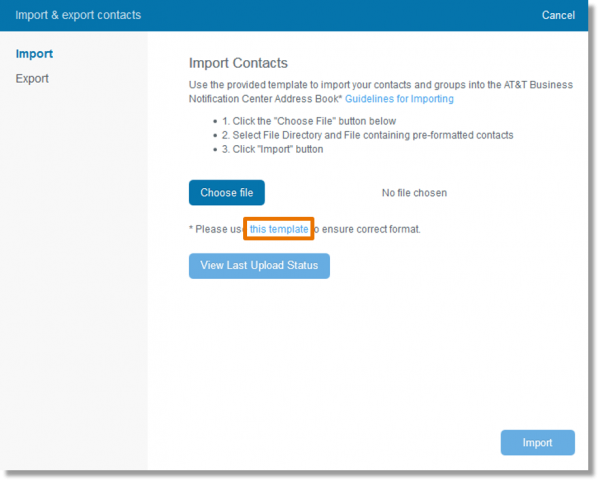
  6. Click this template to download the .csv file template.

    Click the template to download the file

  7. Enter the desired contact information.

    Enter the desired contact information.

  8. Save the file.
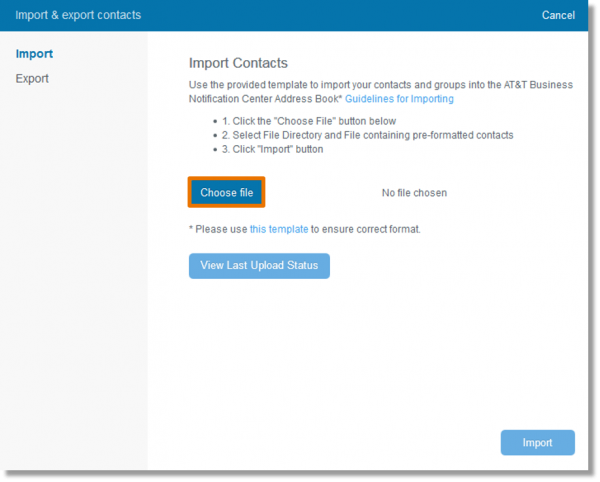
  9. In the AT&T Business Notification Center, click Choose file.

    In the AT&T Business Notification Center, click Choose file.

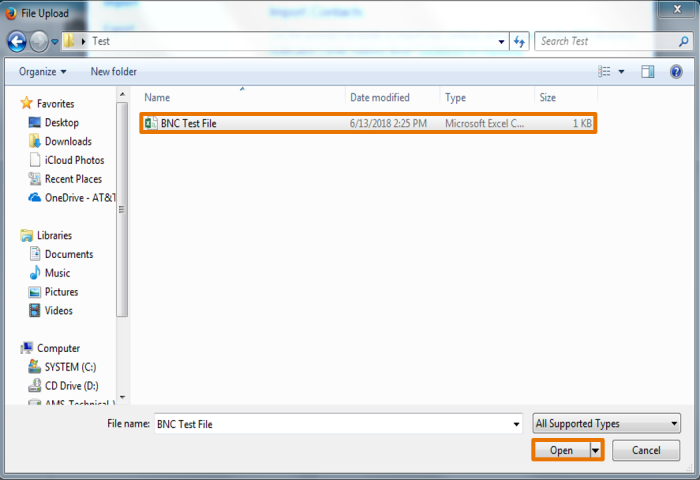
  10. Select the desired file, and then click Open.

    Select the desired file, and then click Open.

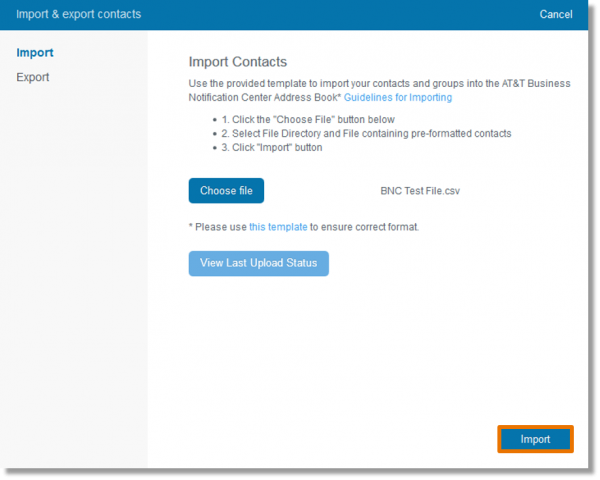
  11. Click Import.

    Click Import.