TOP

AT&T Fleet Management for Enterprise/Government

AT&T Fleet Management for Enterprise (AFMFE) delivers real results with GPS tracking information to enable fleets to be more efficient, profitable and customer focused. Vehicle tracking, optional vehicle engine and performance data, and extensive reporting assist in optimizing business operations.

Back to Product Page
Use the dropdown to get support, or purchase this product

Edit the User Account Policy

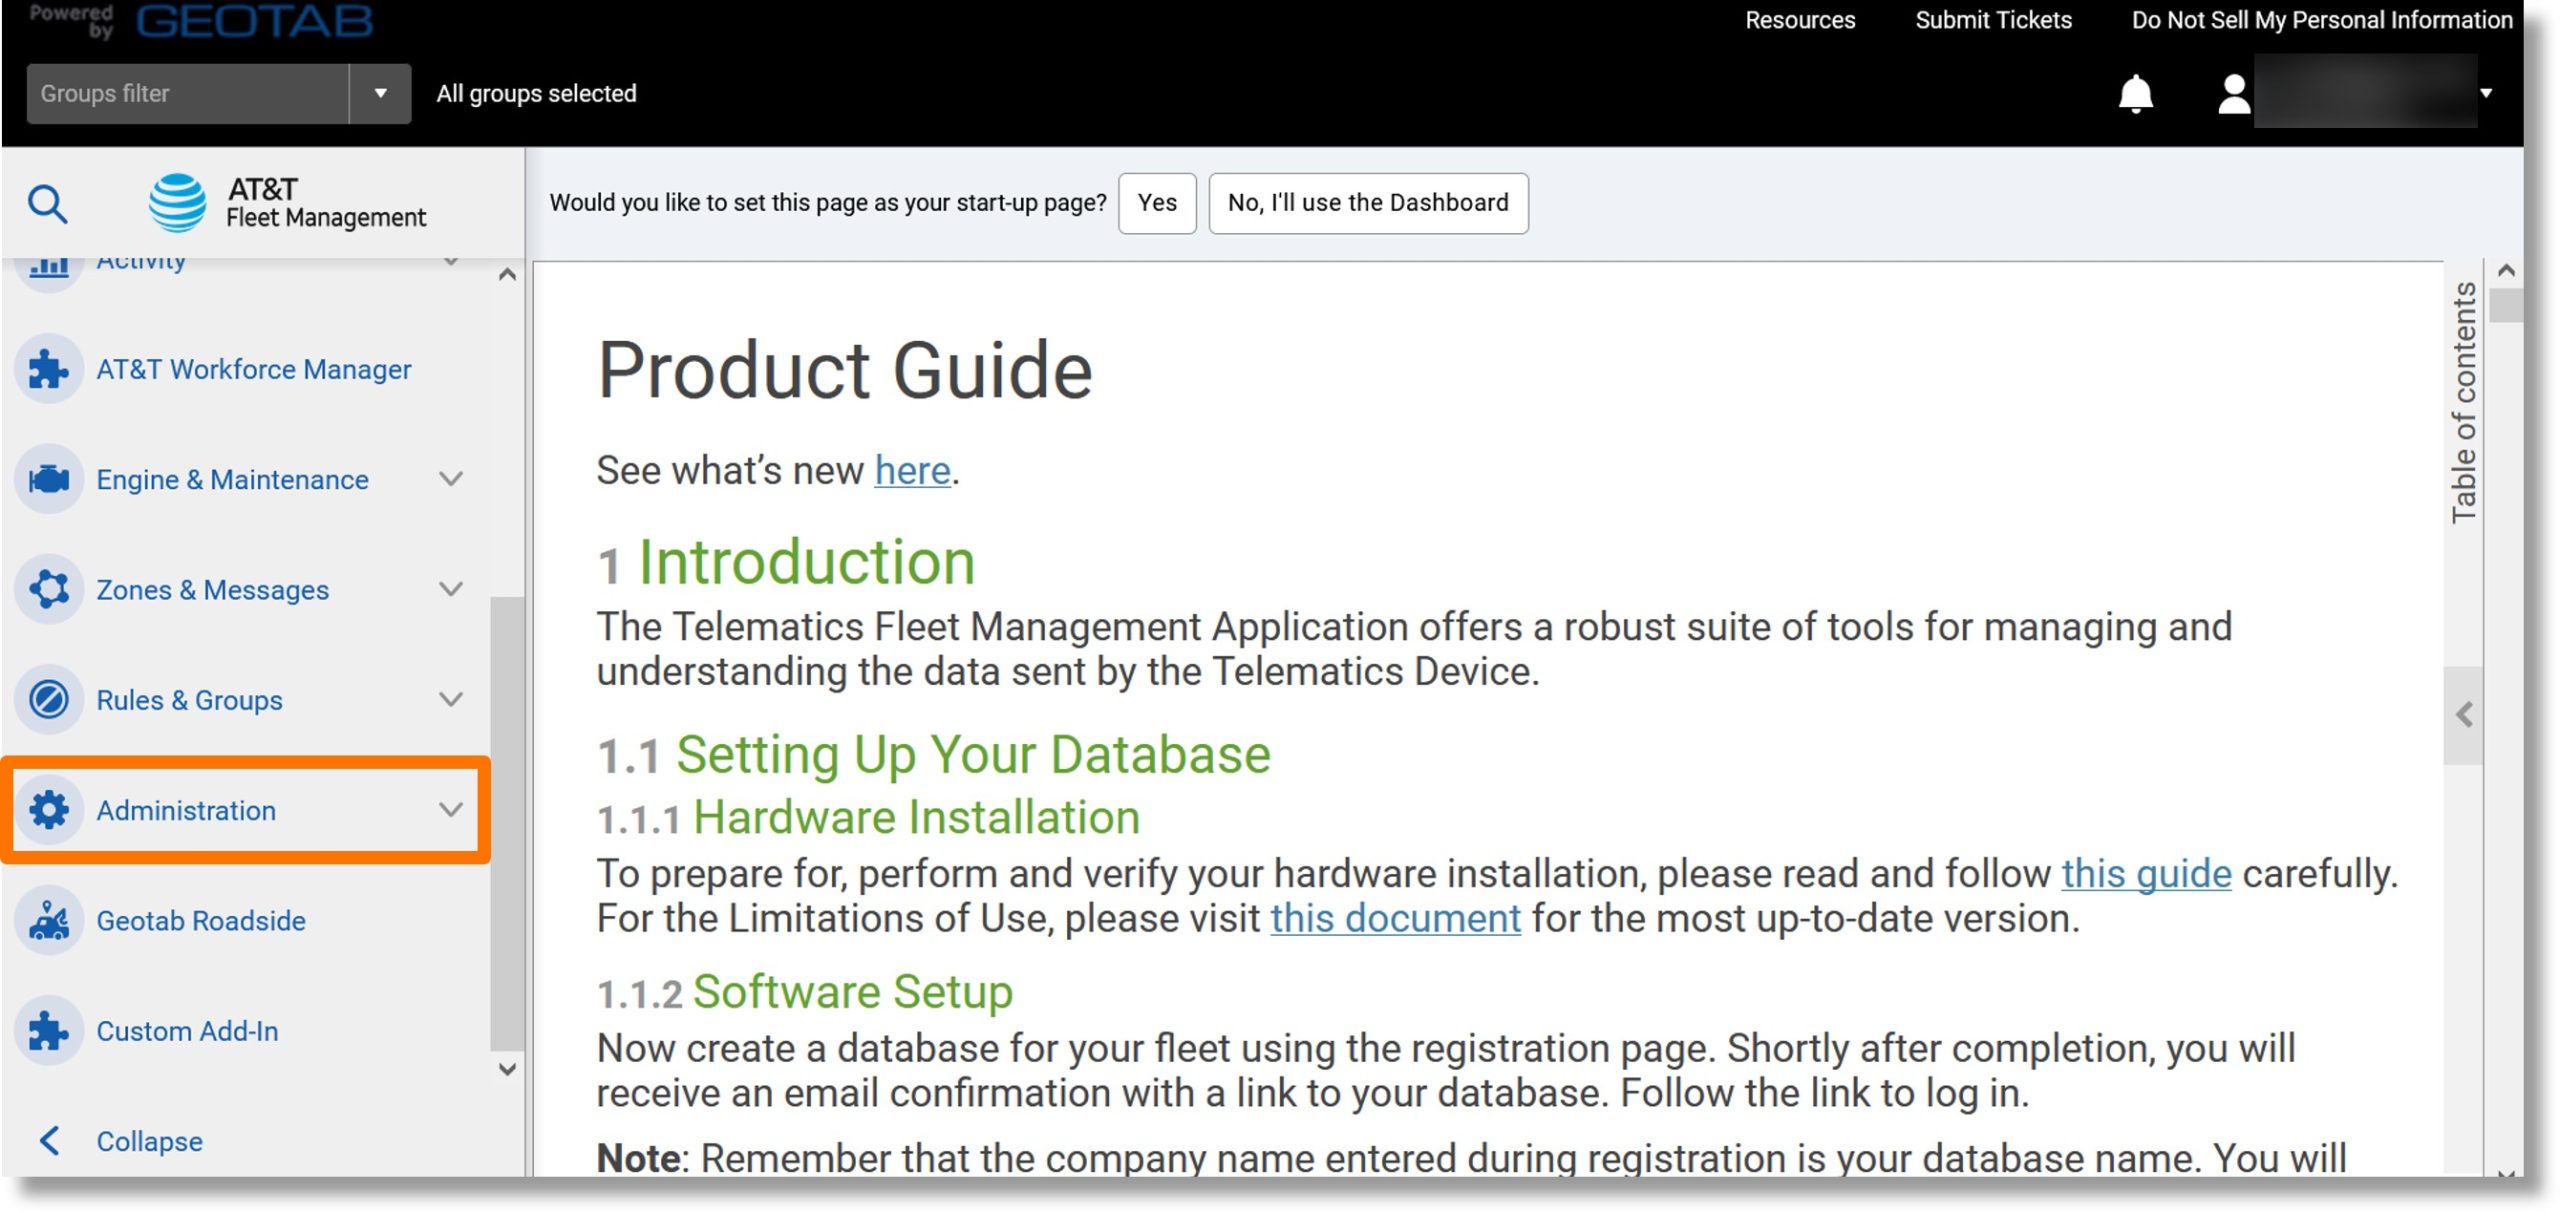
  1. Scroll down to Administration in the column to the left.

    Image of step 1.

  2. Click on Administration.

    Image of step 2.

  3. Scroll down.

    Image of step 3.

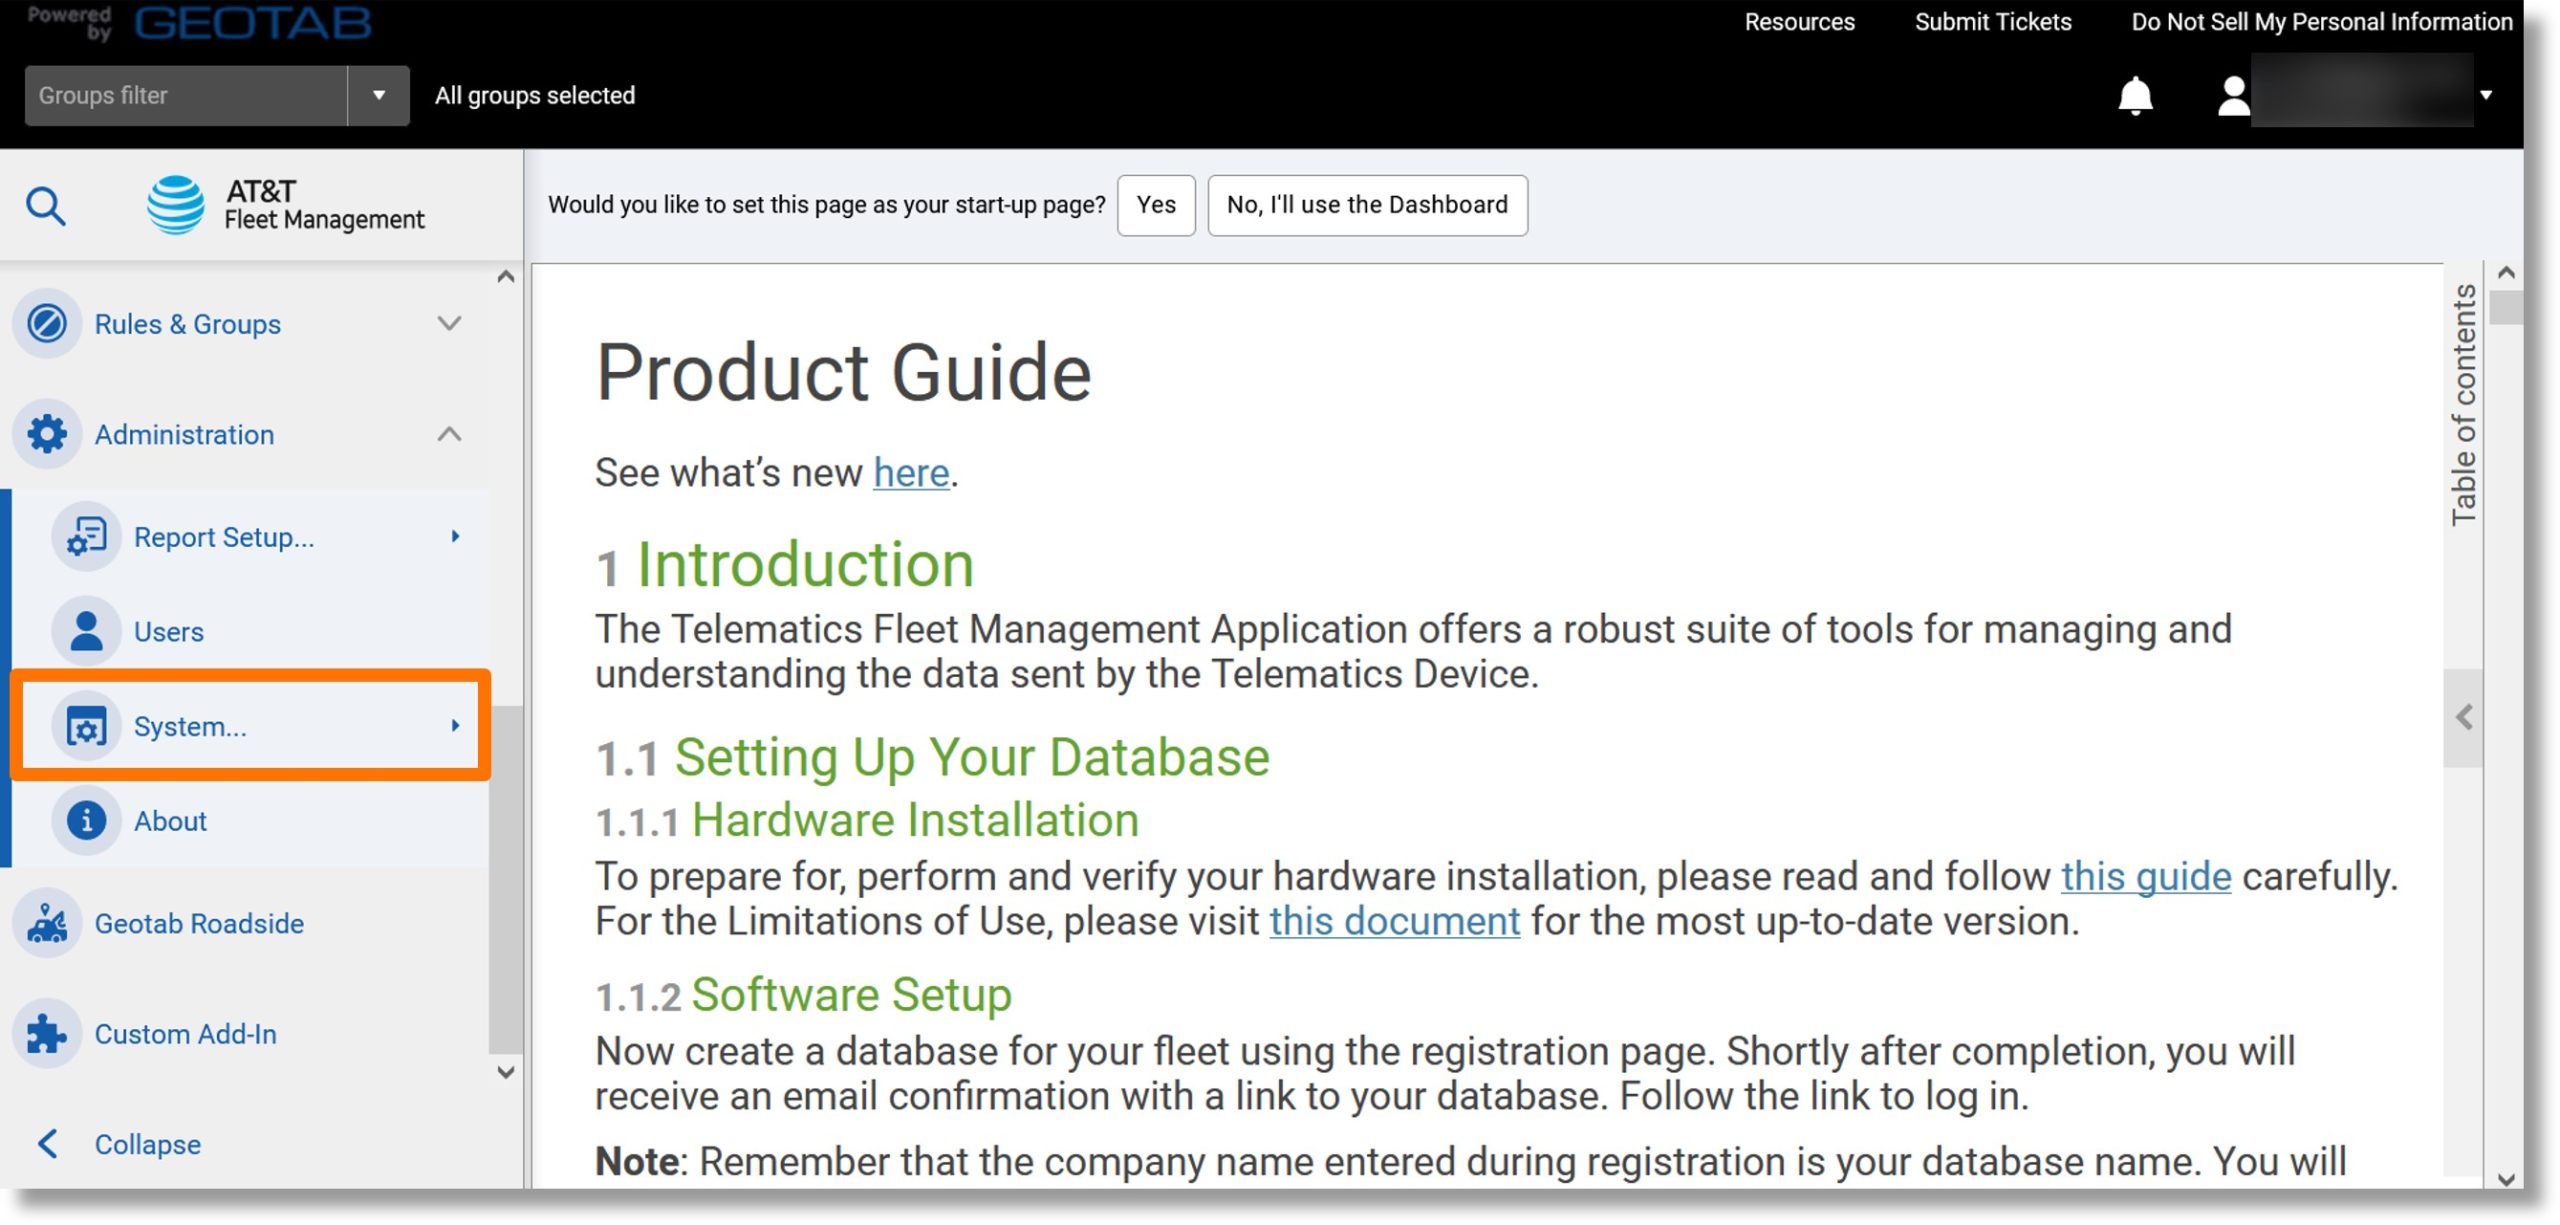
  4. Click on System….

    Image of step 4.

  5. Click on System Settings.

    Image of step 5.

  6. Click the User Account Policy tab.

    Image of step 6.

    Note
    : When an option is enabled, additional fields and settings display to allow you to customize the user experience further.

  7. Click on the field to the right of “Minimum password length:” and enter the desired minimum number of characters required for the user’s password.
  8. Click On or Off to the right of “Require an upper-case letter, A-Z:” to either require capital letters or disable the requirement.
  9. Click On or Off to the right of “Require lowercase letter, a-z:” to either require lower case letters or disable the requirement.
  10. Click On or Off to the right of “Require a number, 0-9:” to either require numbers or disable the requirement.
  11. Click On or Off to the right of “Require symbol, like & or @:” to require special characters or to disable the requirement.
  12. Scroll down.

    Image of steps 7 through 12.

  13. Click On or Off to the right of “Enable password expiry timer” to require users to change their password at set intervals.
  14. Click On or Off to the right of “Allow password reuse” to require users to use different passwords when it expires.
  15. Click On or Off to the right of “Enable user lockout:” to enable or disable locking the user’s account if they enter their password incorrectly too many times.
    Note: When enabled, fields populate so that you can choose the desired settings.

    Image of steps 13 through 15.

  16. Click On or Off to the right of “Allow basic authentication login” to enable or disable basic authentication.
  17. Click On or Off to the right of “Allow SAML login” to enable or disable the ability to log in with SAML.
  18. Scroll to the top of the page.

    Image of steps 16 through 18.

  19. Click on Save near the top of the page.

    Image of step 19.