Create a New User
The following topics are covered in this tutorial:
Note: The setting options will vary depending on the user role selected.
Entering user information
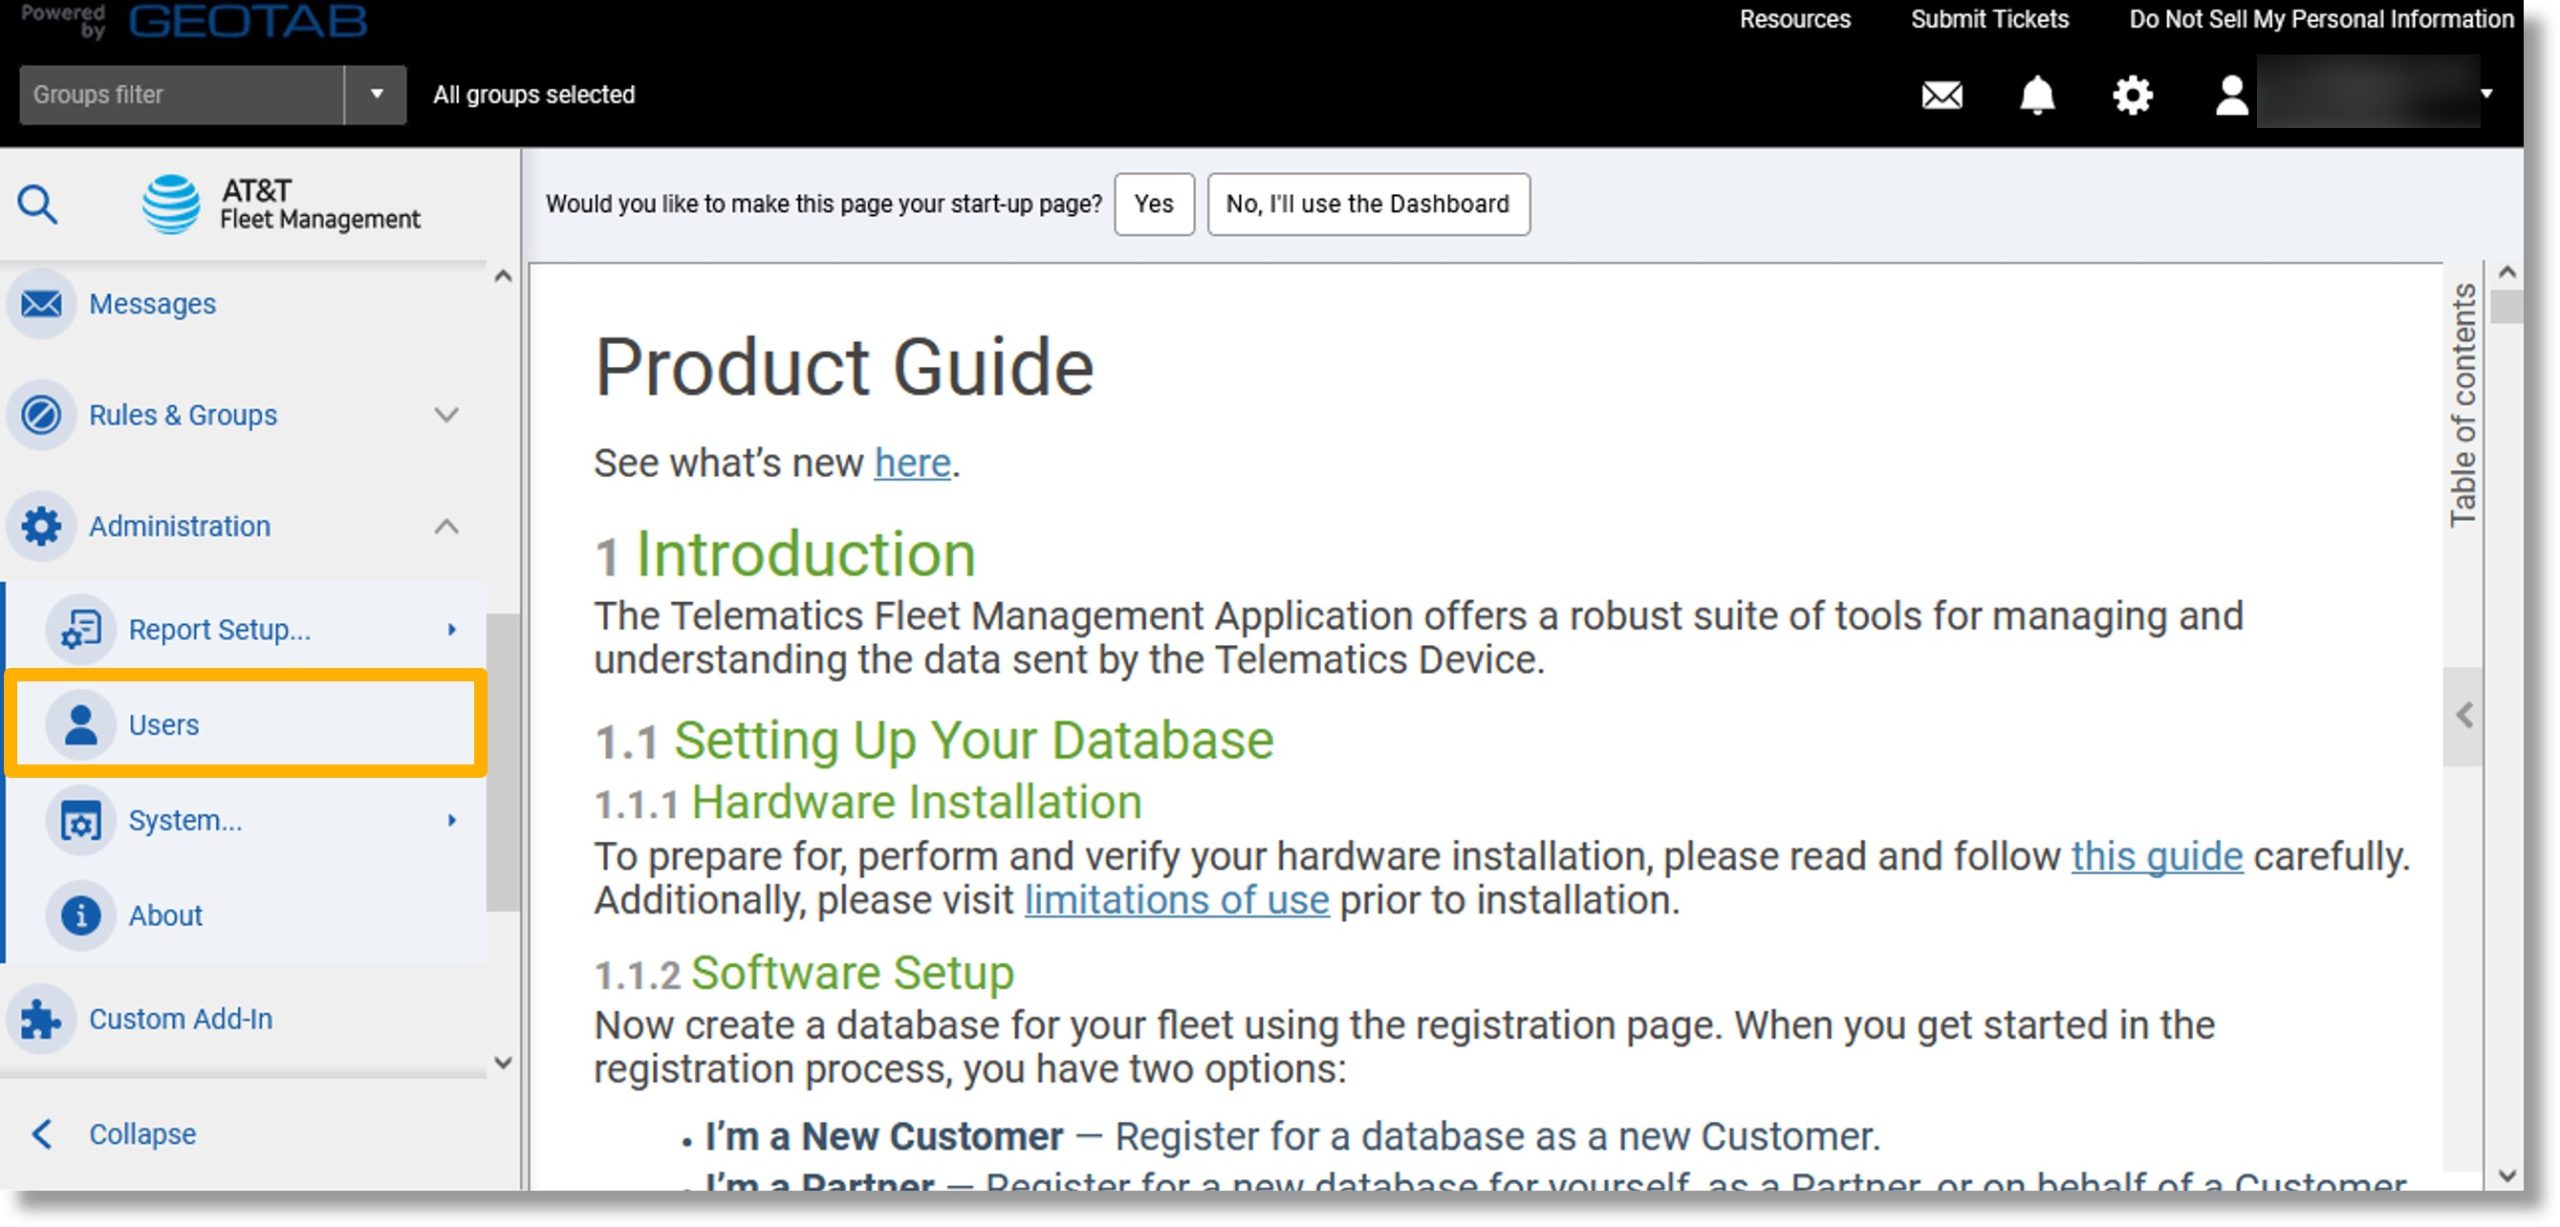
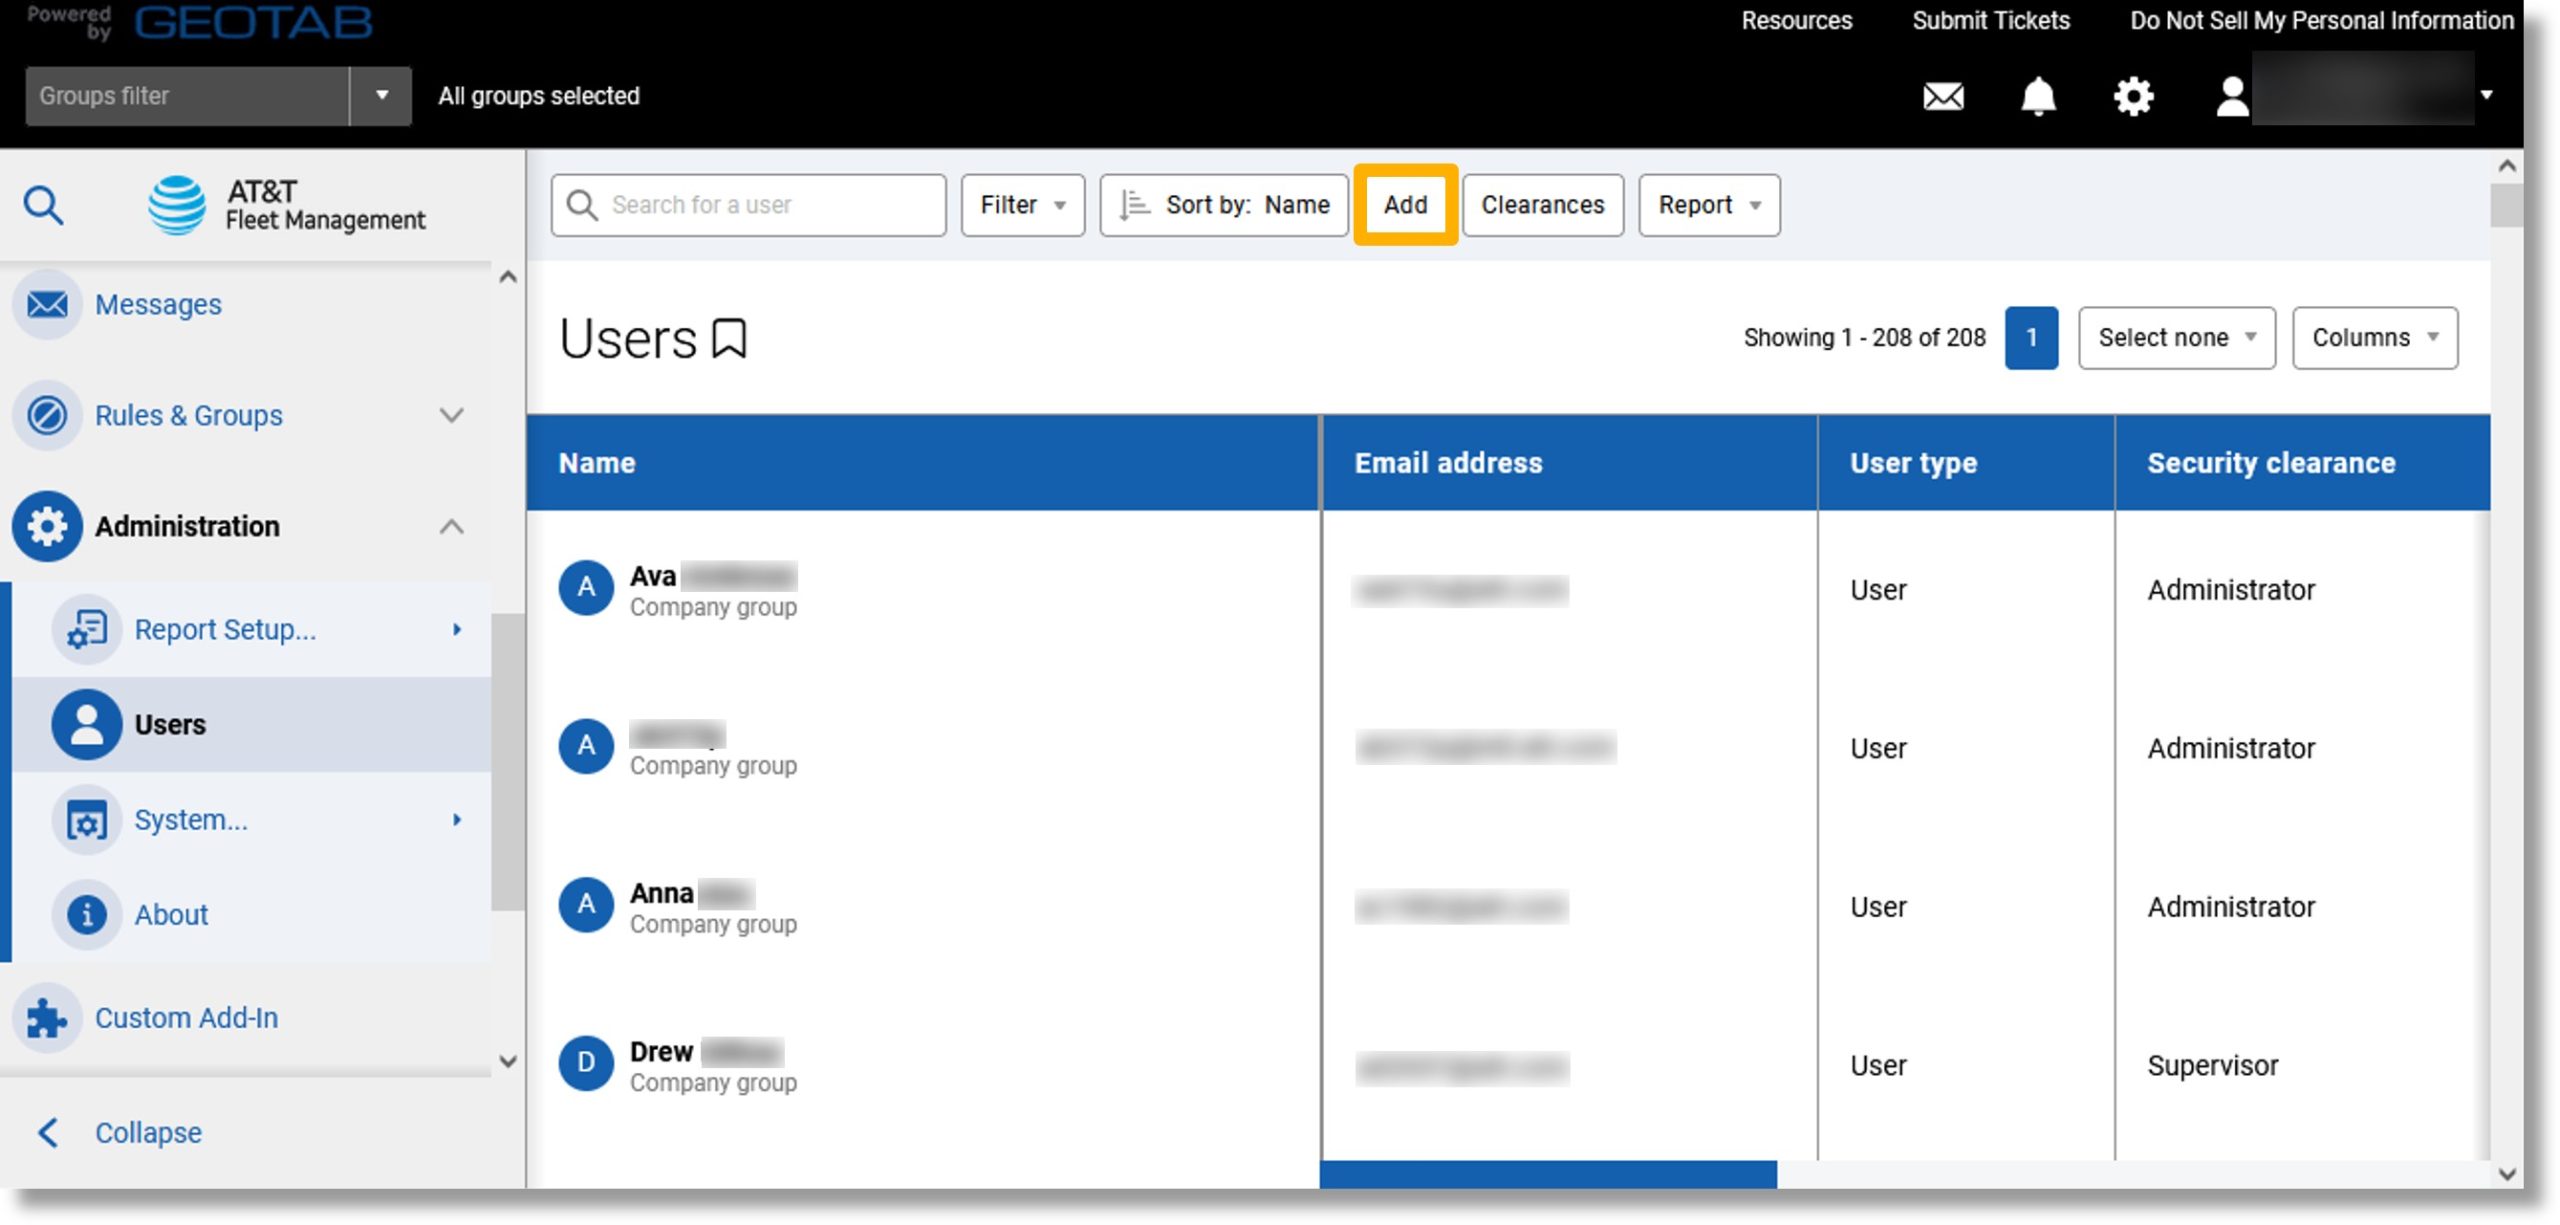
- Scroll down to Administration in the menu on the left.
- Click on Administration.

- Scroll down to Users.
- Click on Users.
- The list of configured users displays.
- Click on the Add button at the top of the page.
- Click in the field to the right of “User (Email):” and enter the user email address.
- Click in the field to the right of “First Name:” and enter the user’s first name.
- Click in the field to the right of “Last Name:” and enter the user’s last name.
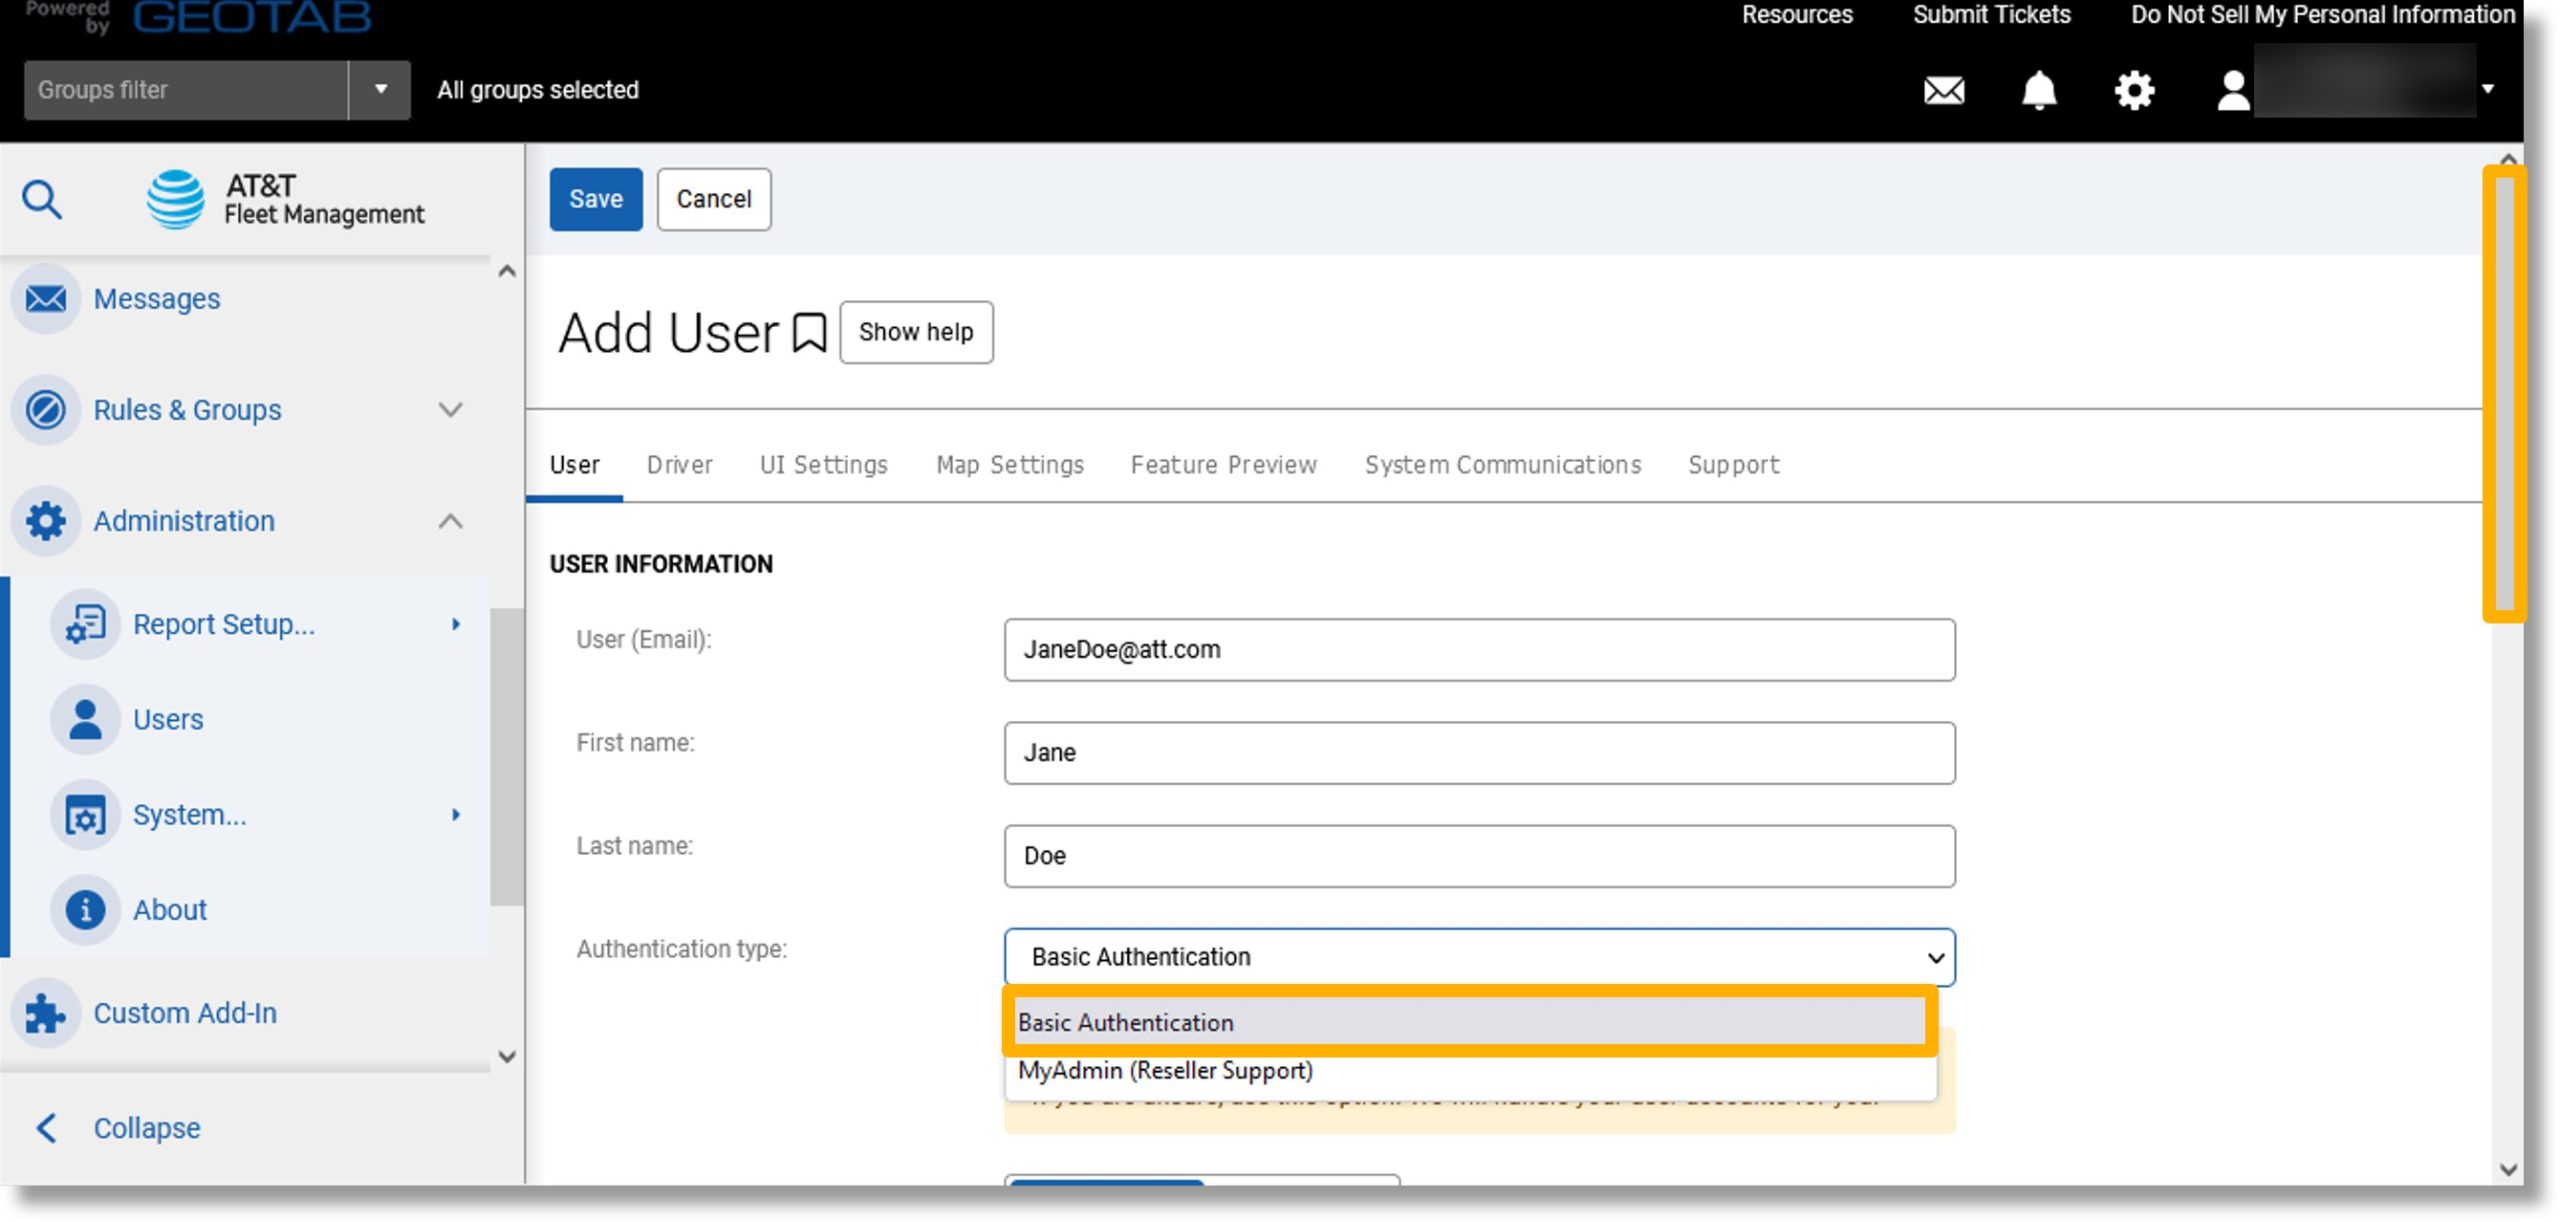
- Click the drop down to the right of “Authentication type:” and select the desired authentication level.
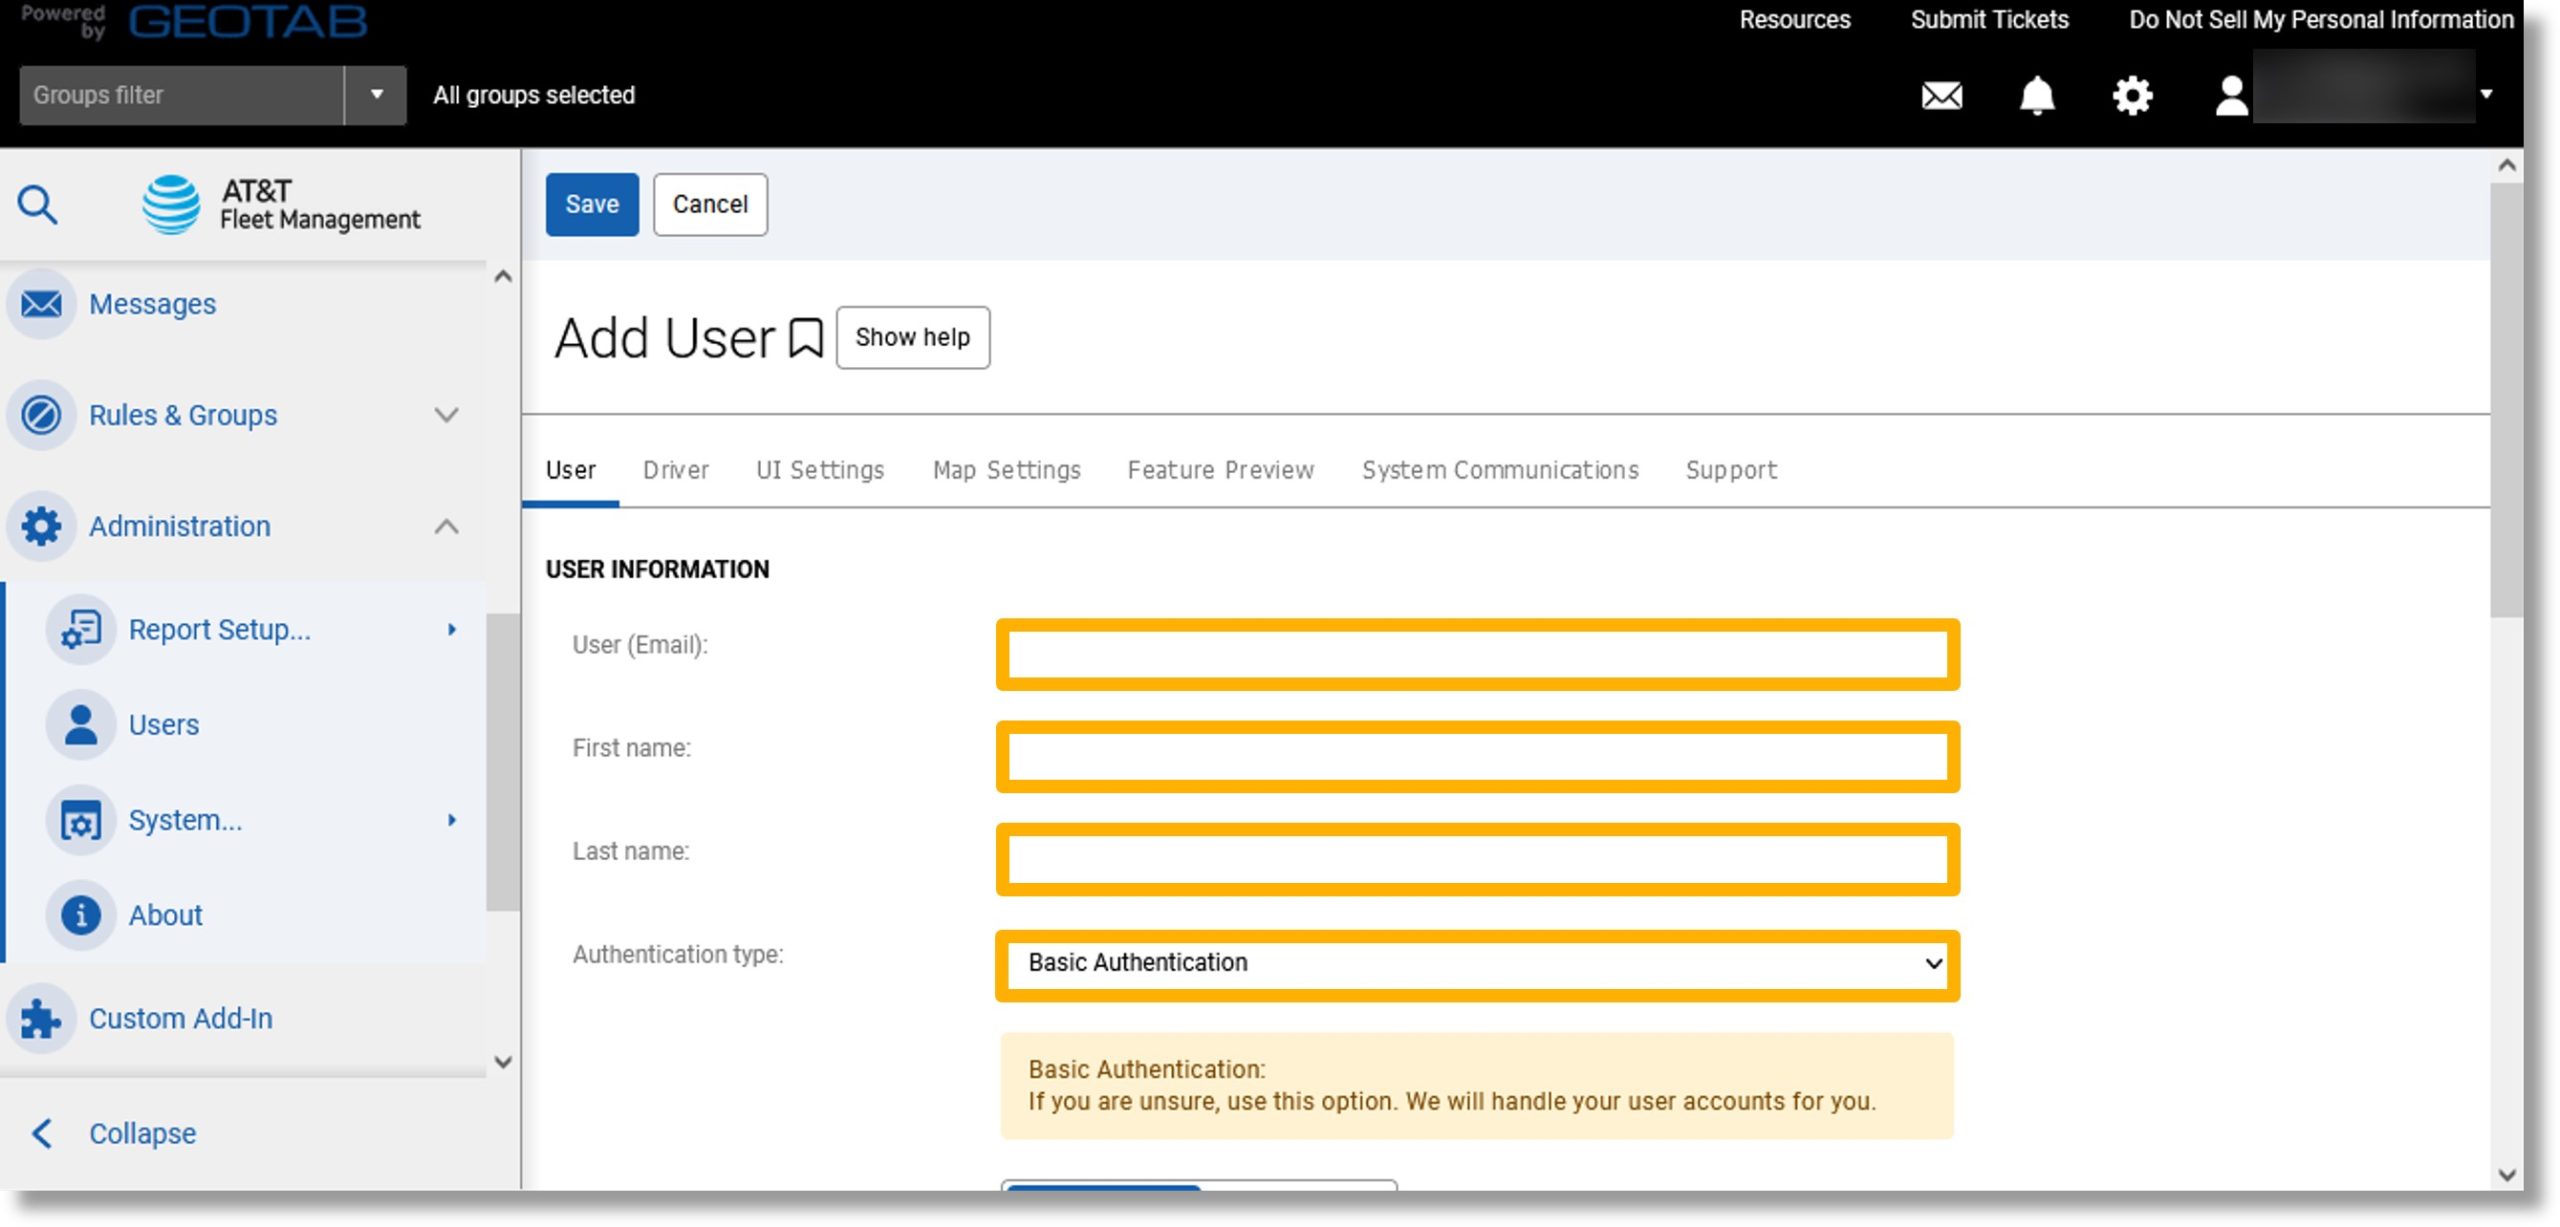
- Select the desired authentication type, and scroll down.
- Click Yes or No to the right of “Force password change on next login:” to require your new user to set up a new password on their initial login.
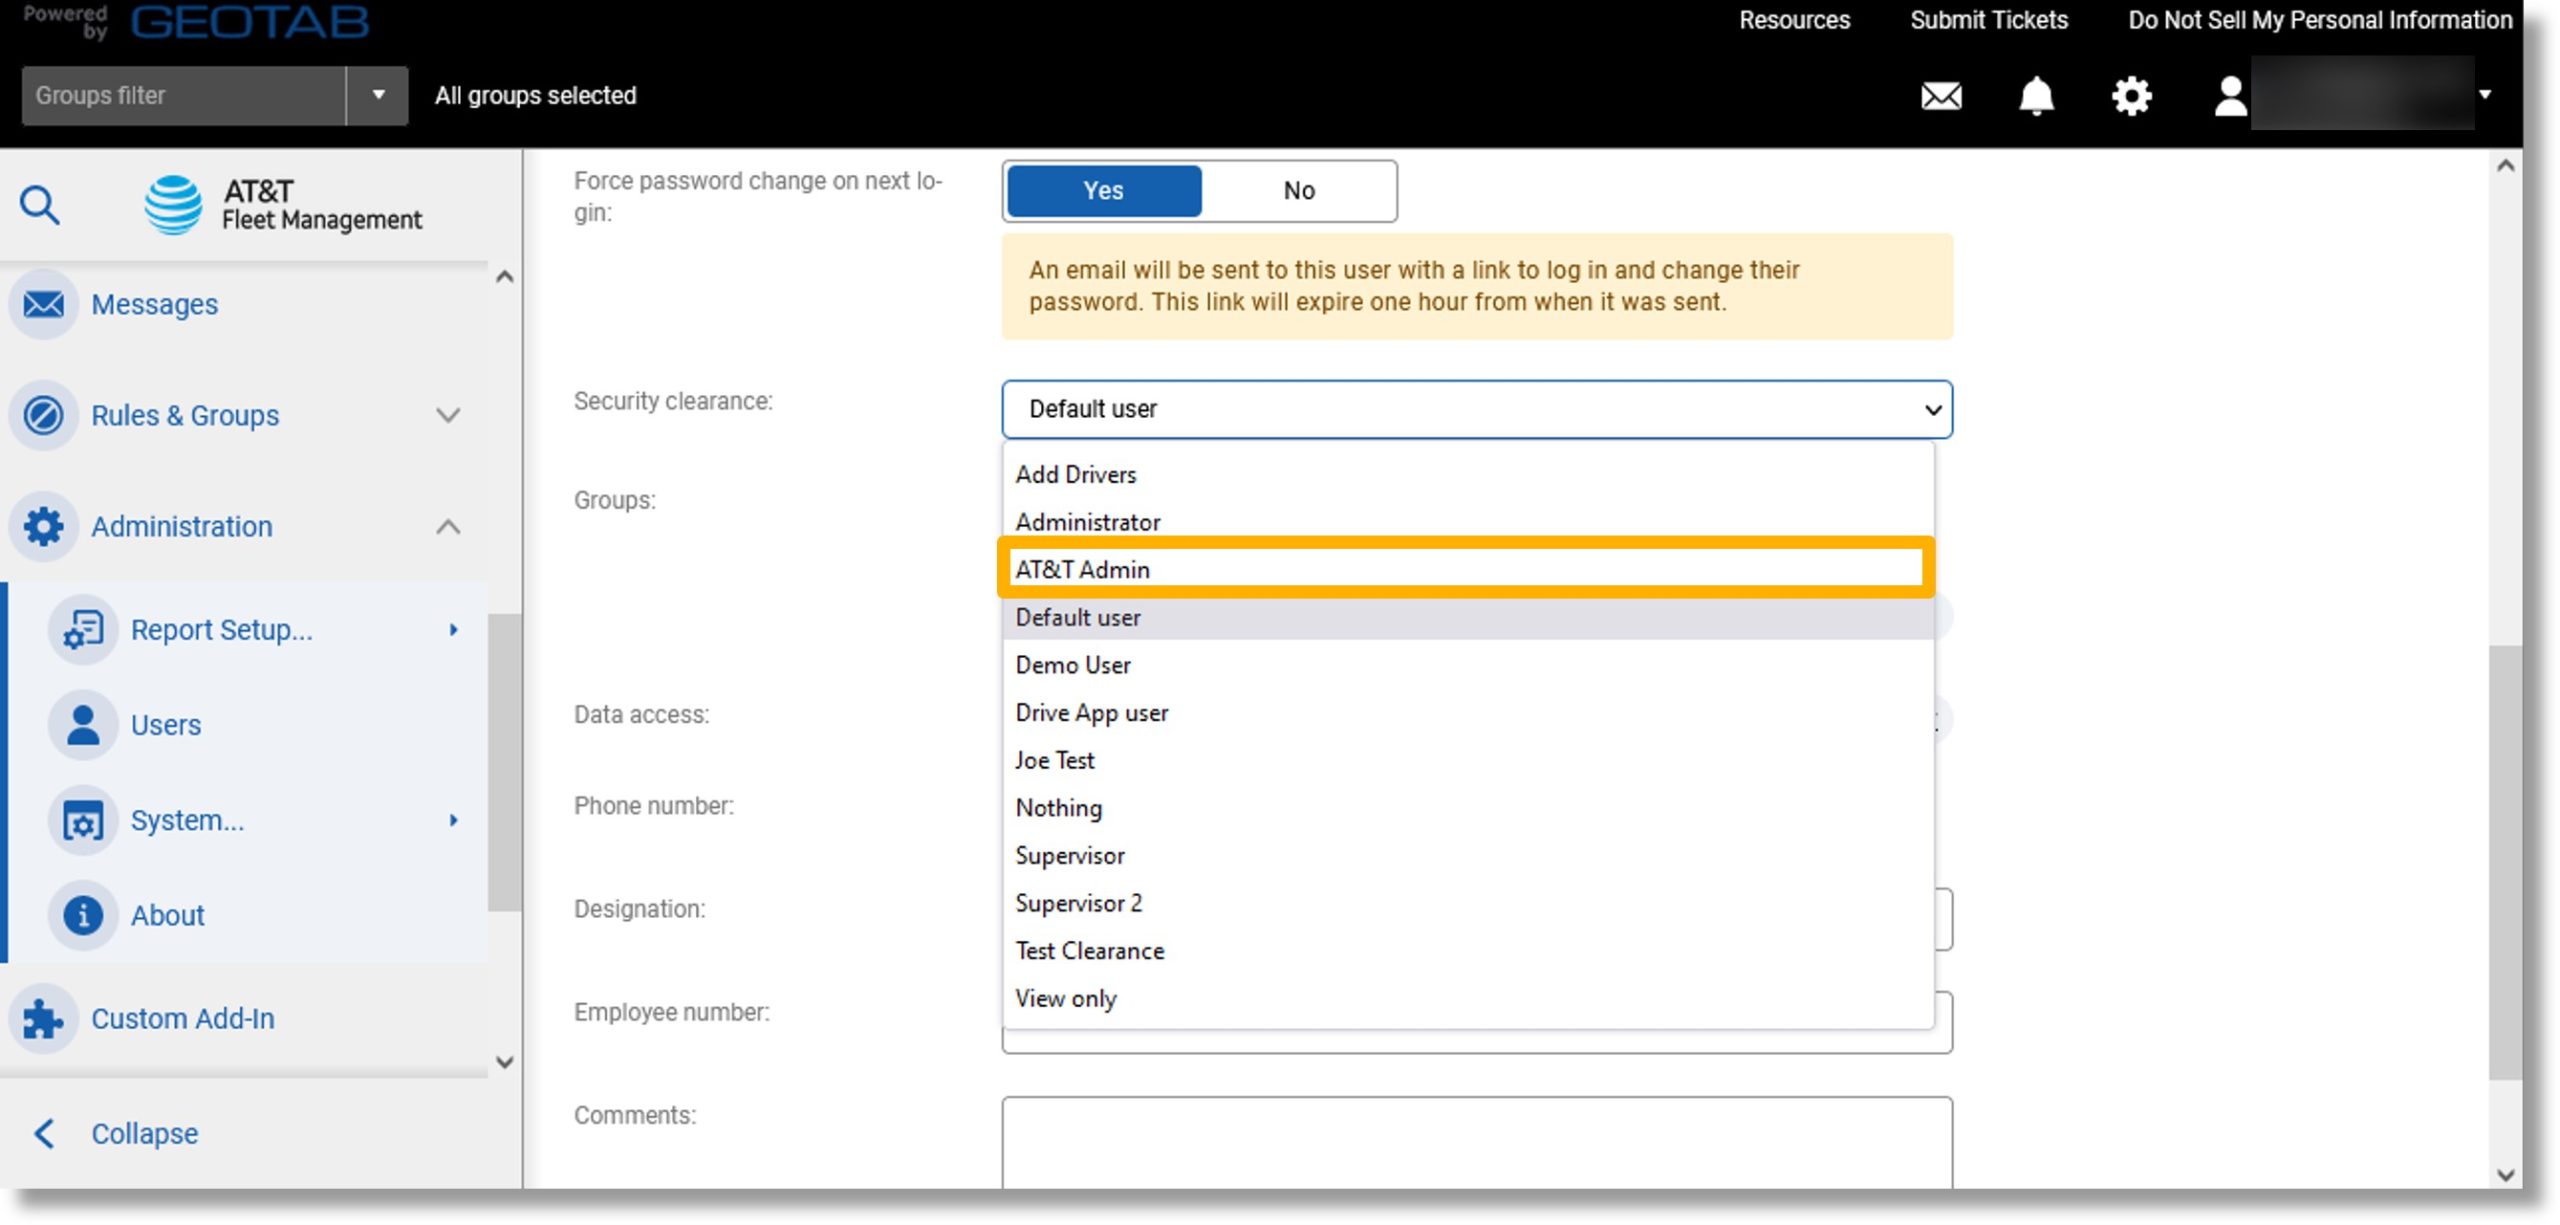
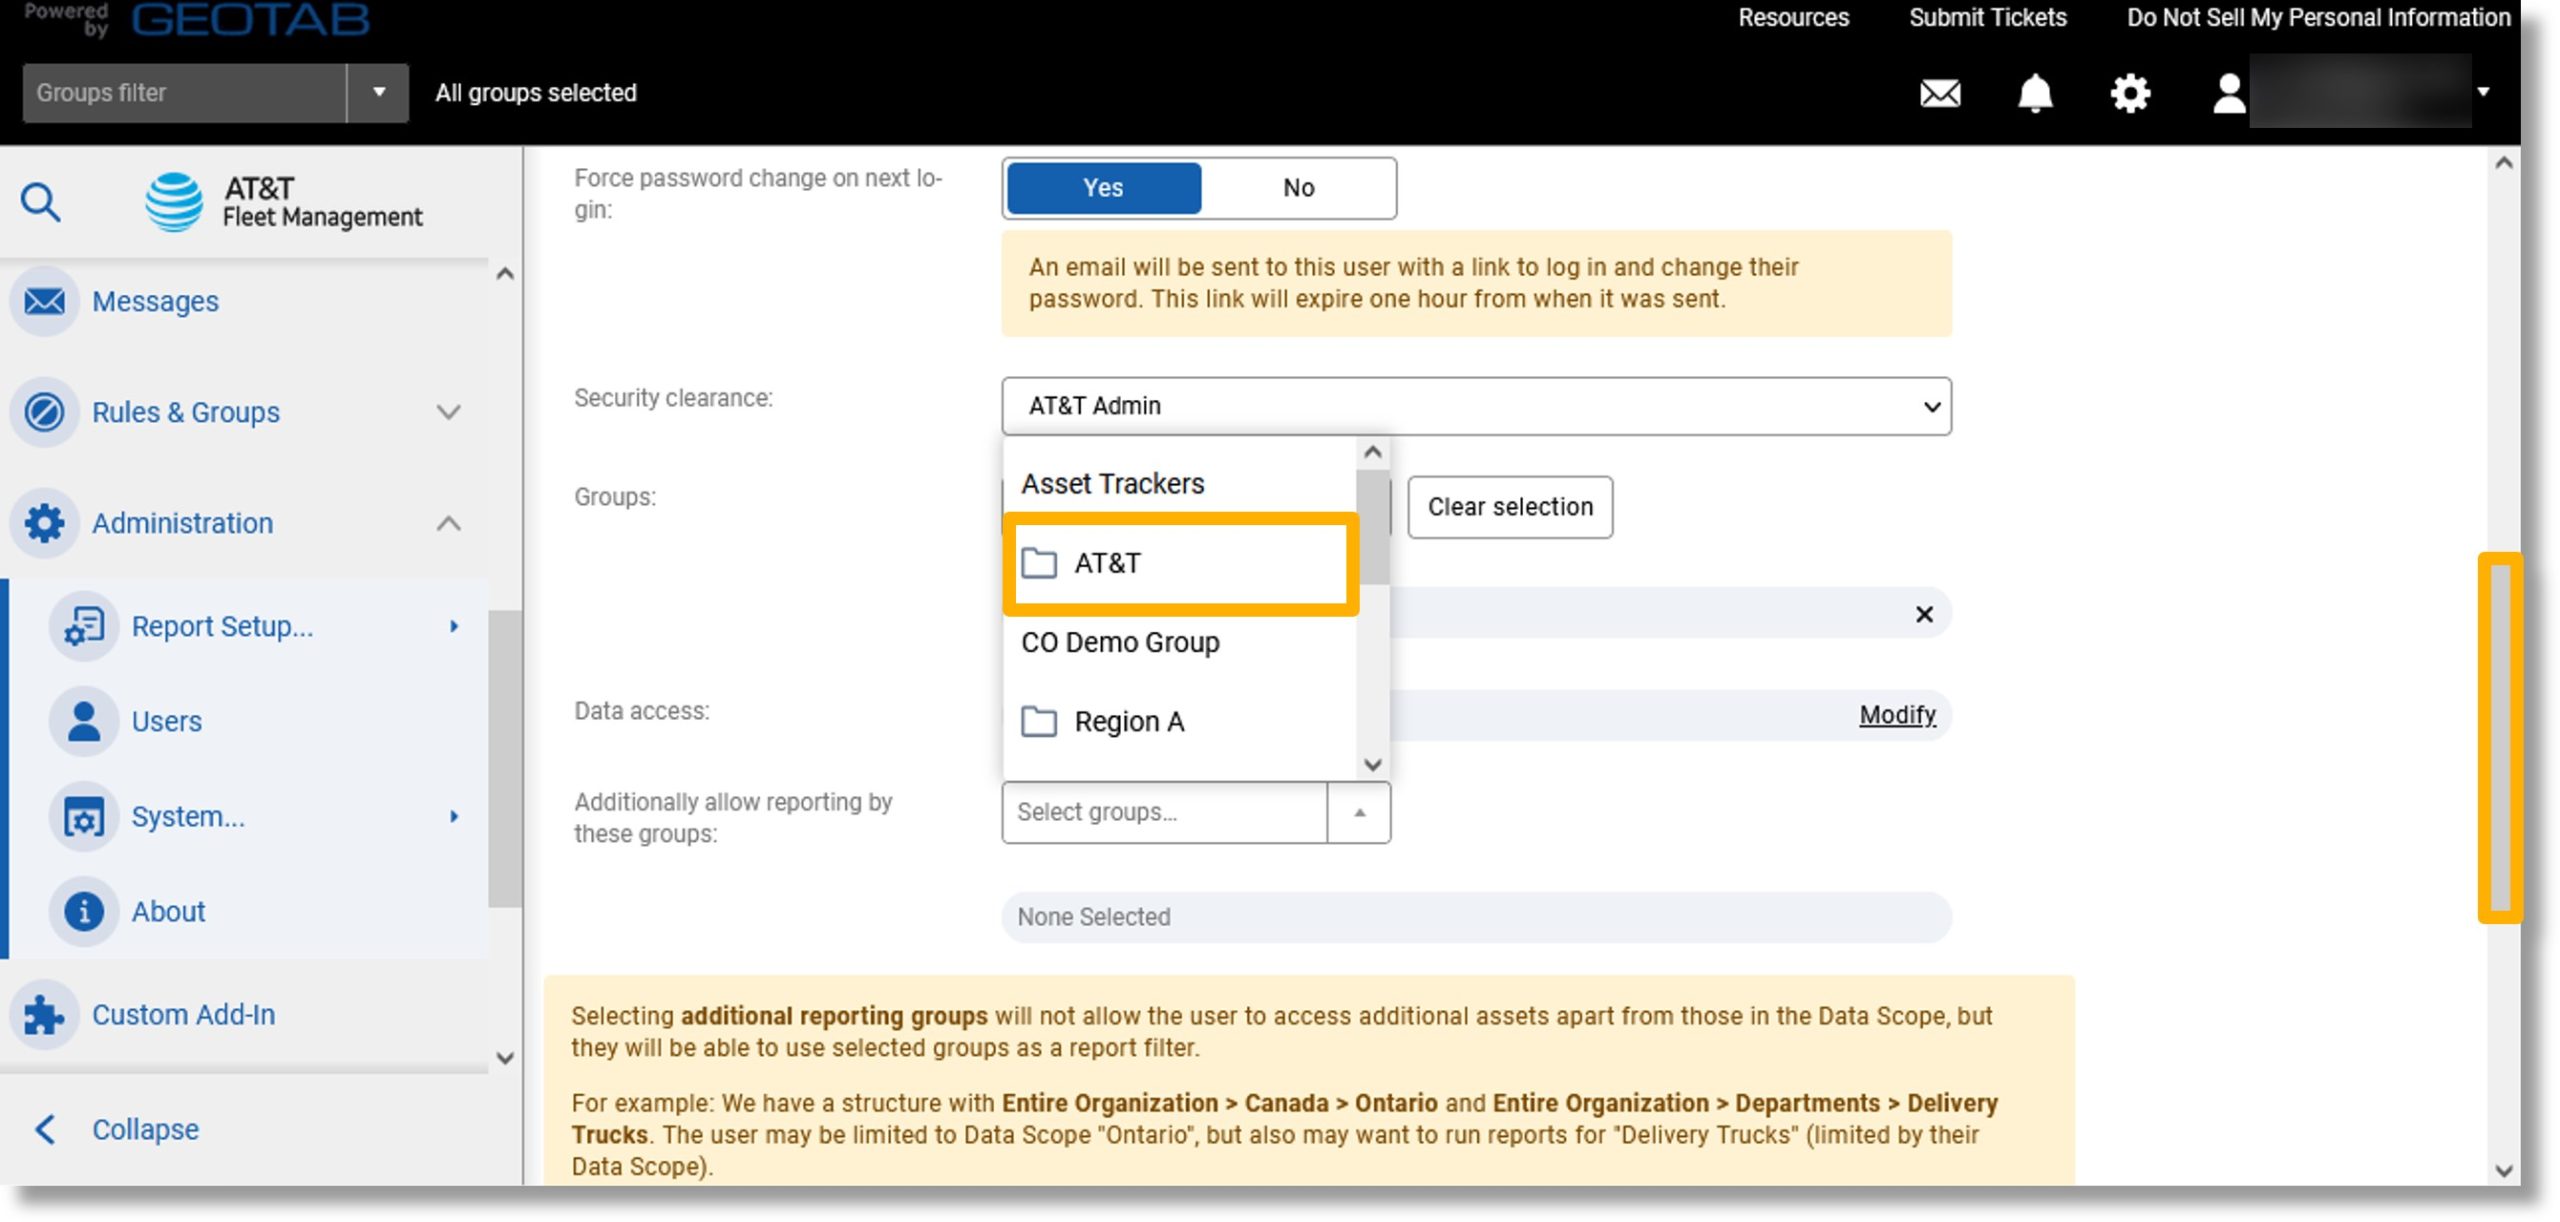
- Click the drop down to the right of “Security clearance:” and select the desired user type.
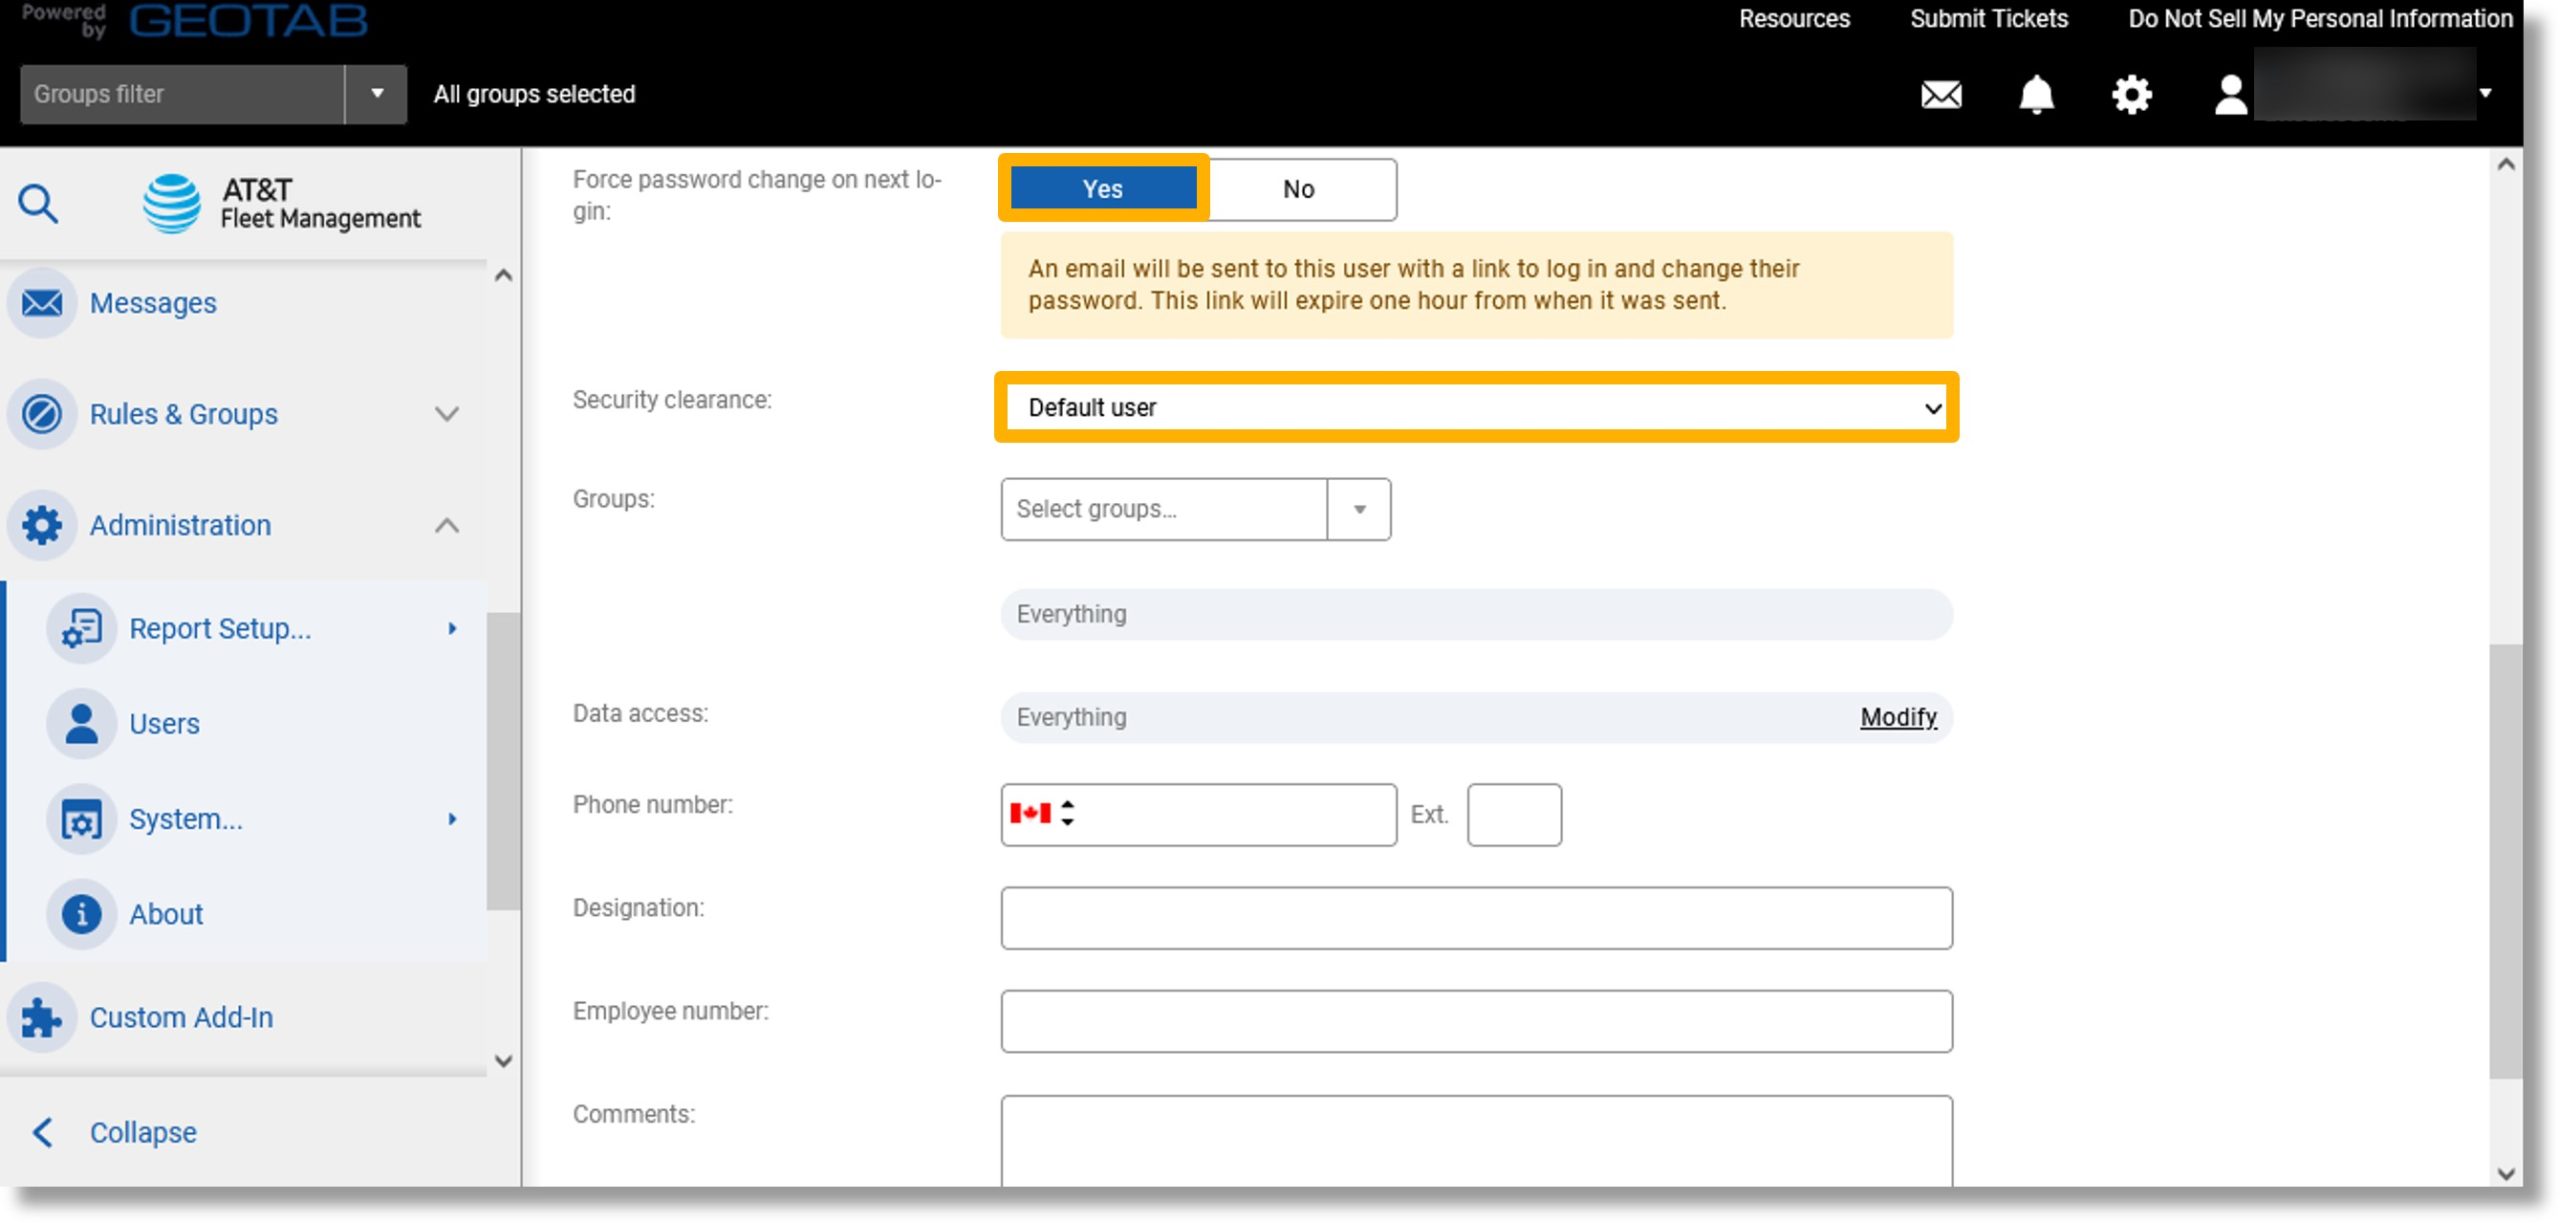
- Select the desired security clearance.
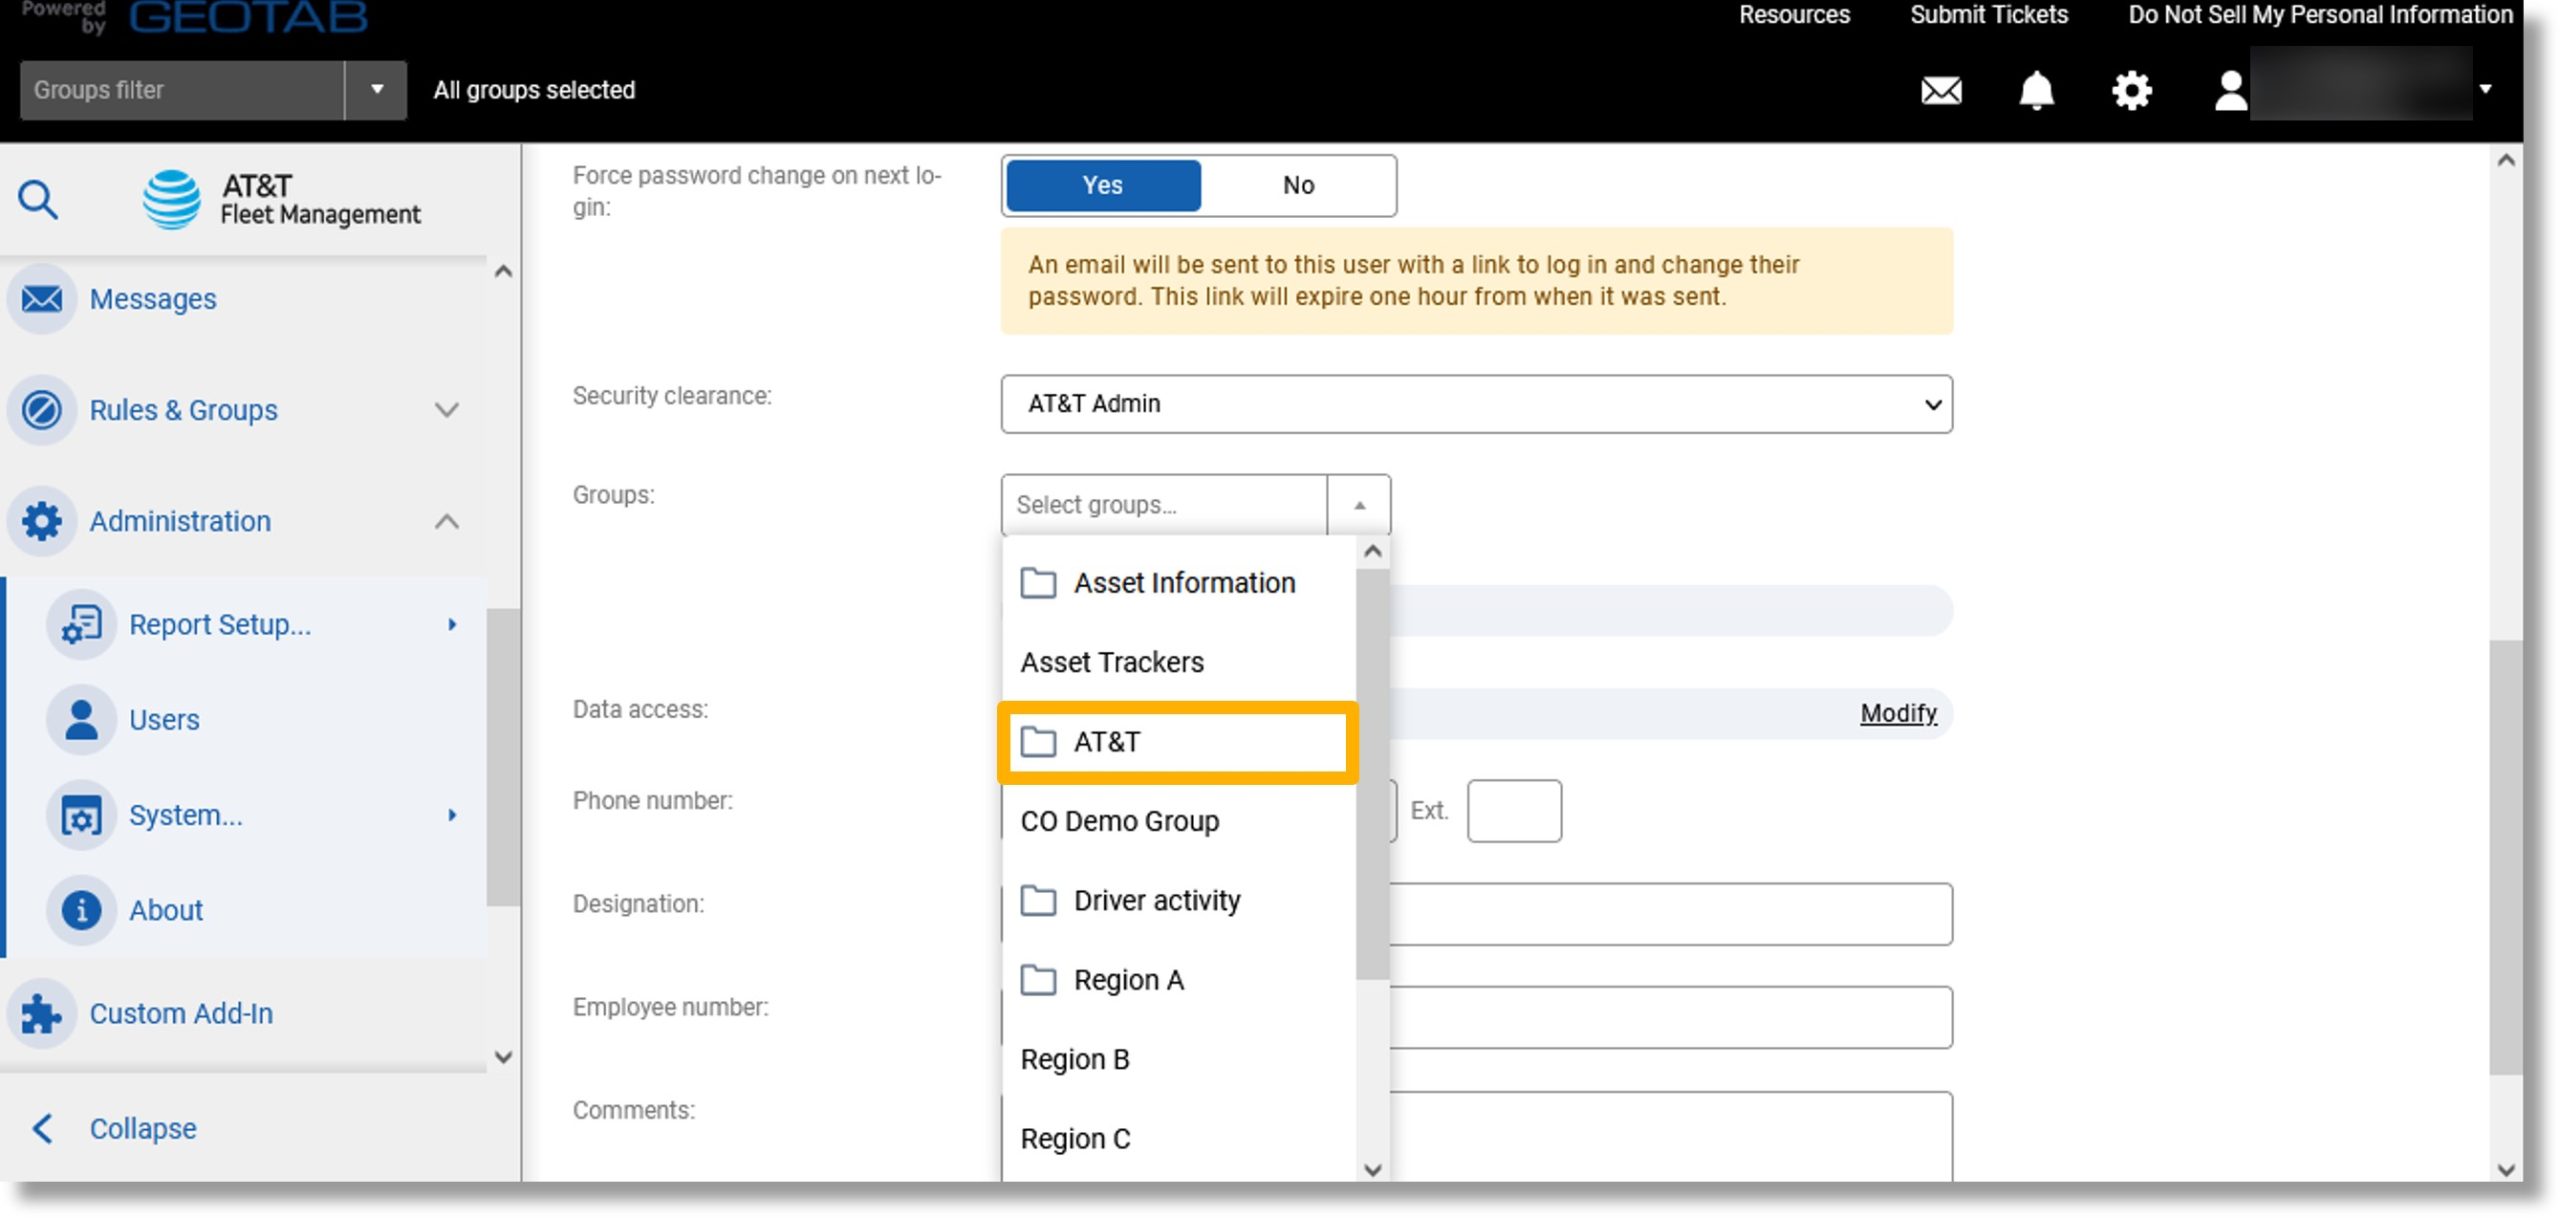
- To select the information this user can access, click in the field labeled “Select groups…”.
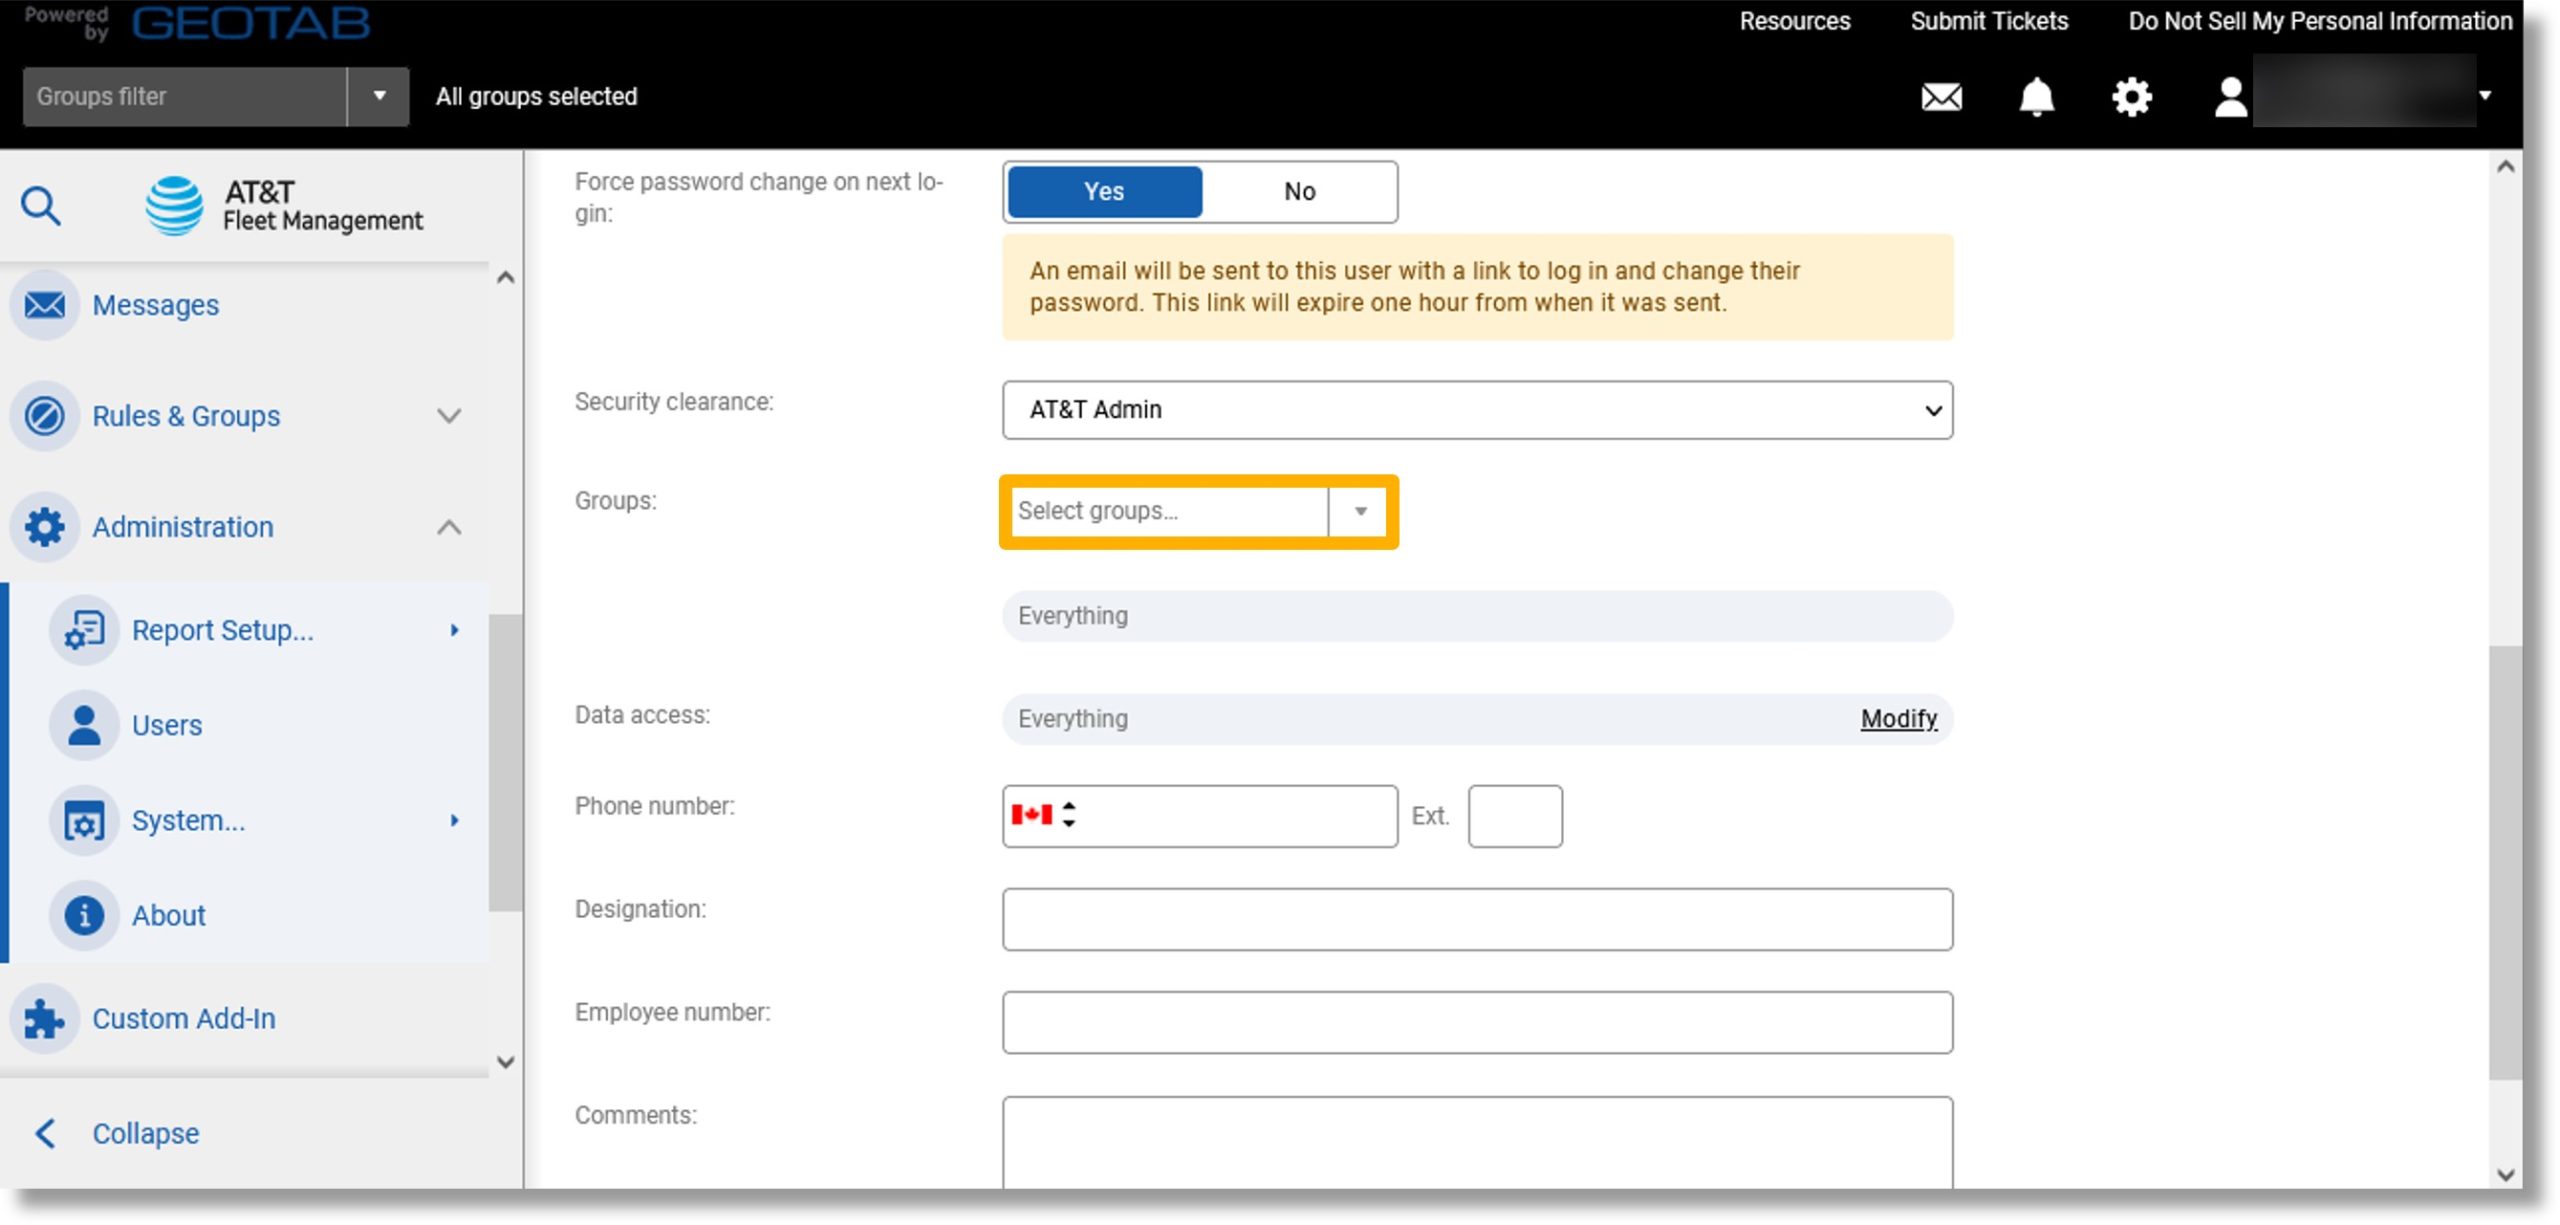
- Enter or select an item from the drop down list.
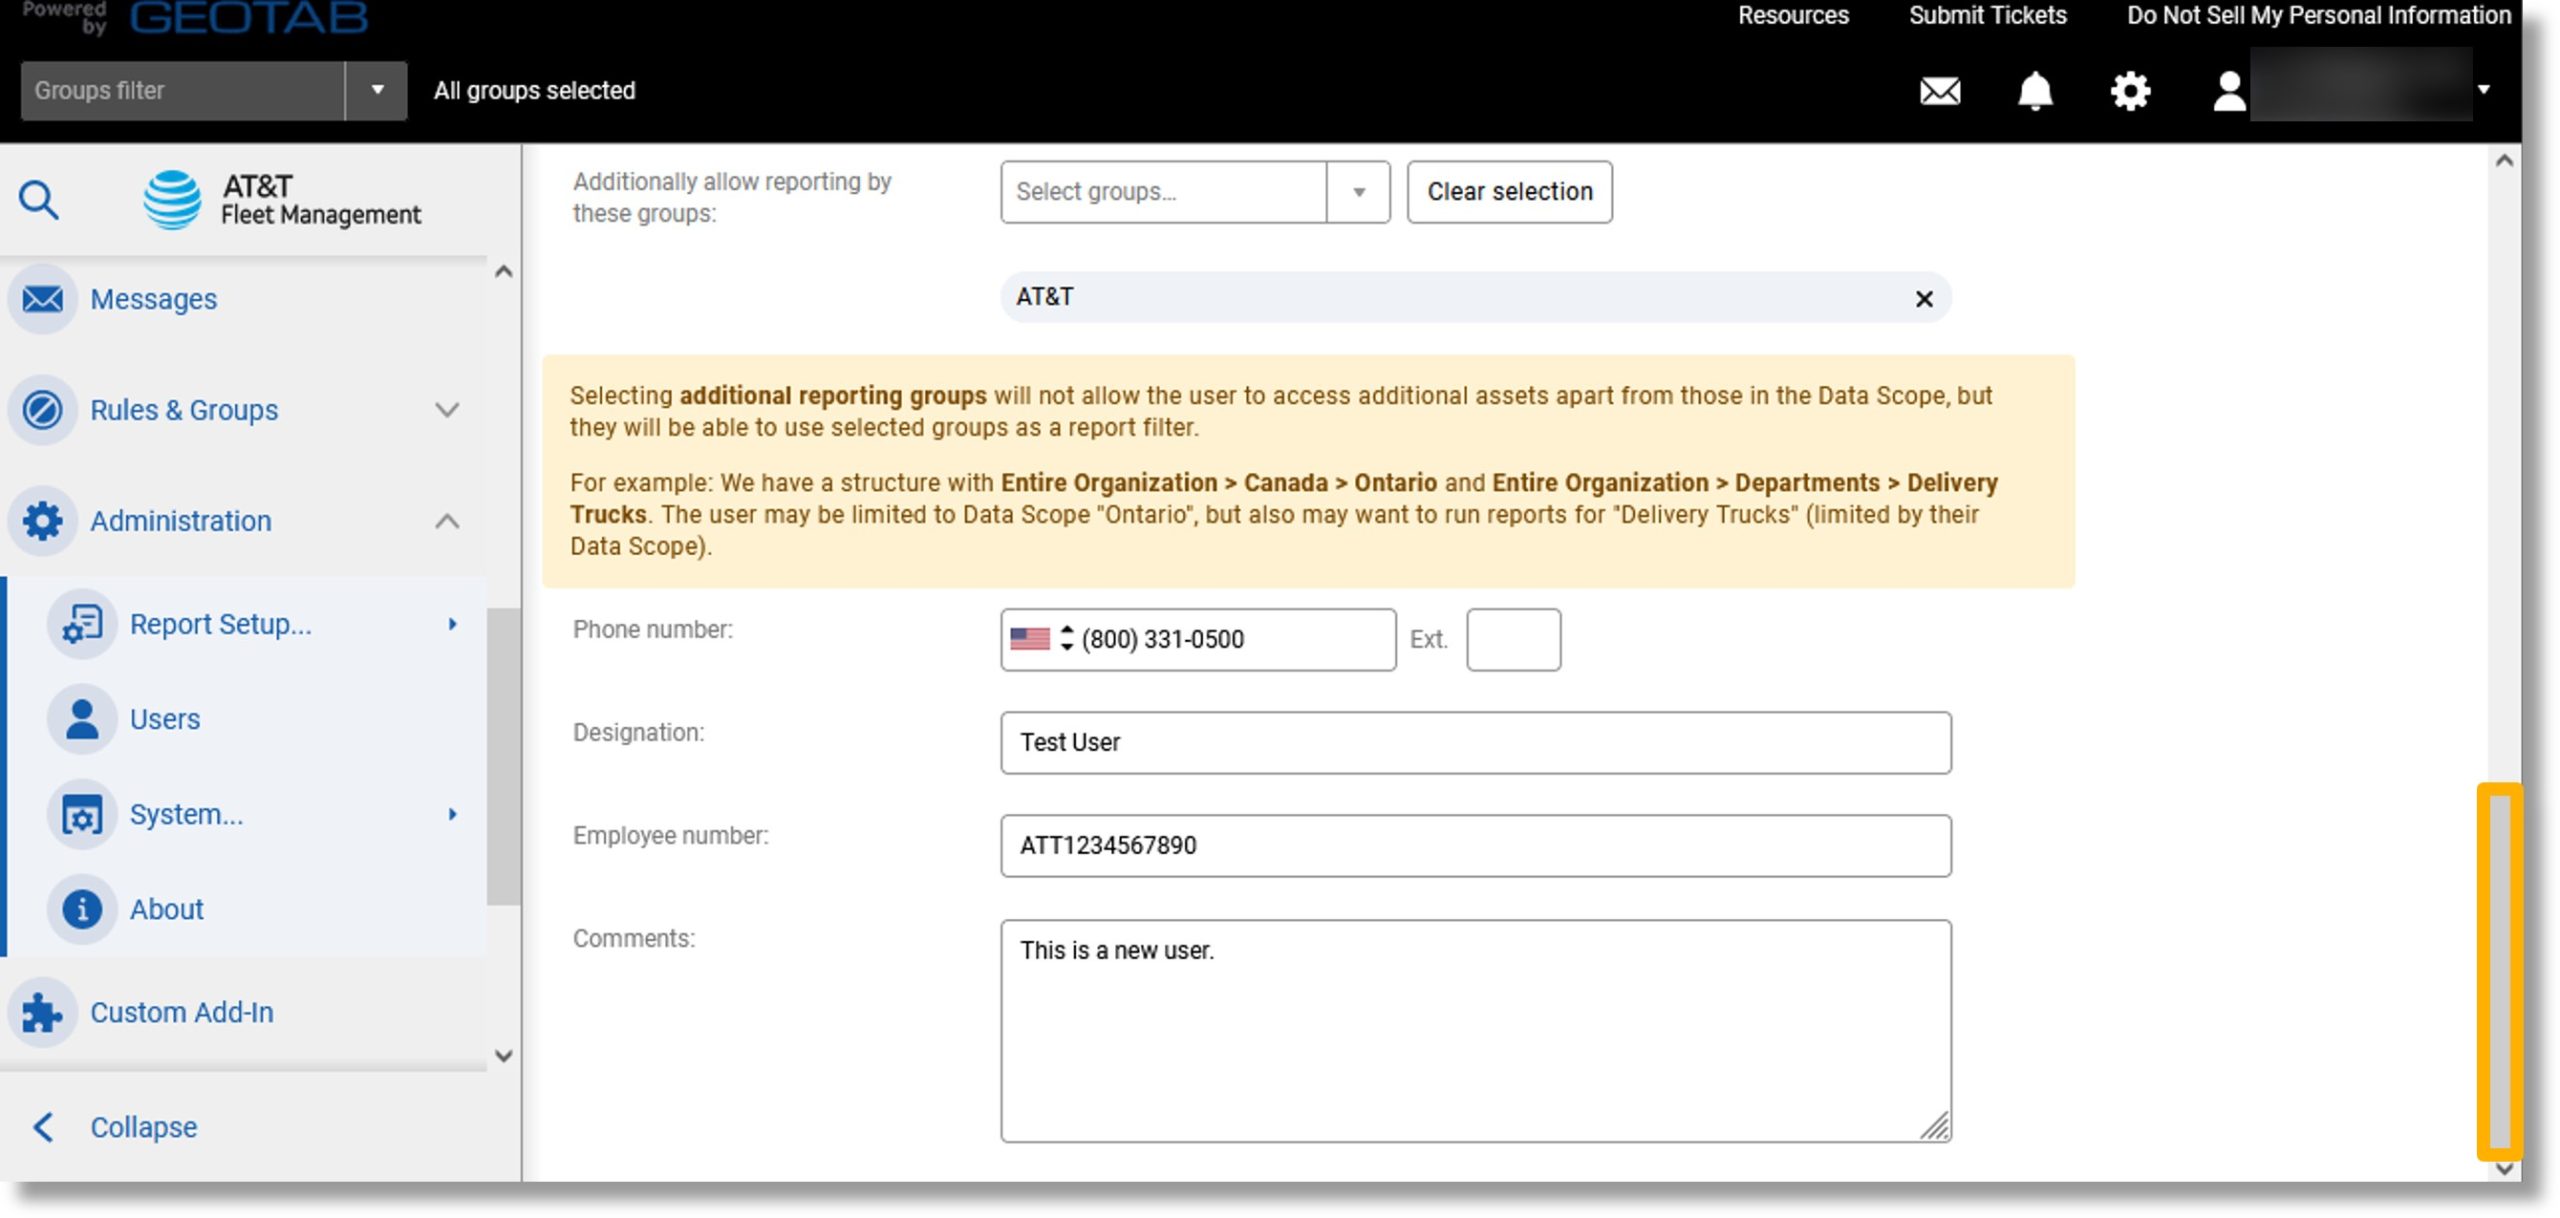
- To select the reporting access for this group, click on the field labeled “Select groups…”.
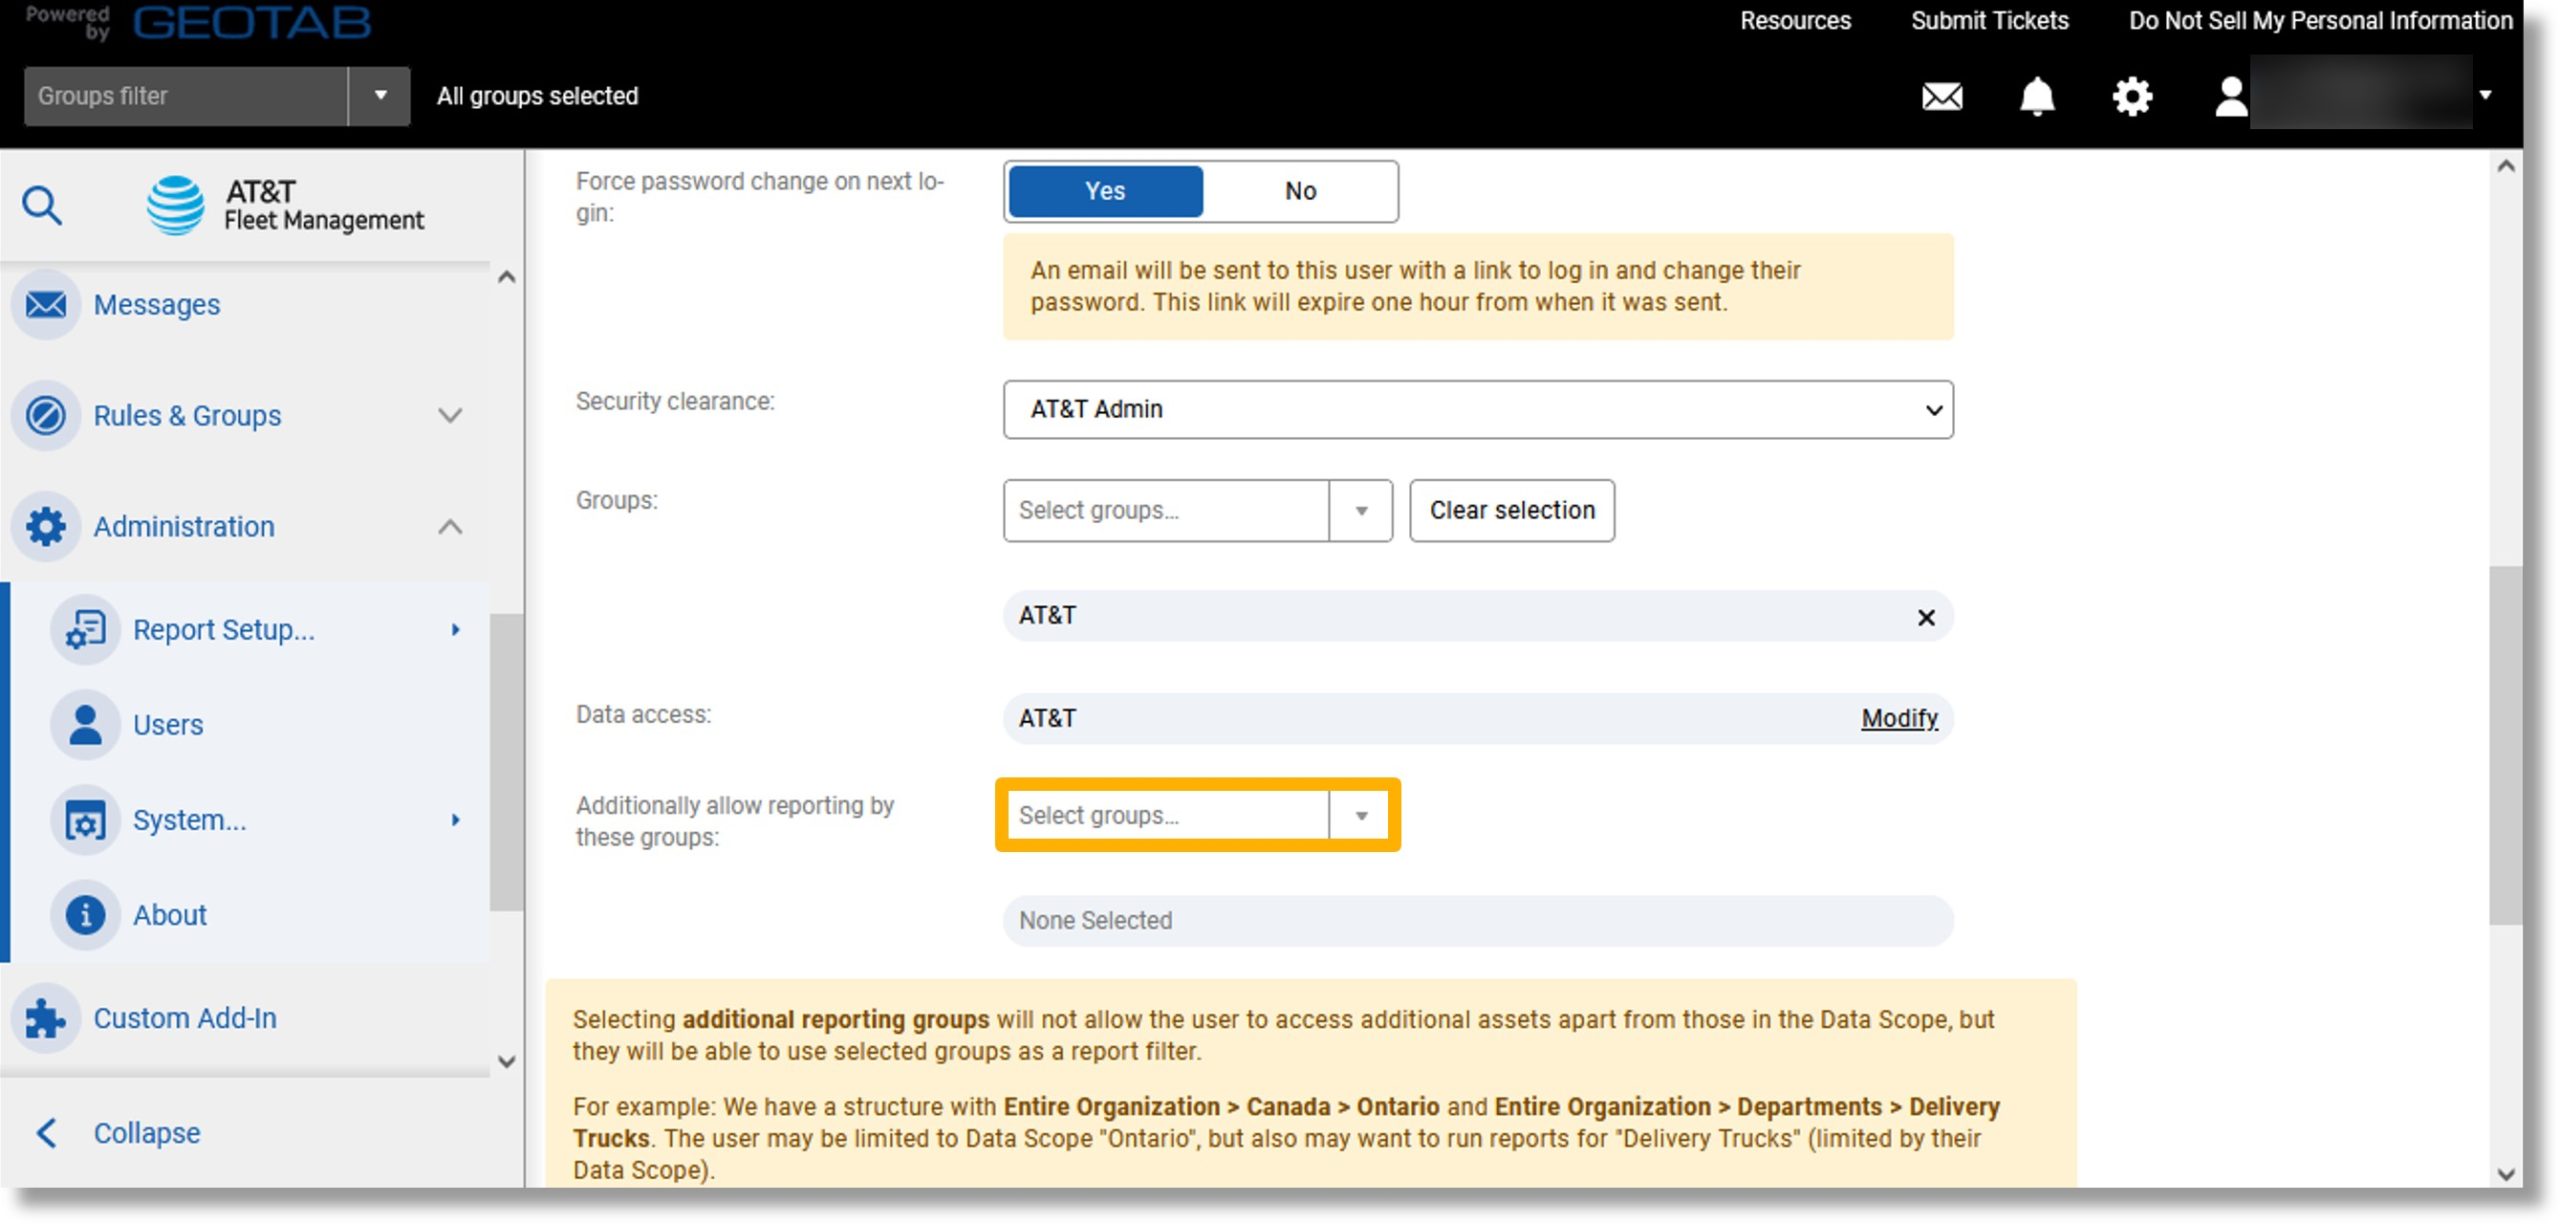
- Enter or select an item from the drop down list and scroll down.
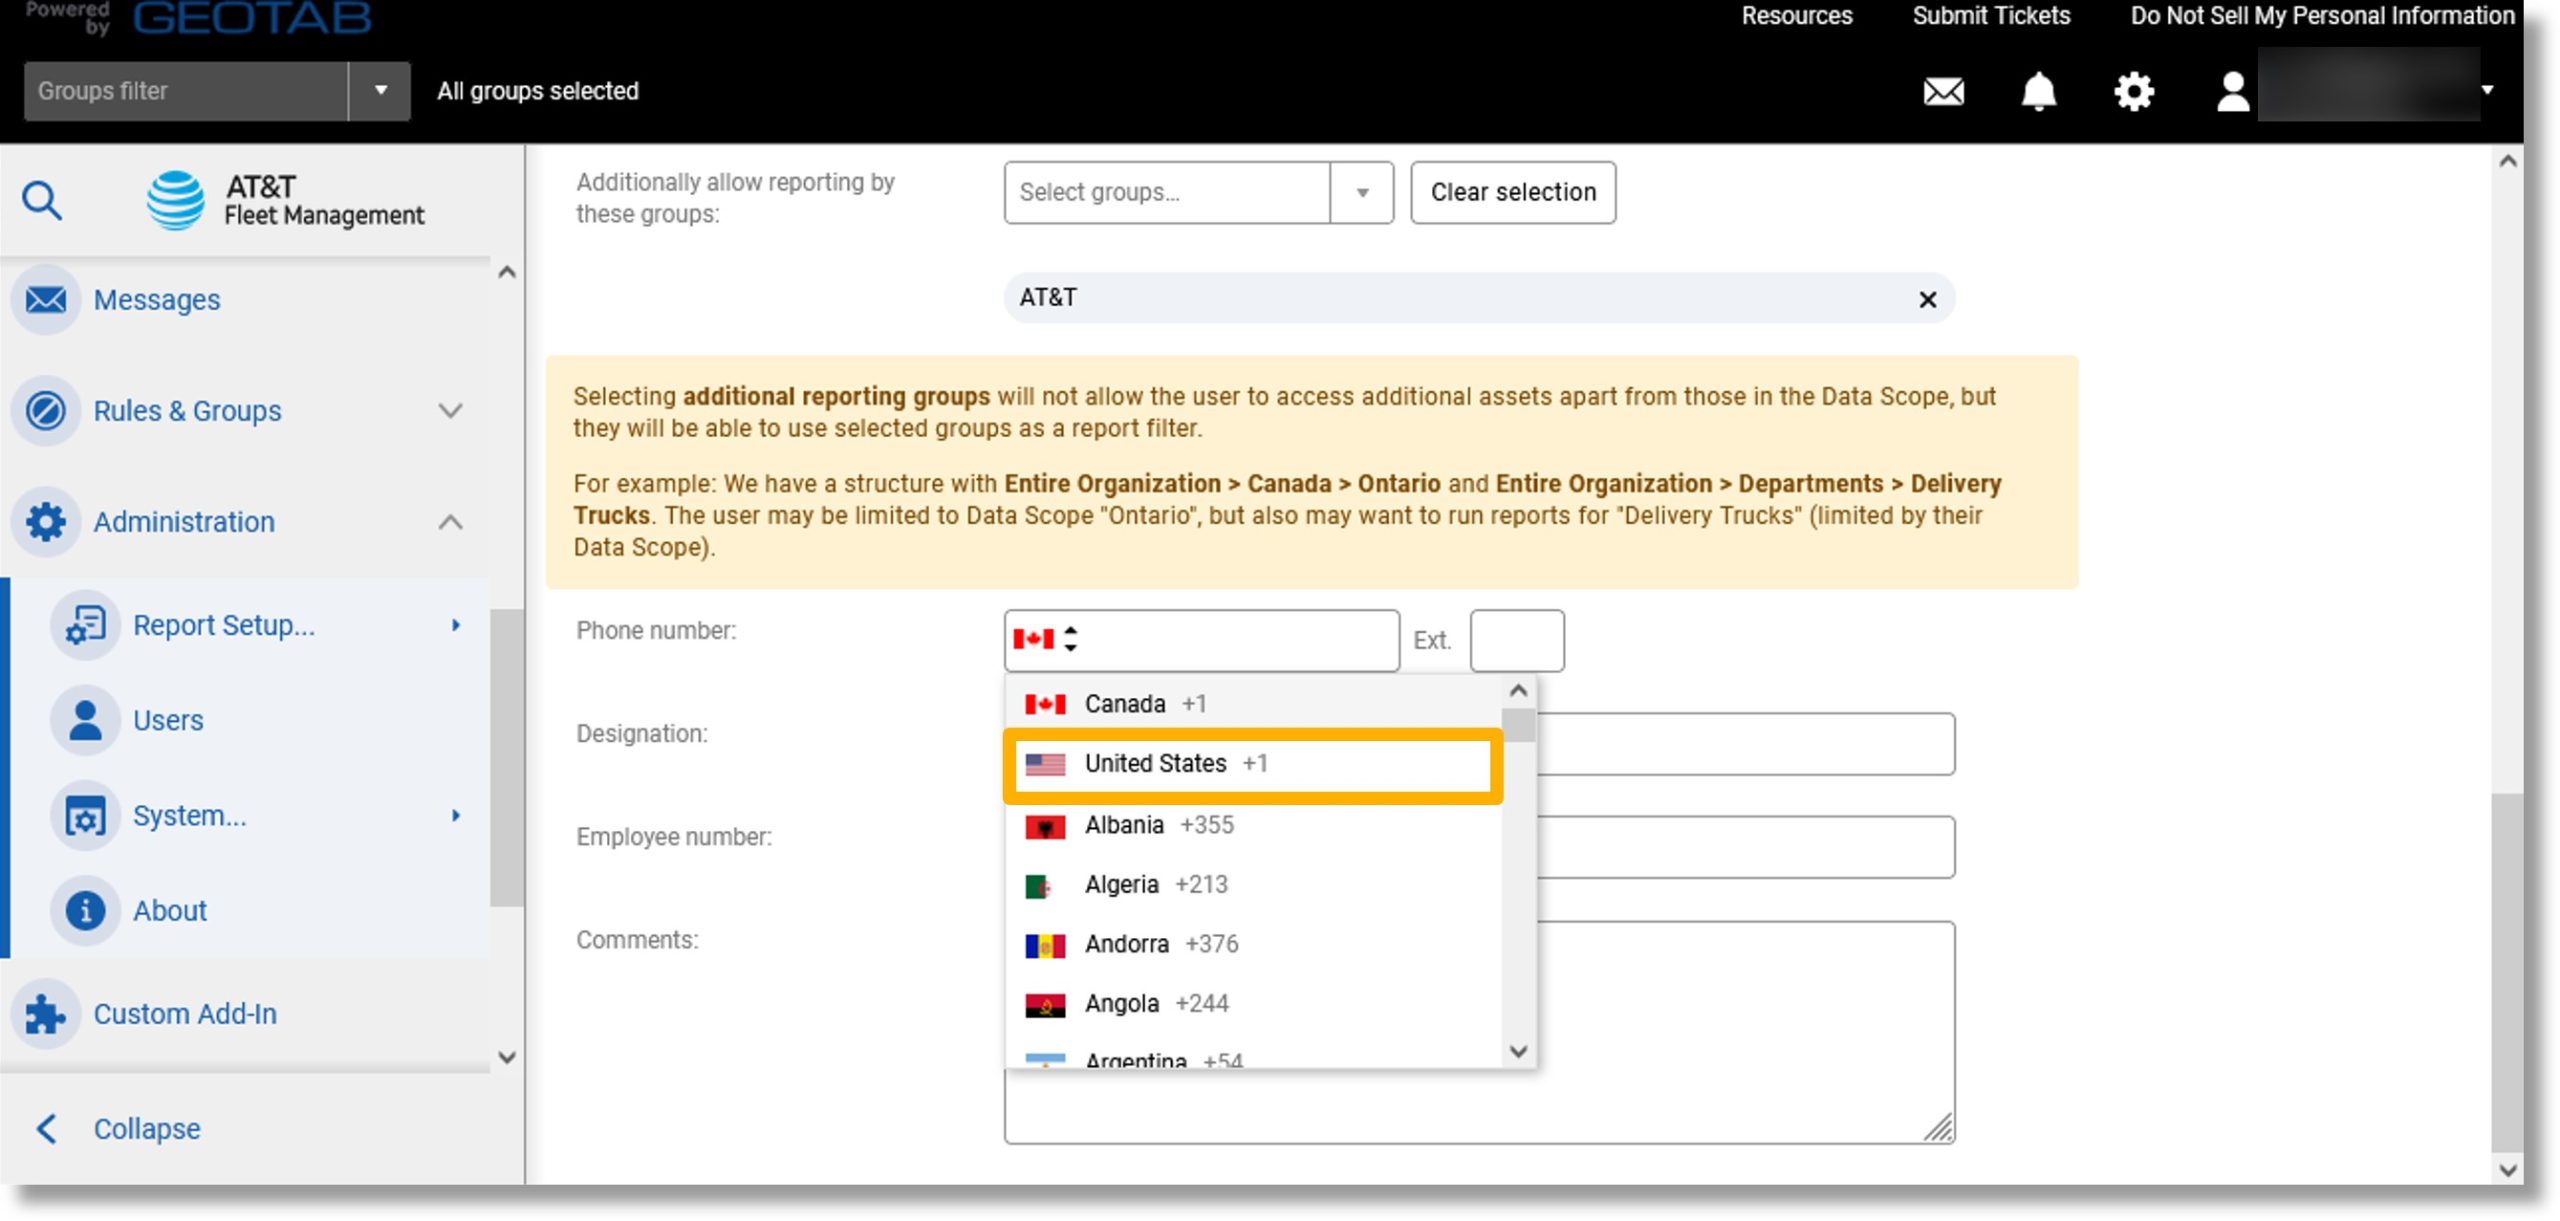
- Click on the flag to the right of “Phone number”.
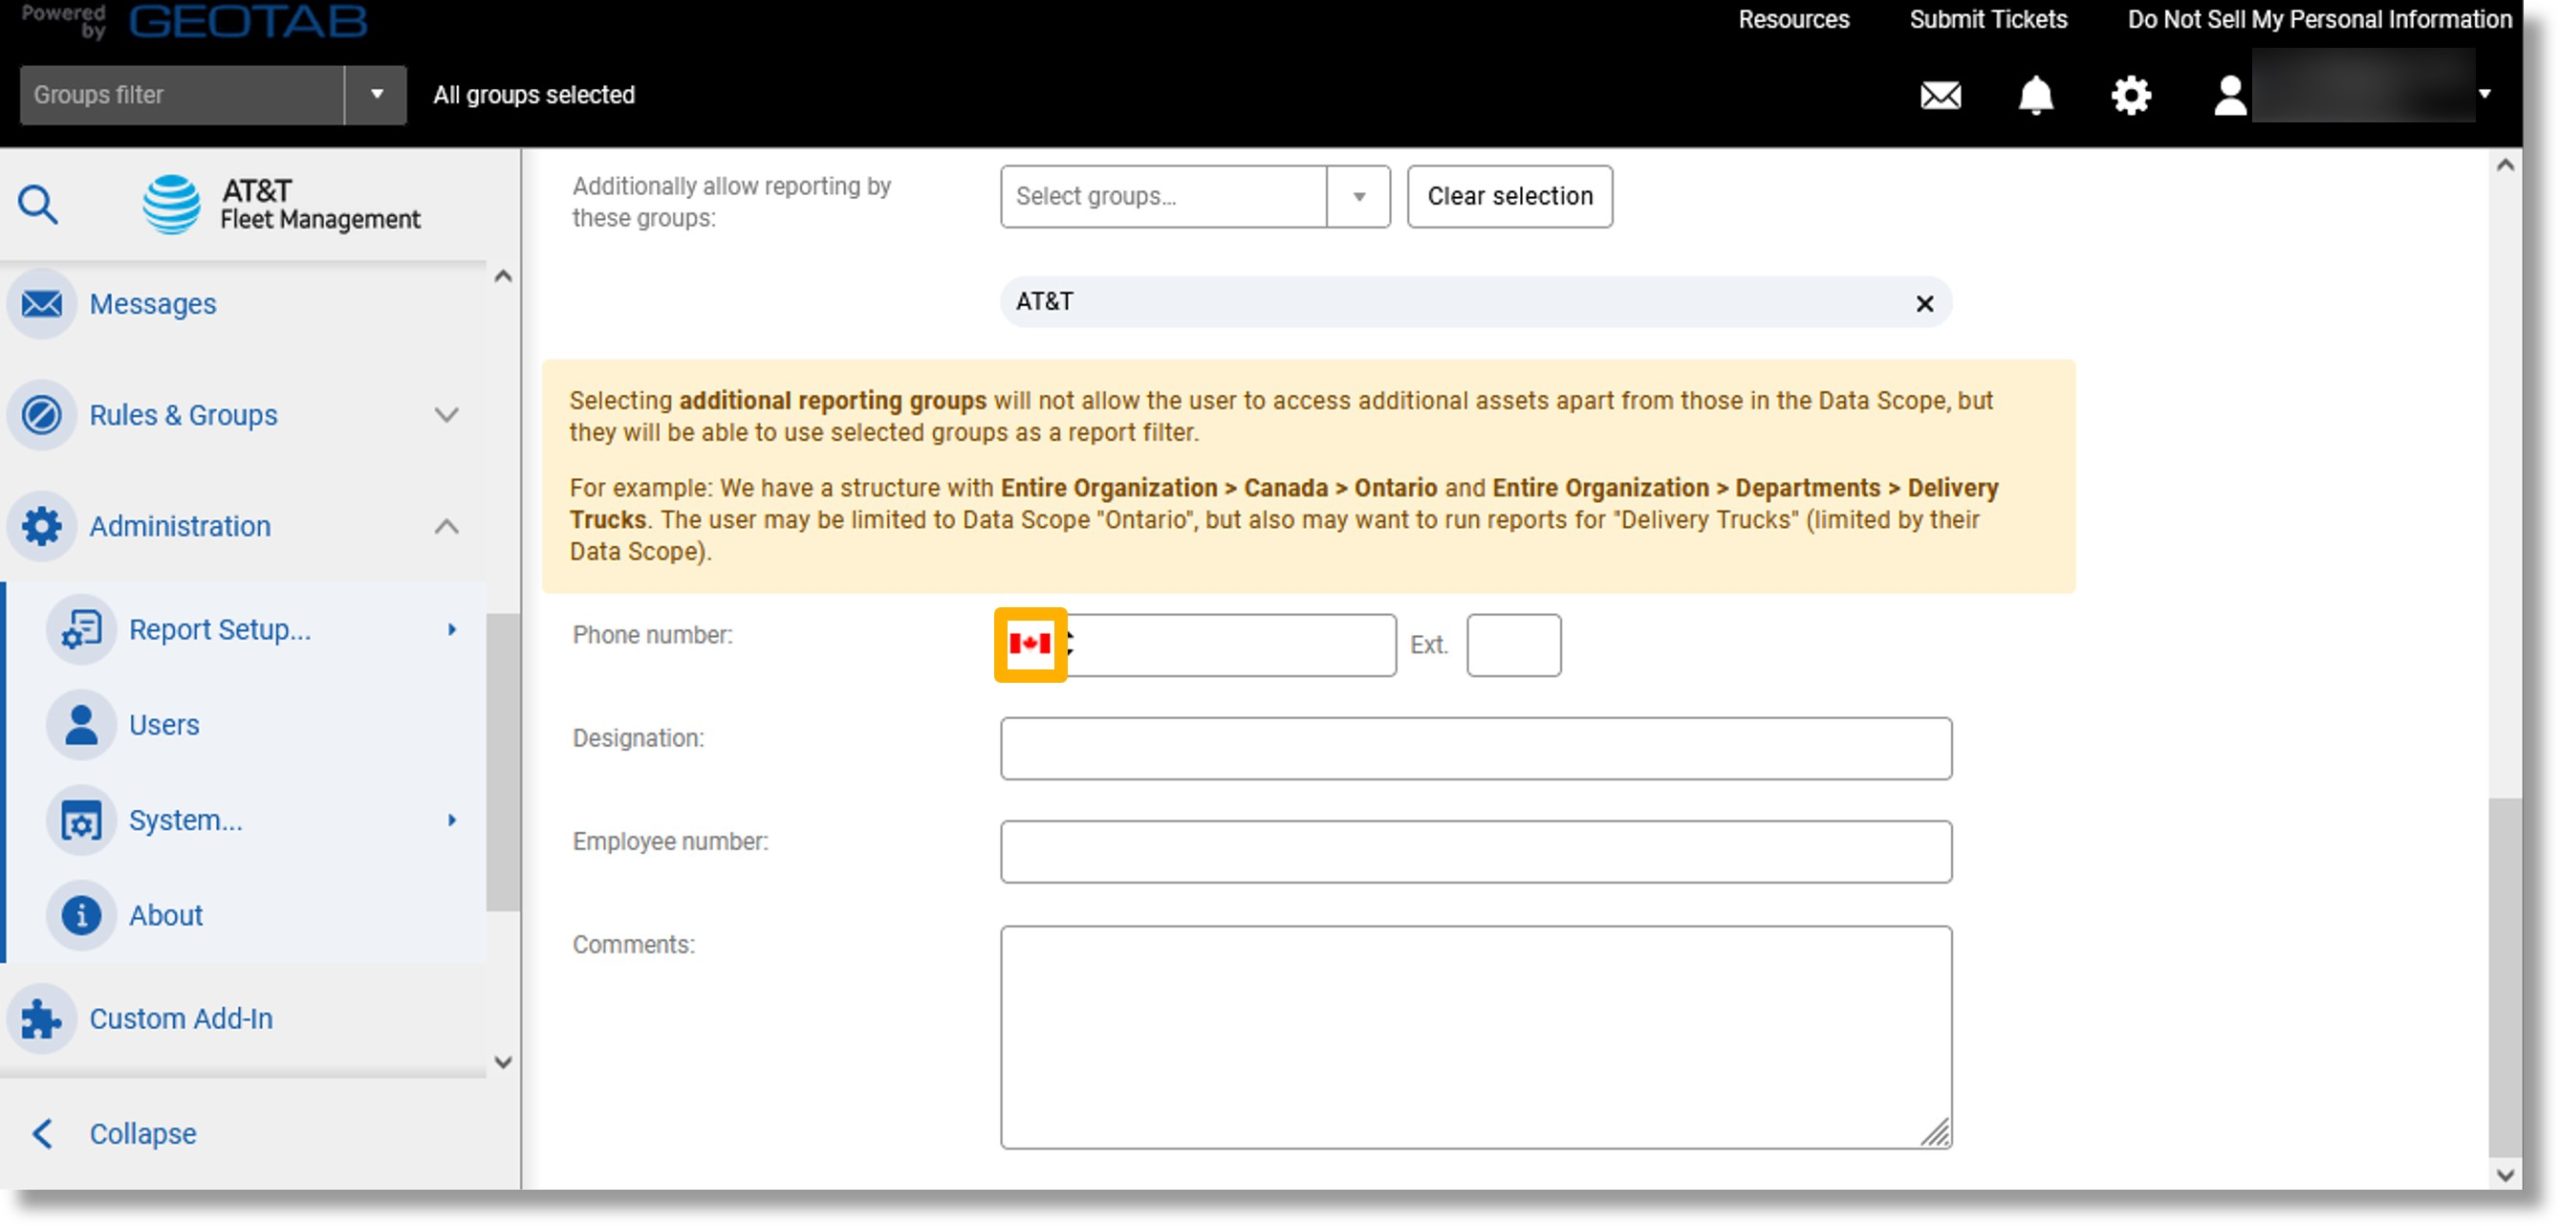
- Select the desired country in the list.
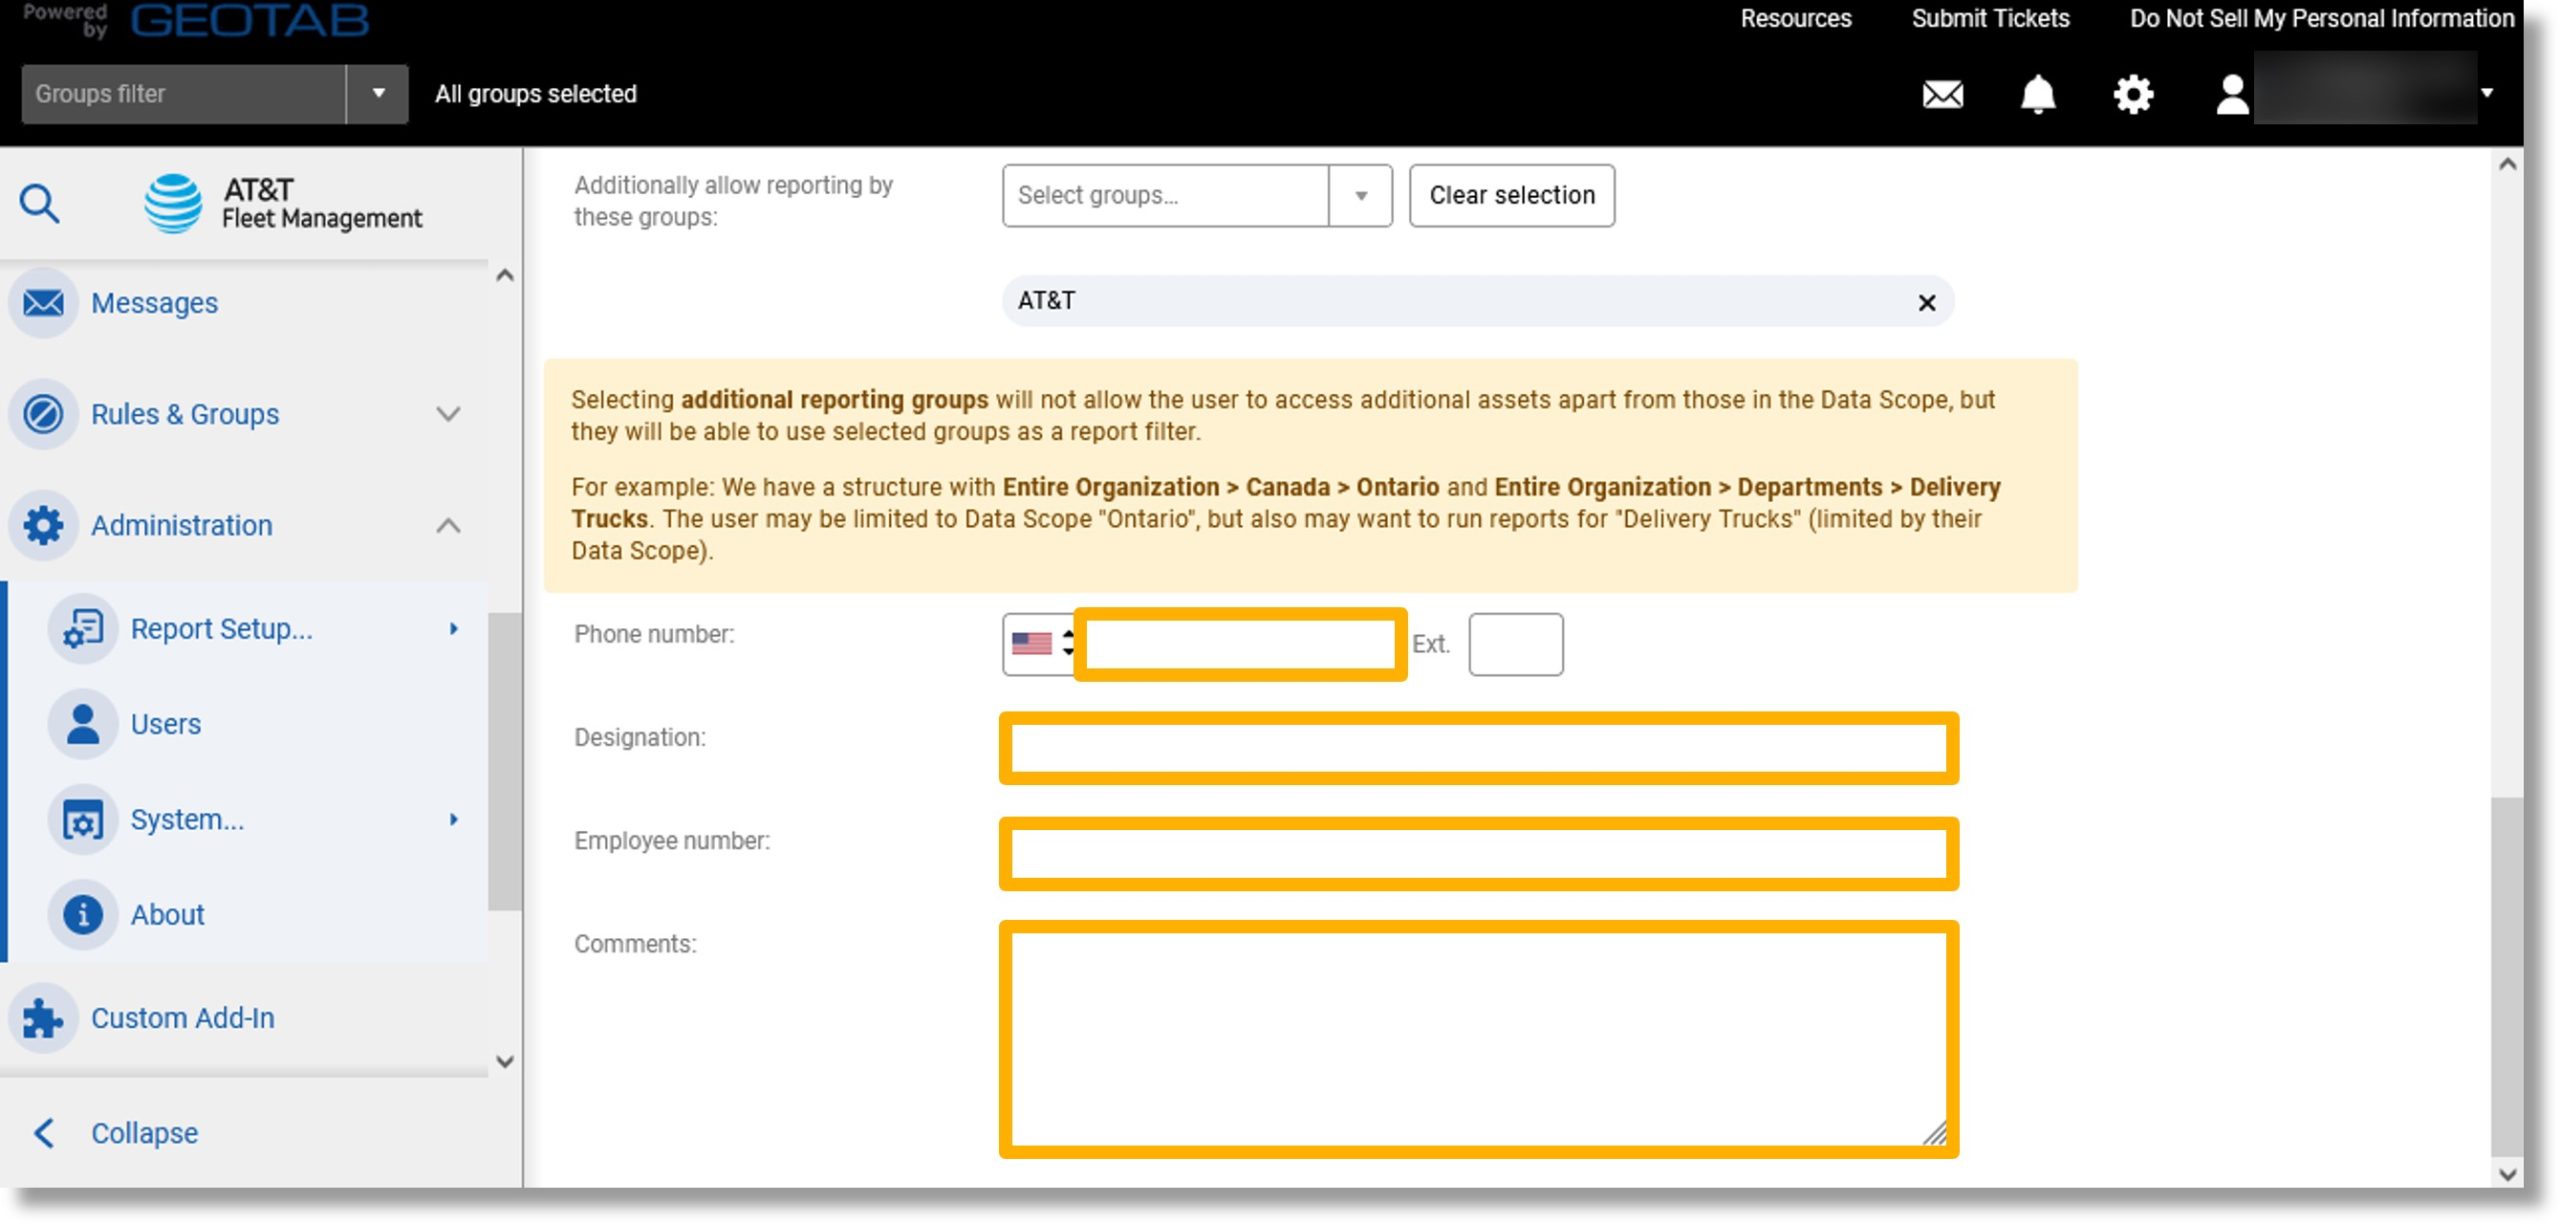
- Click in the field to the right of the flag and enter your phone number.
- Click in the field to the right of “Designation:” and enter the desired user designation.
- Click in the field to the right of “Employee number:” and enter your employee’s ID.
- Click in the field to the right of “Comments:” and enter any desired comments about the user.
- Scroll to the top of the page.
Configure the user as a driver
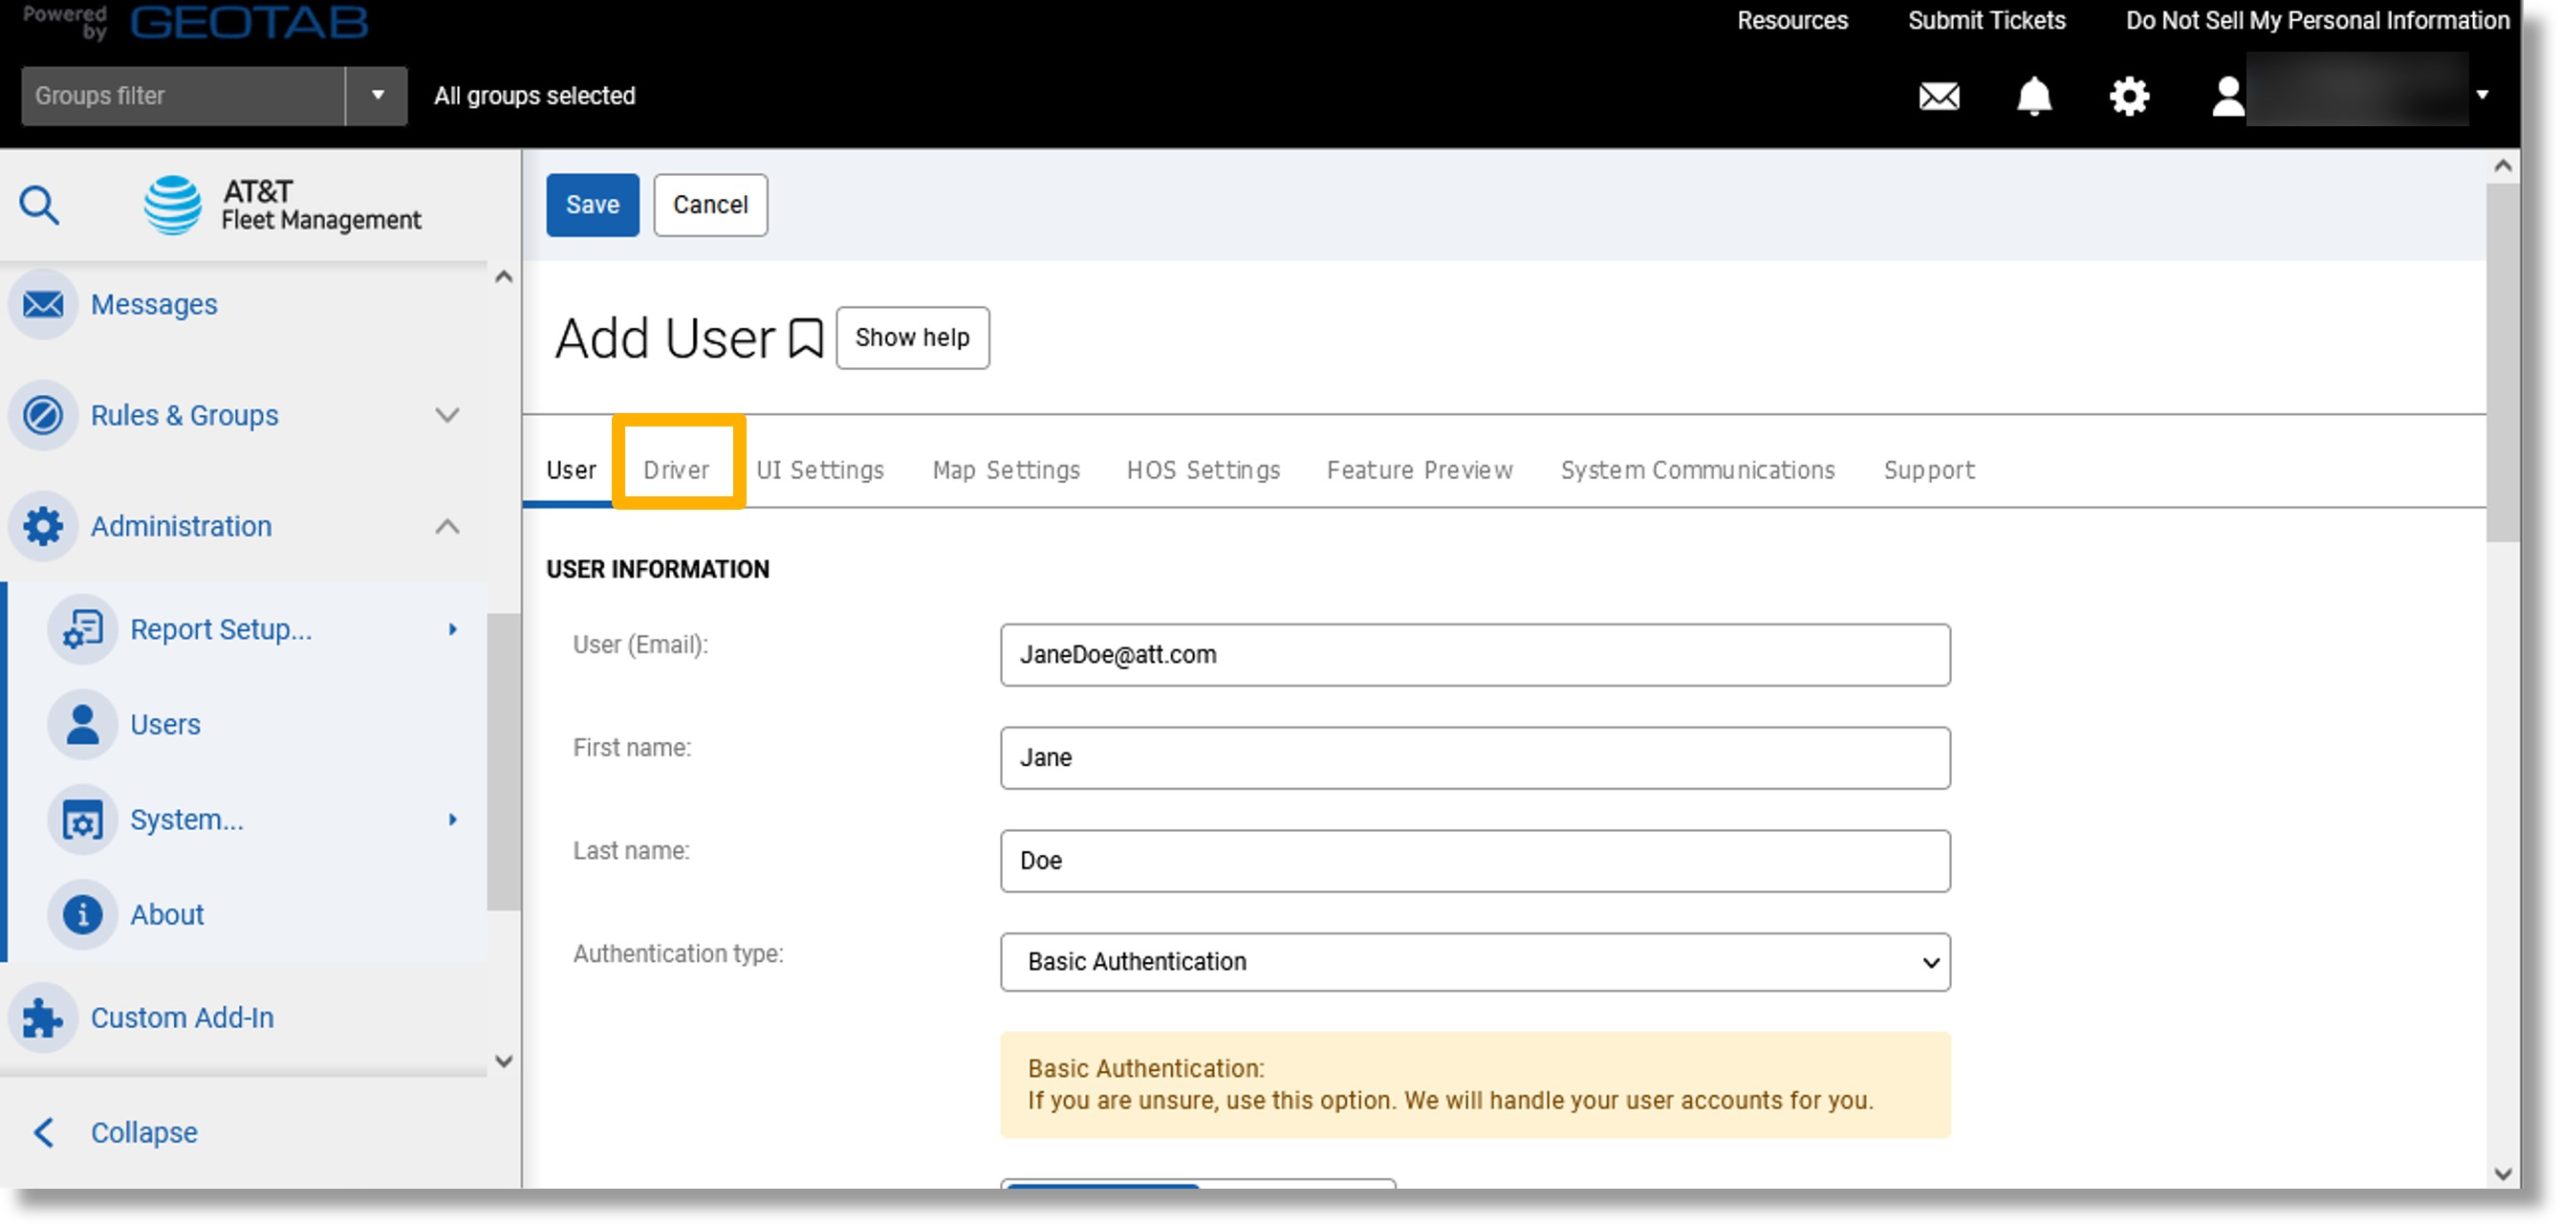
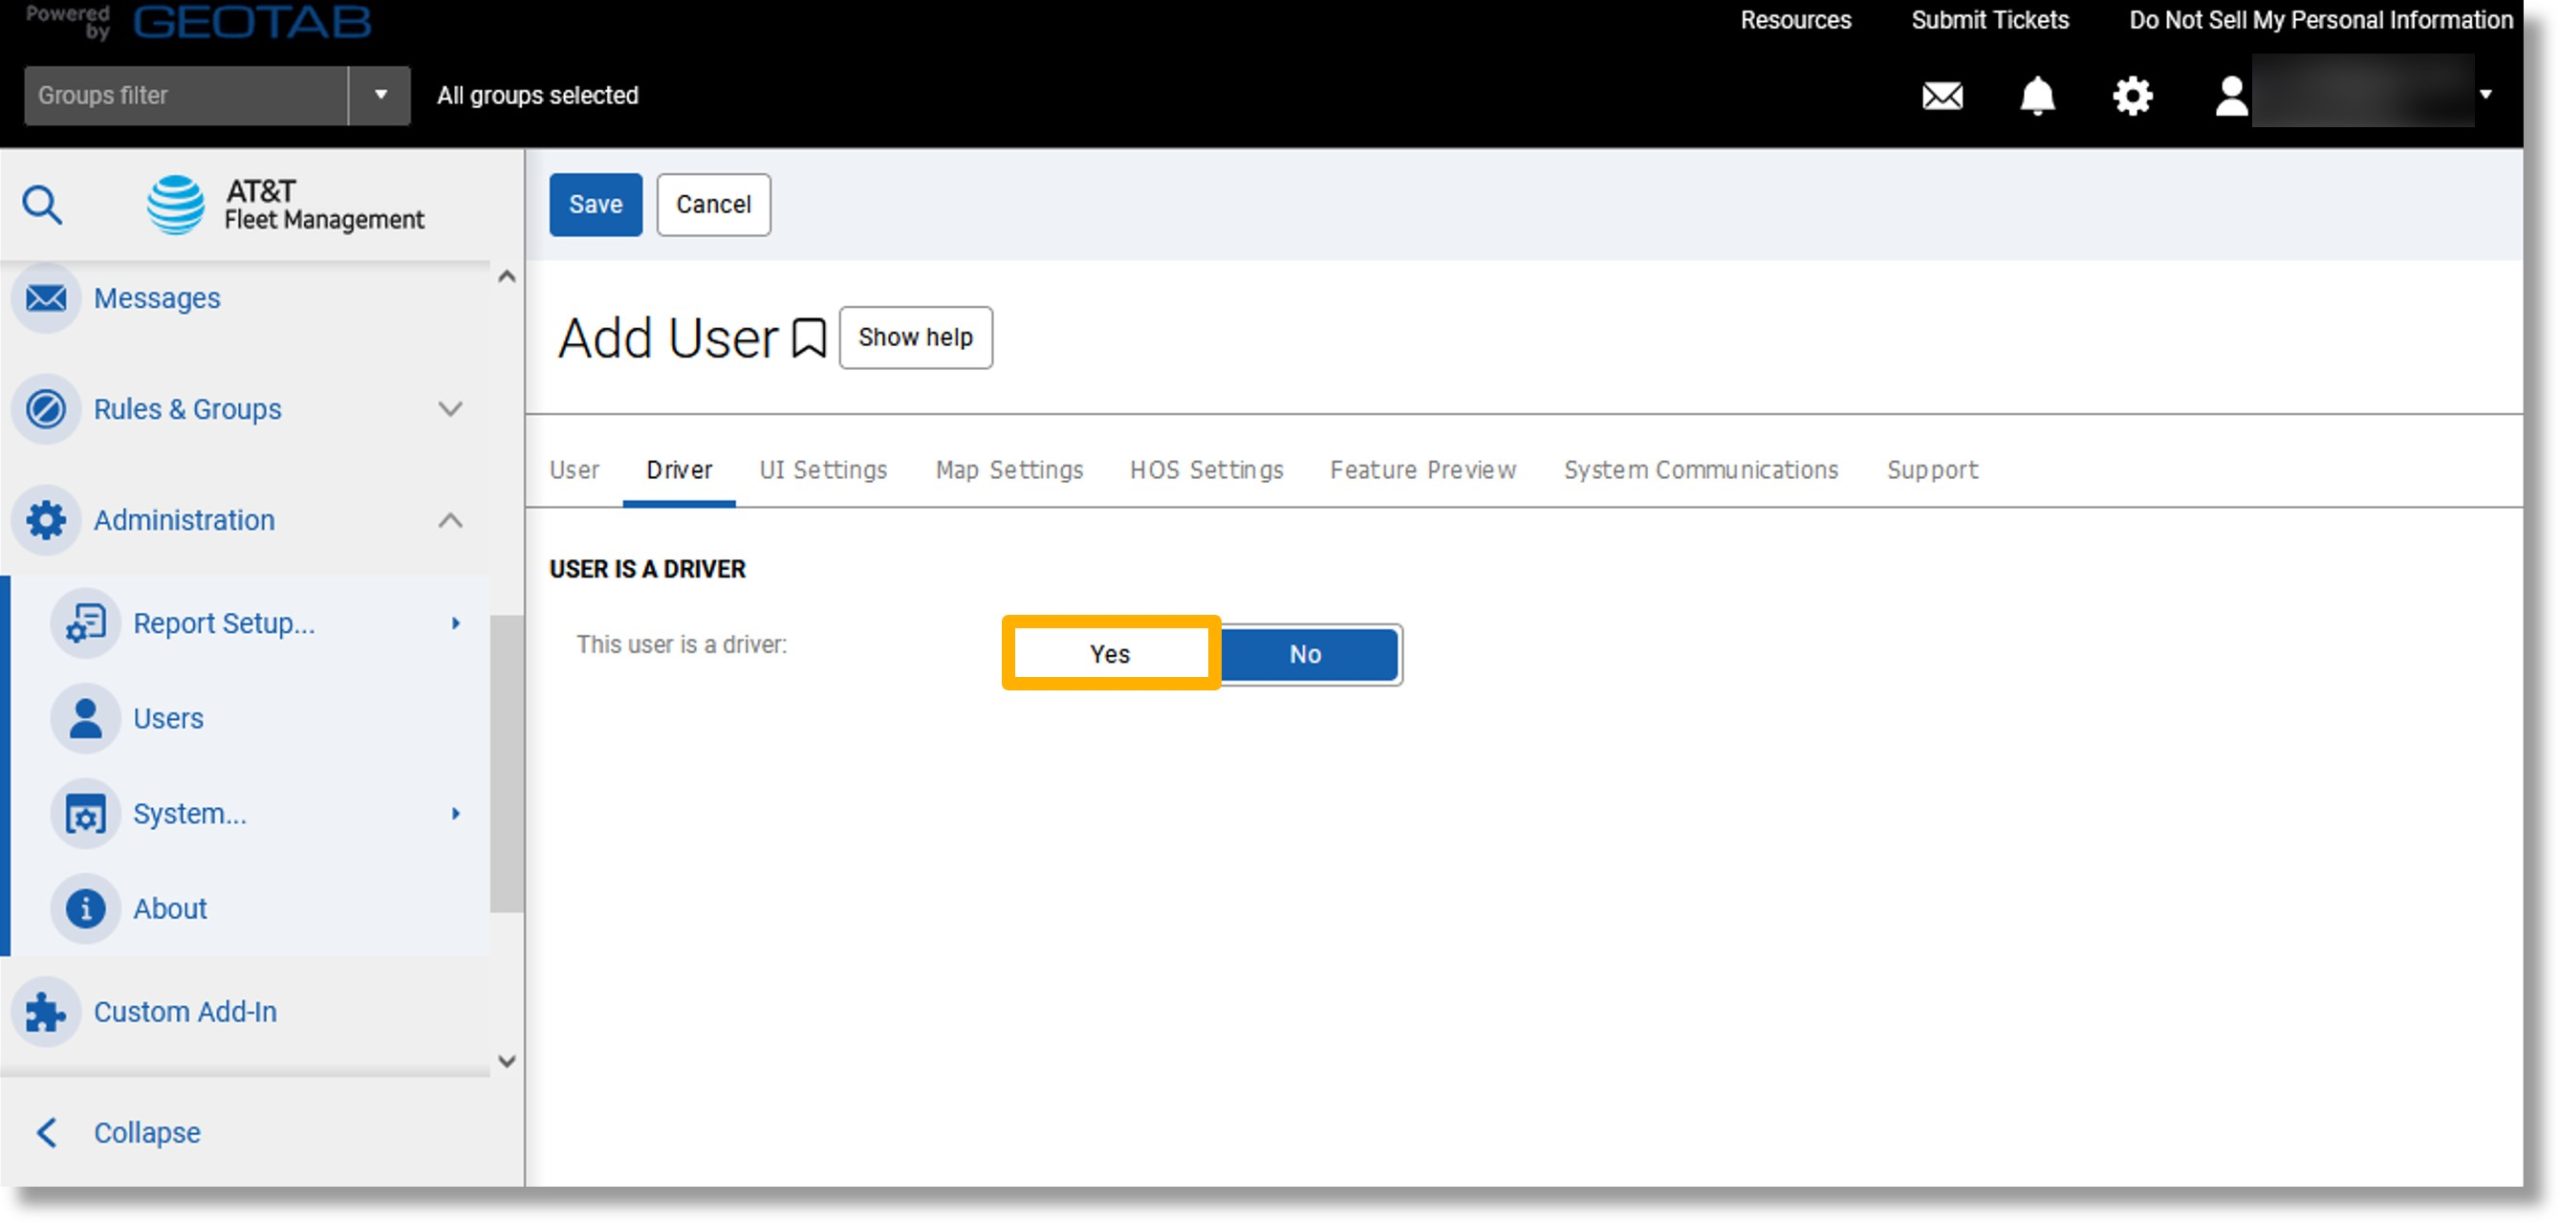
- Click on the Driver tab.
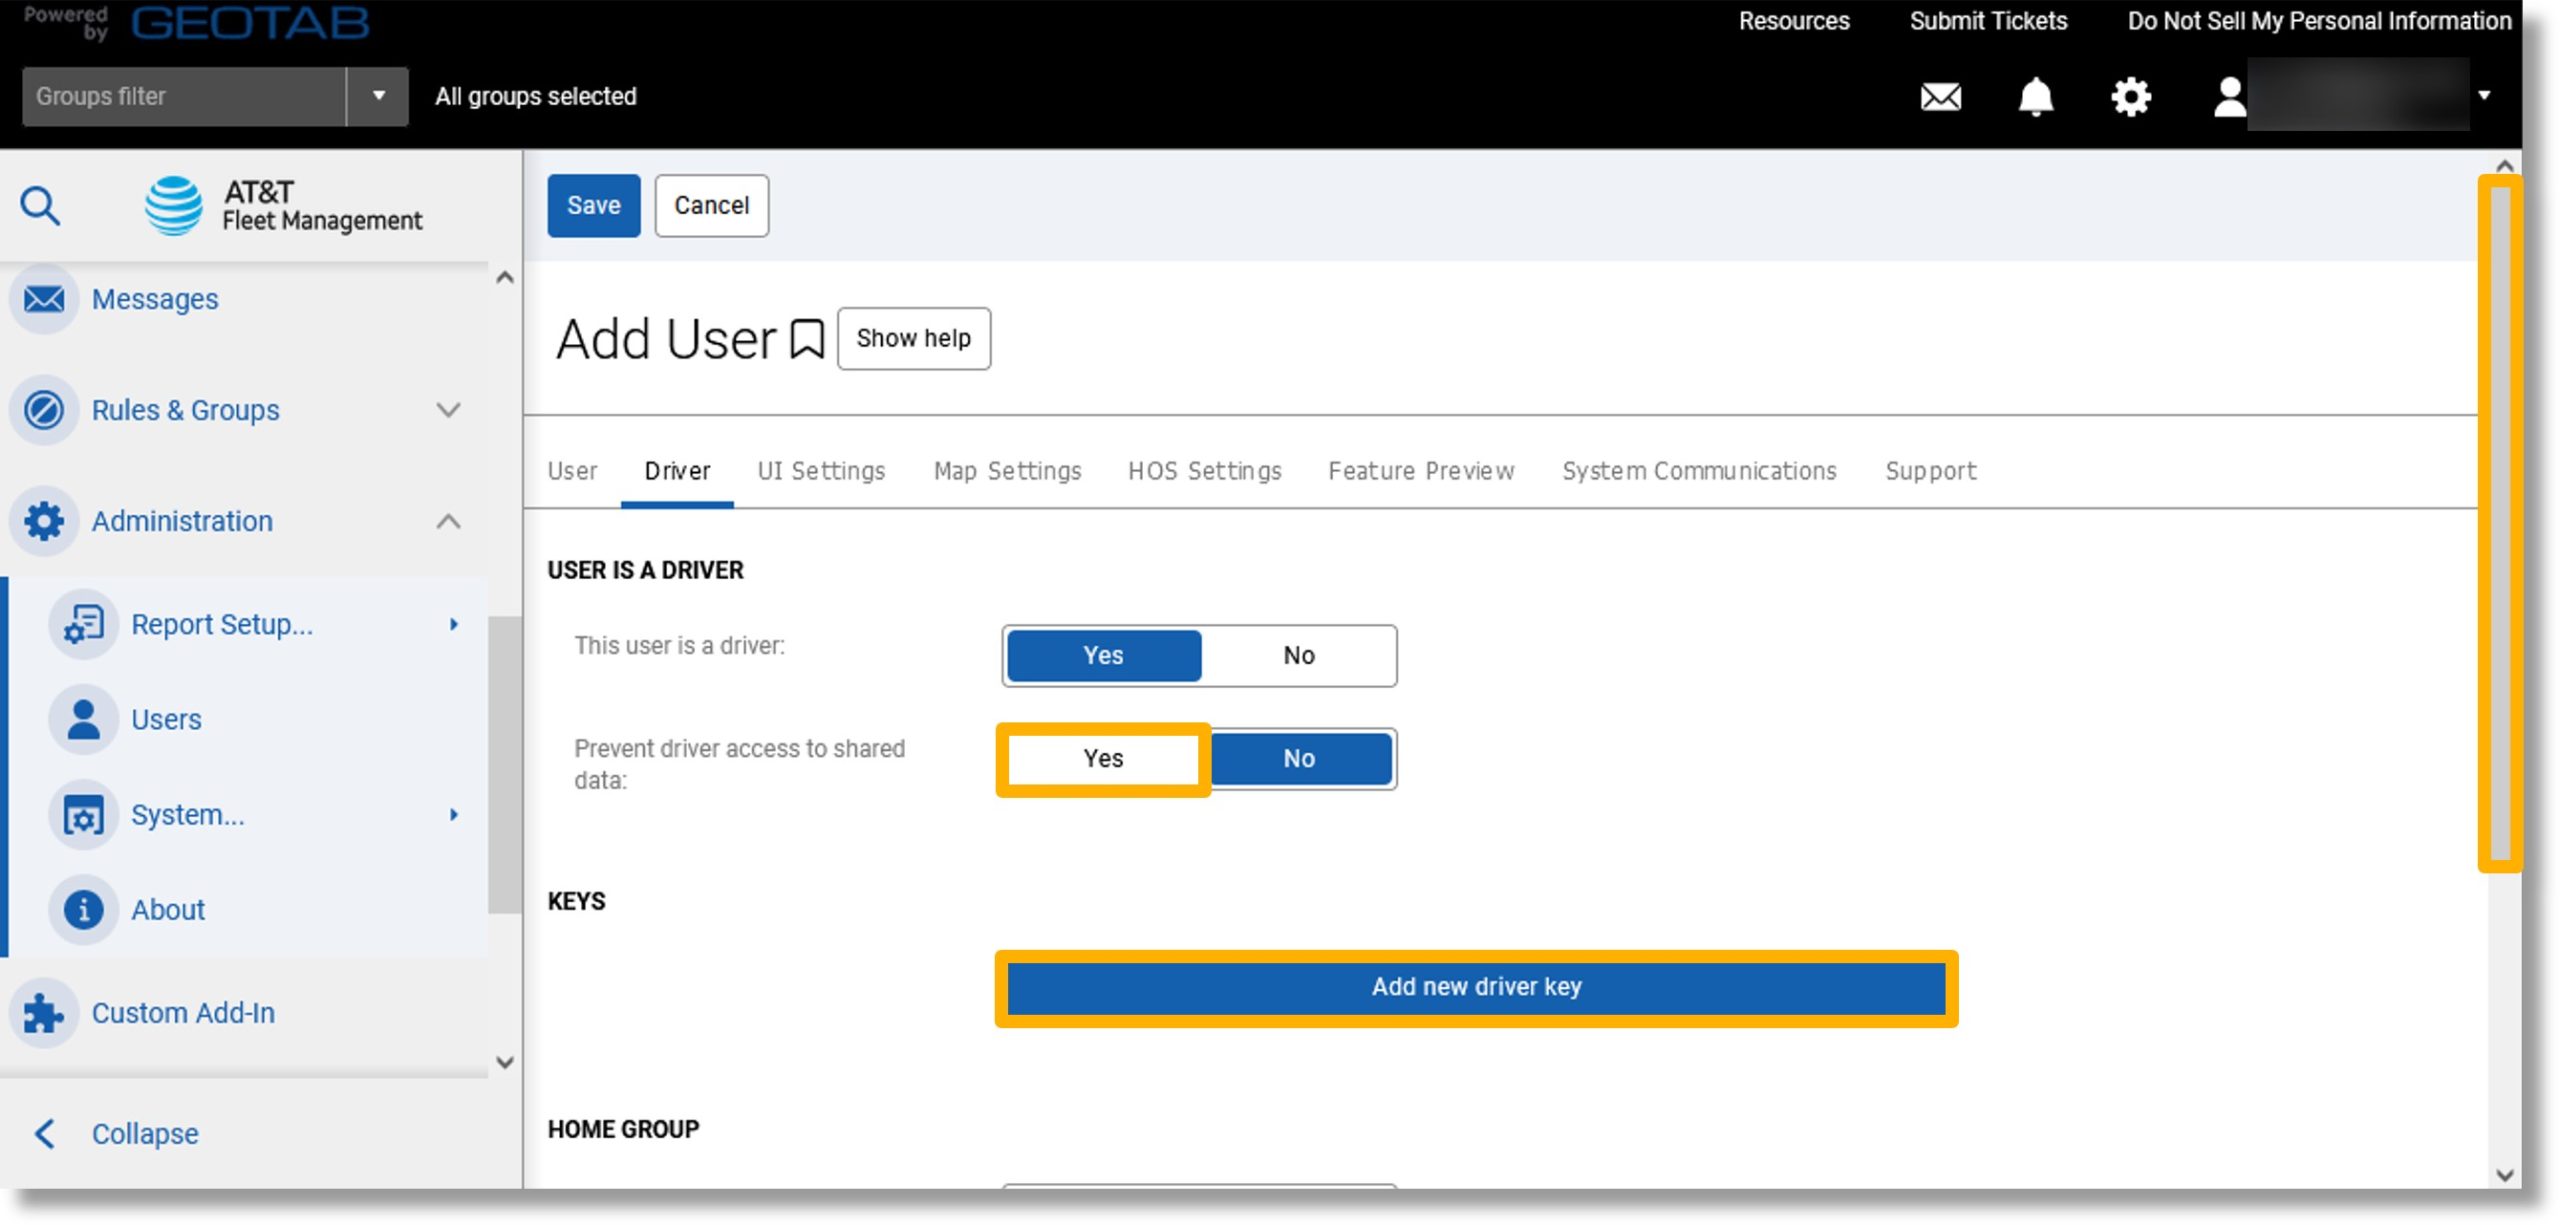
- Click on Yes to the right of “This user is a driver:”.
- Click Yes or No to the right of “Prevent driver access to shared data:” to set the desired access.
- Click on Add new drive key to add a driver’s key.
- Click on the drop down to select the key type.
- Click on the field under the drop down and enter the key’s information.
- Click on the checkmark to save the key or the X to delete the key.
Note: In this case, we will not enter a user key.
- Scroll down.
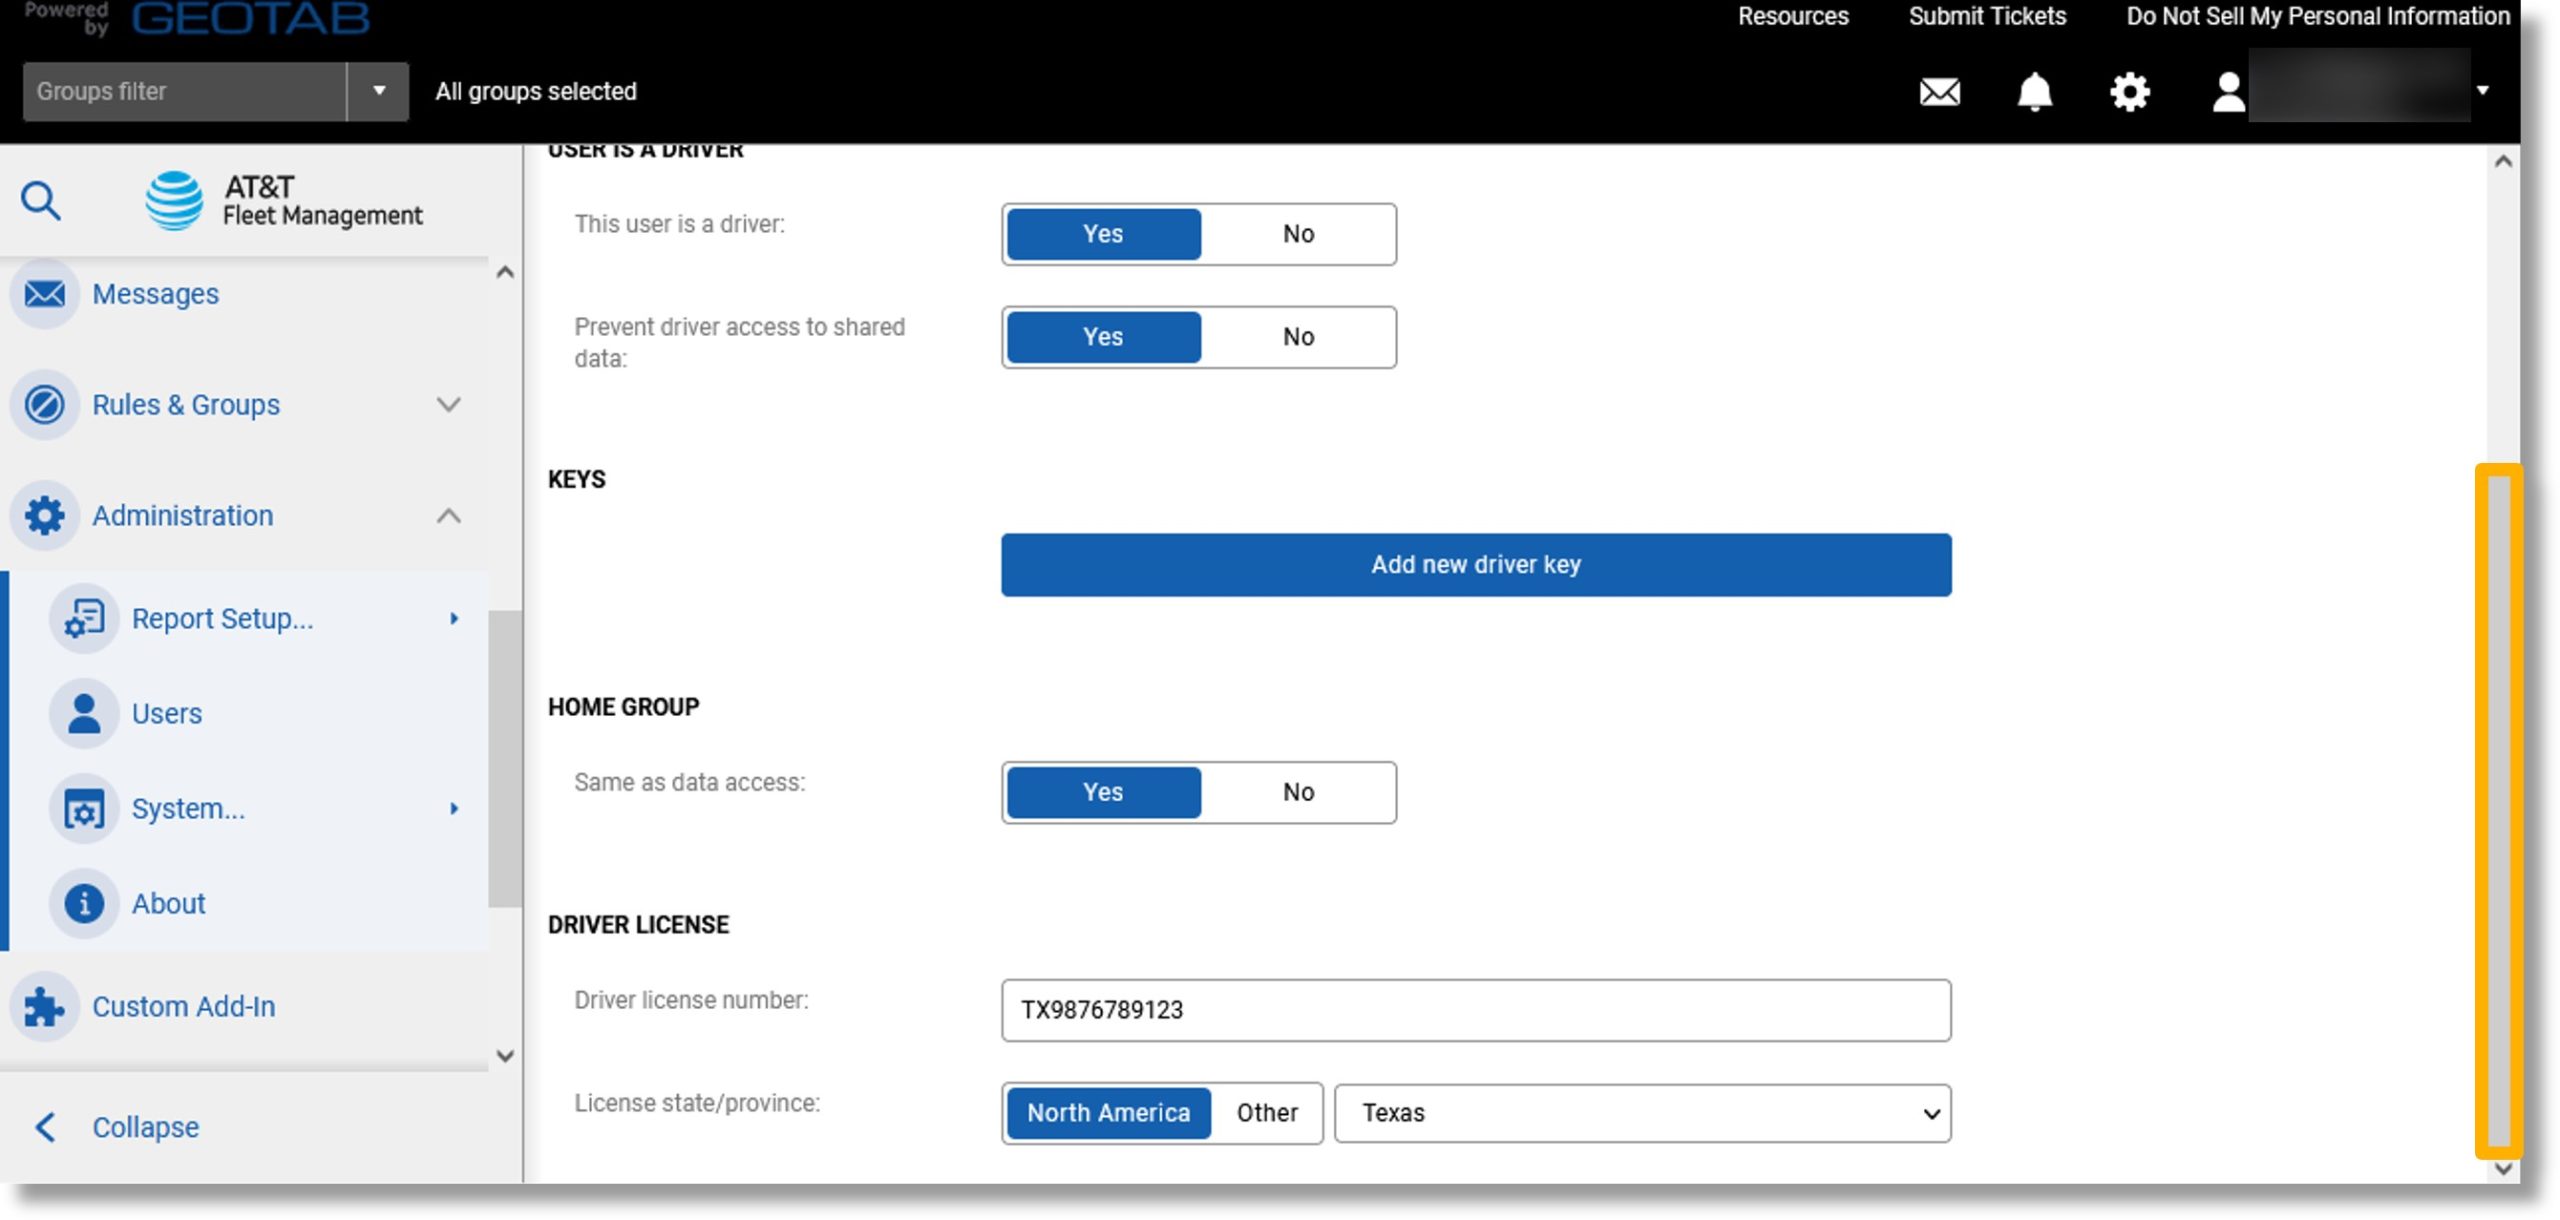
- Click Yes or No to the right of “Same as data access”.
- Click on the field to the right of “Driver license number:” and enter your user’s Driver’s License Number.
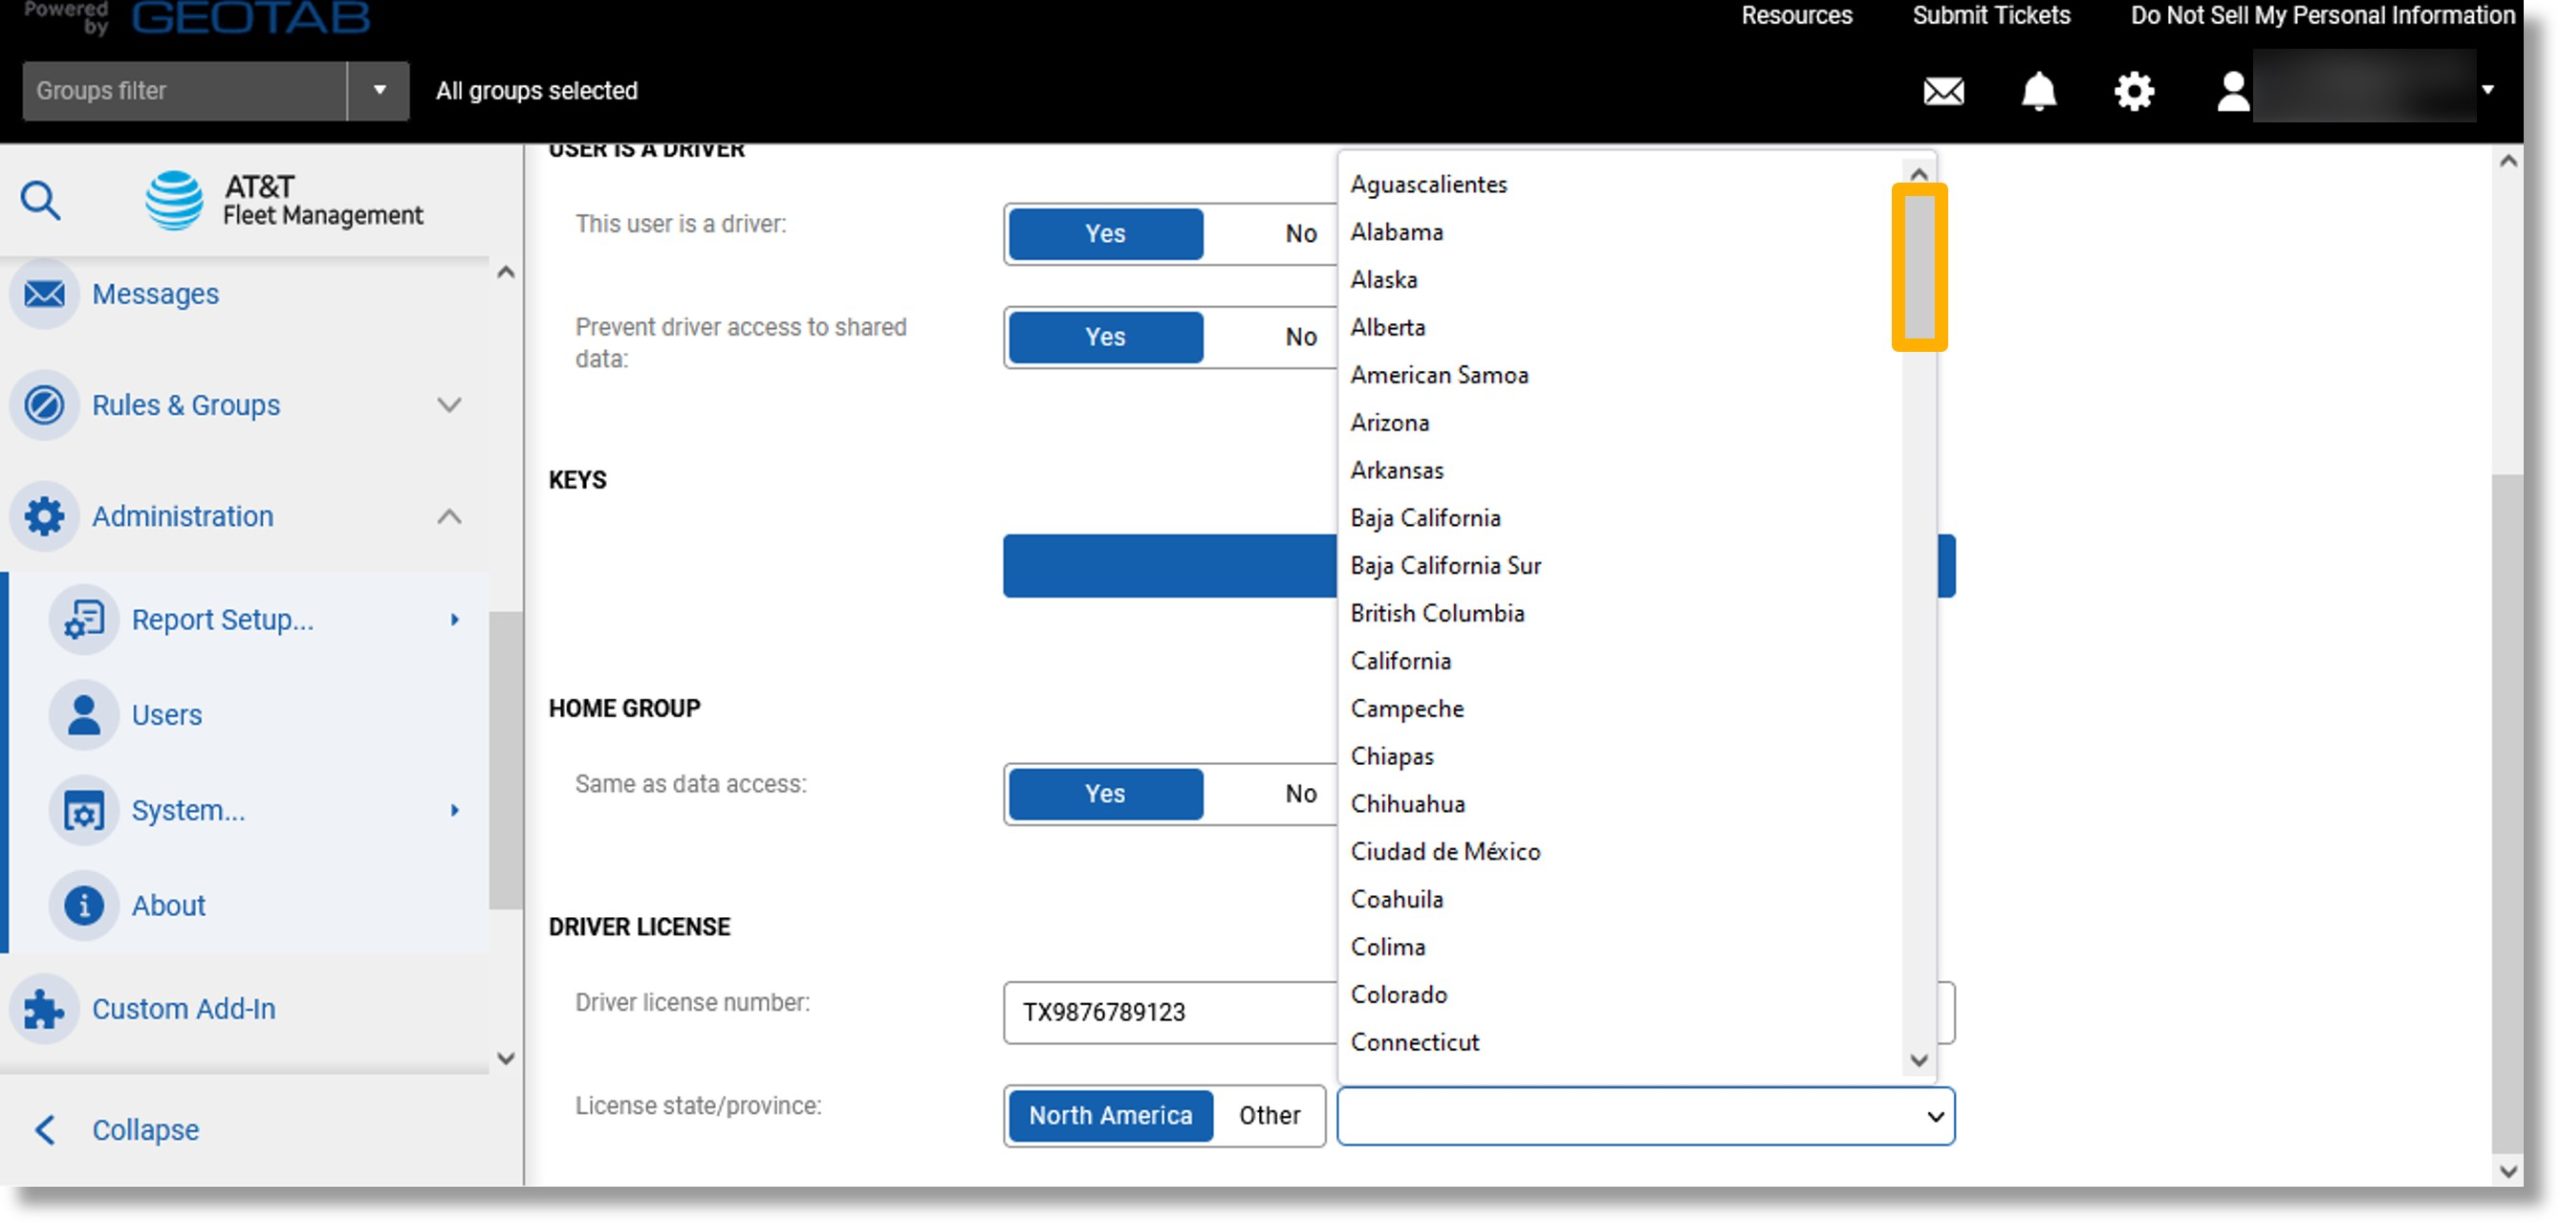
- Click on the drop down to the right of “License state/province:”.

- Scroll to and click on the state that issued the driver’s license.
- Scroll to the top of the page.
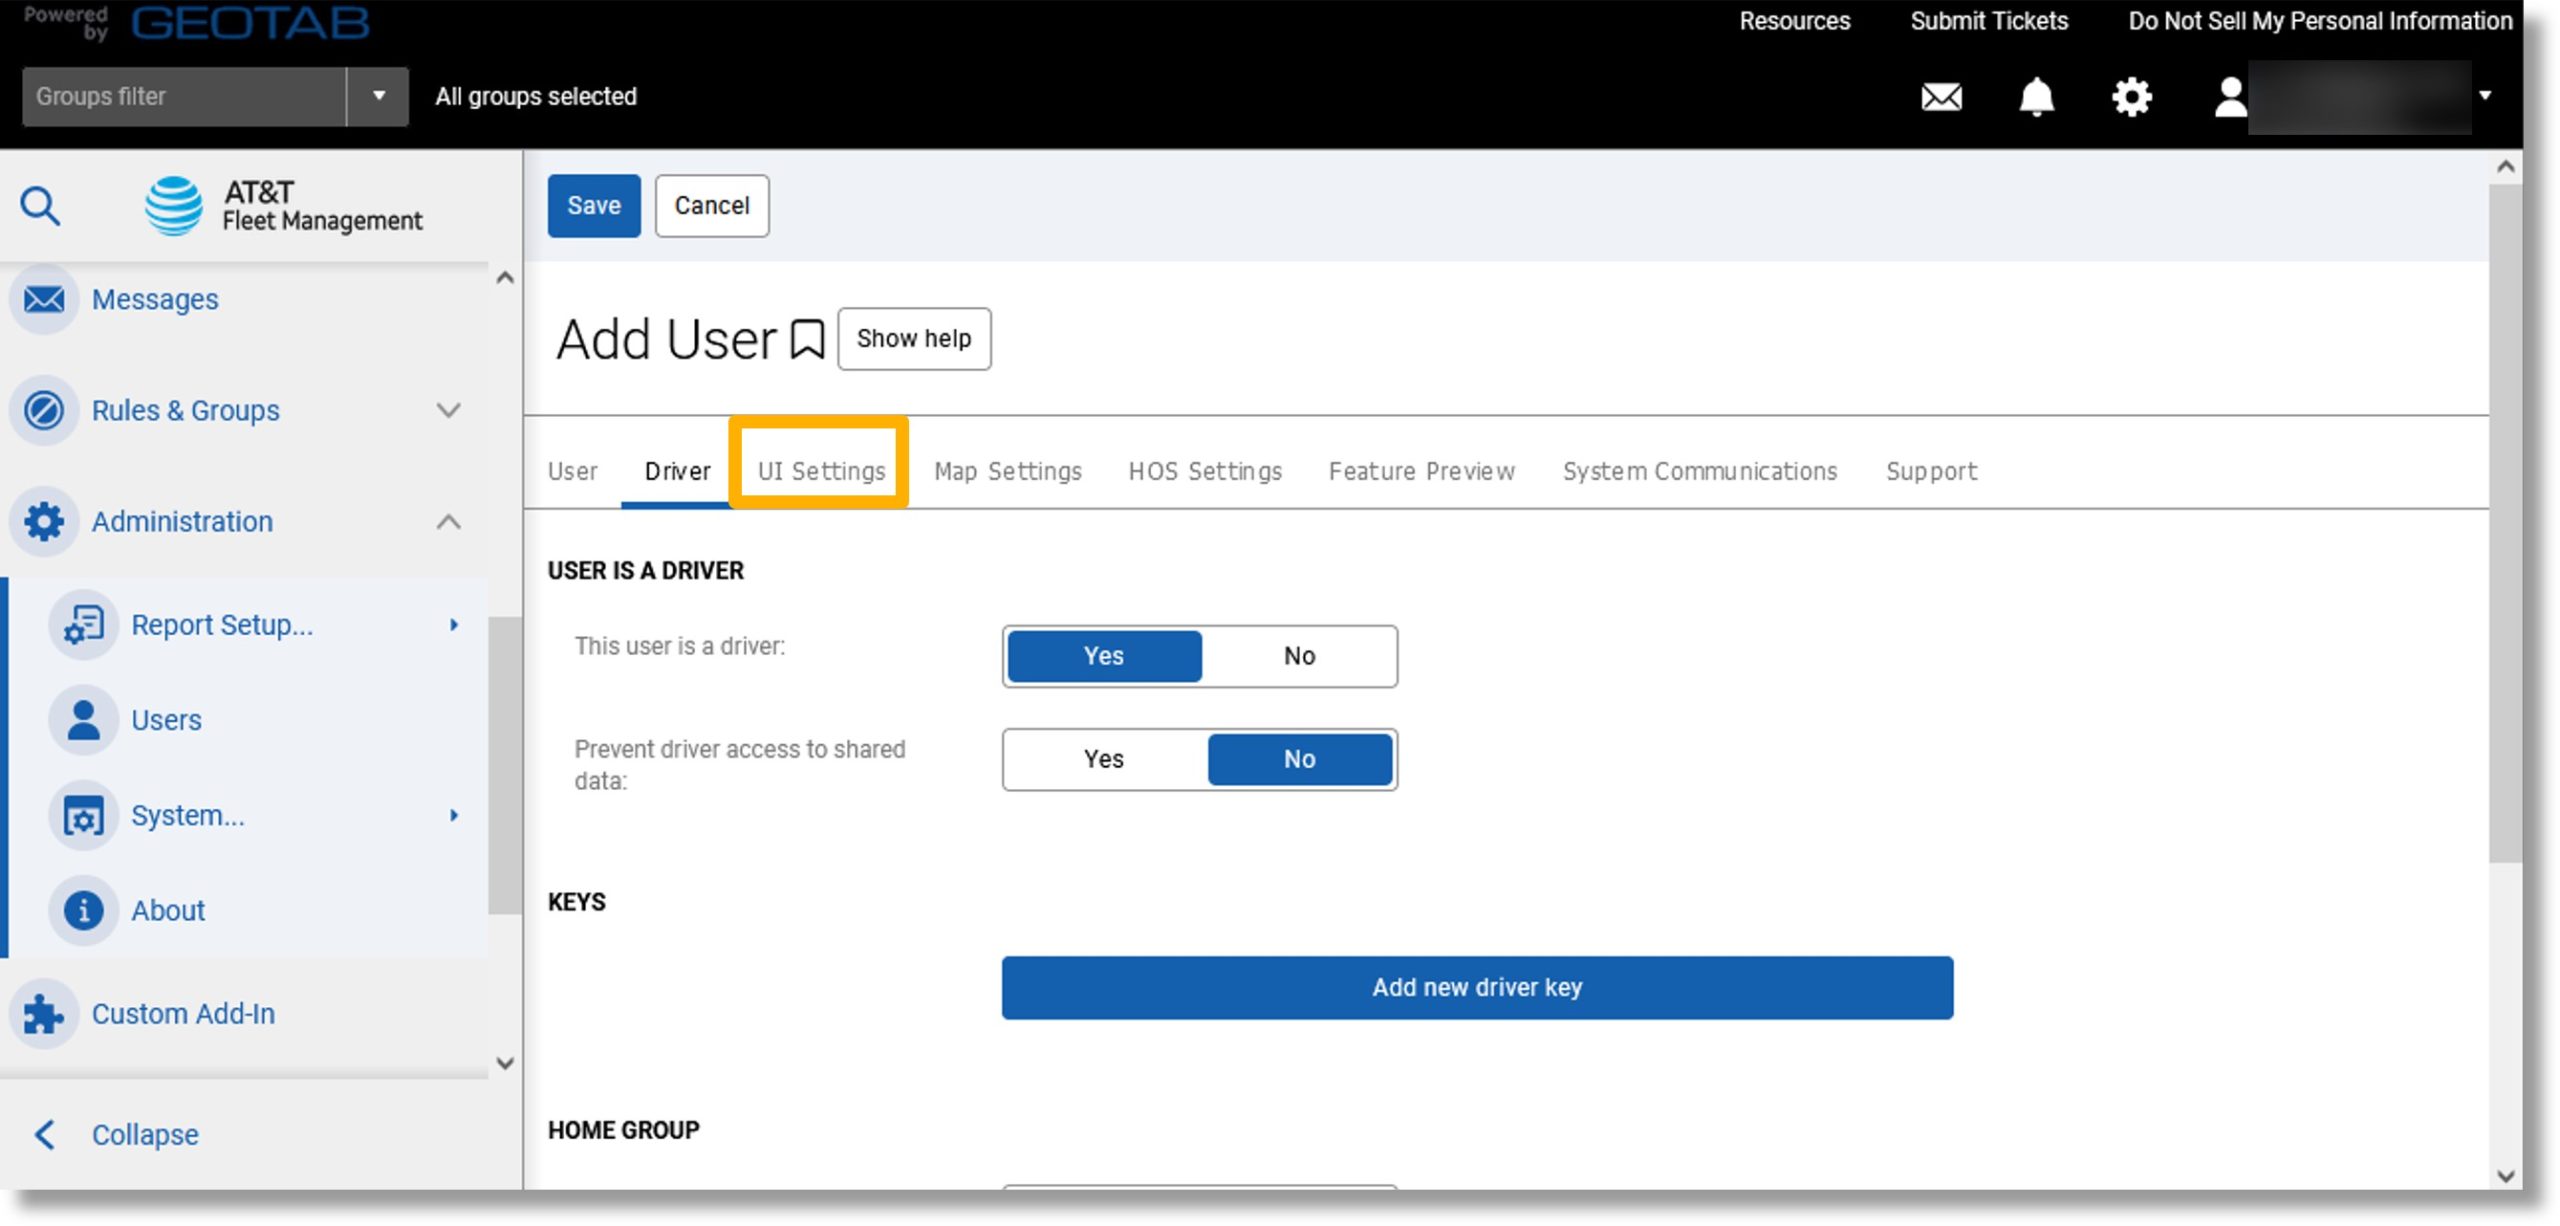
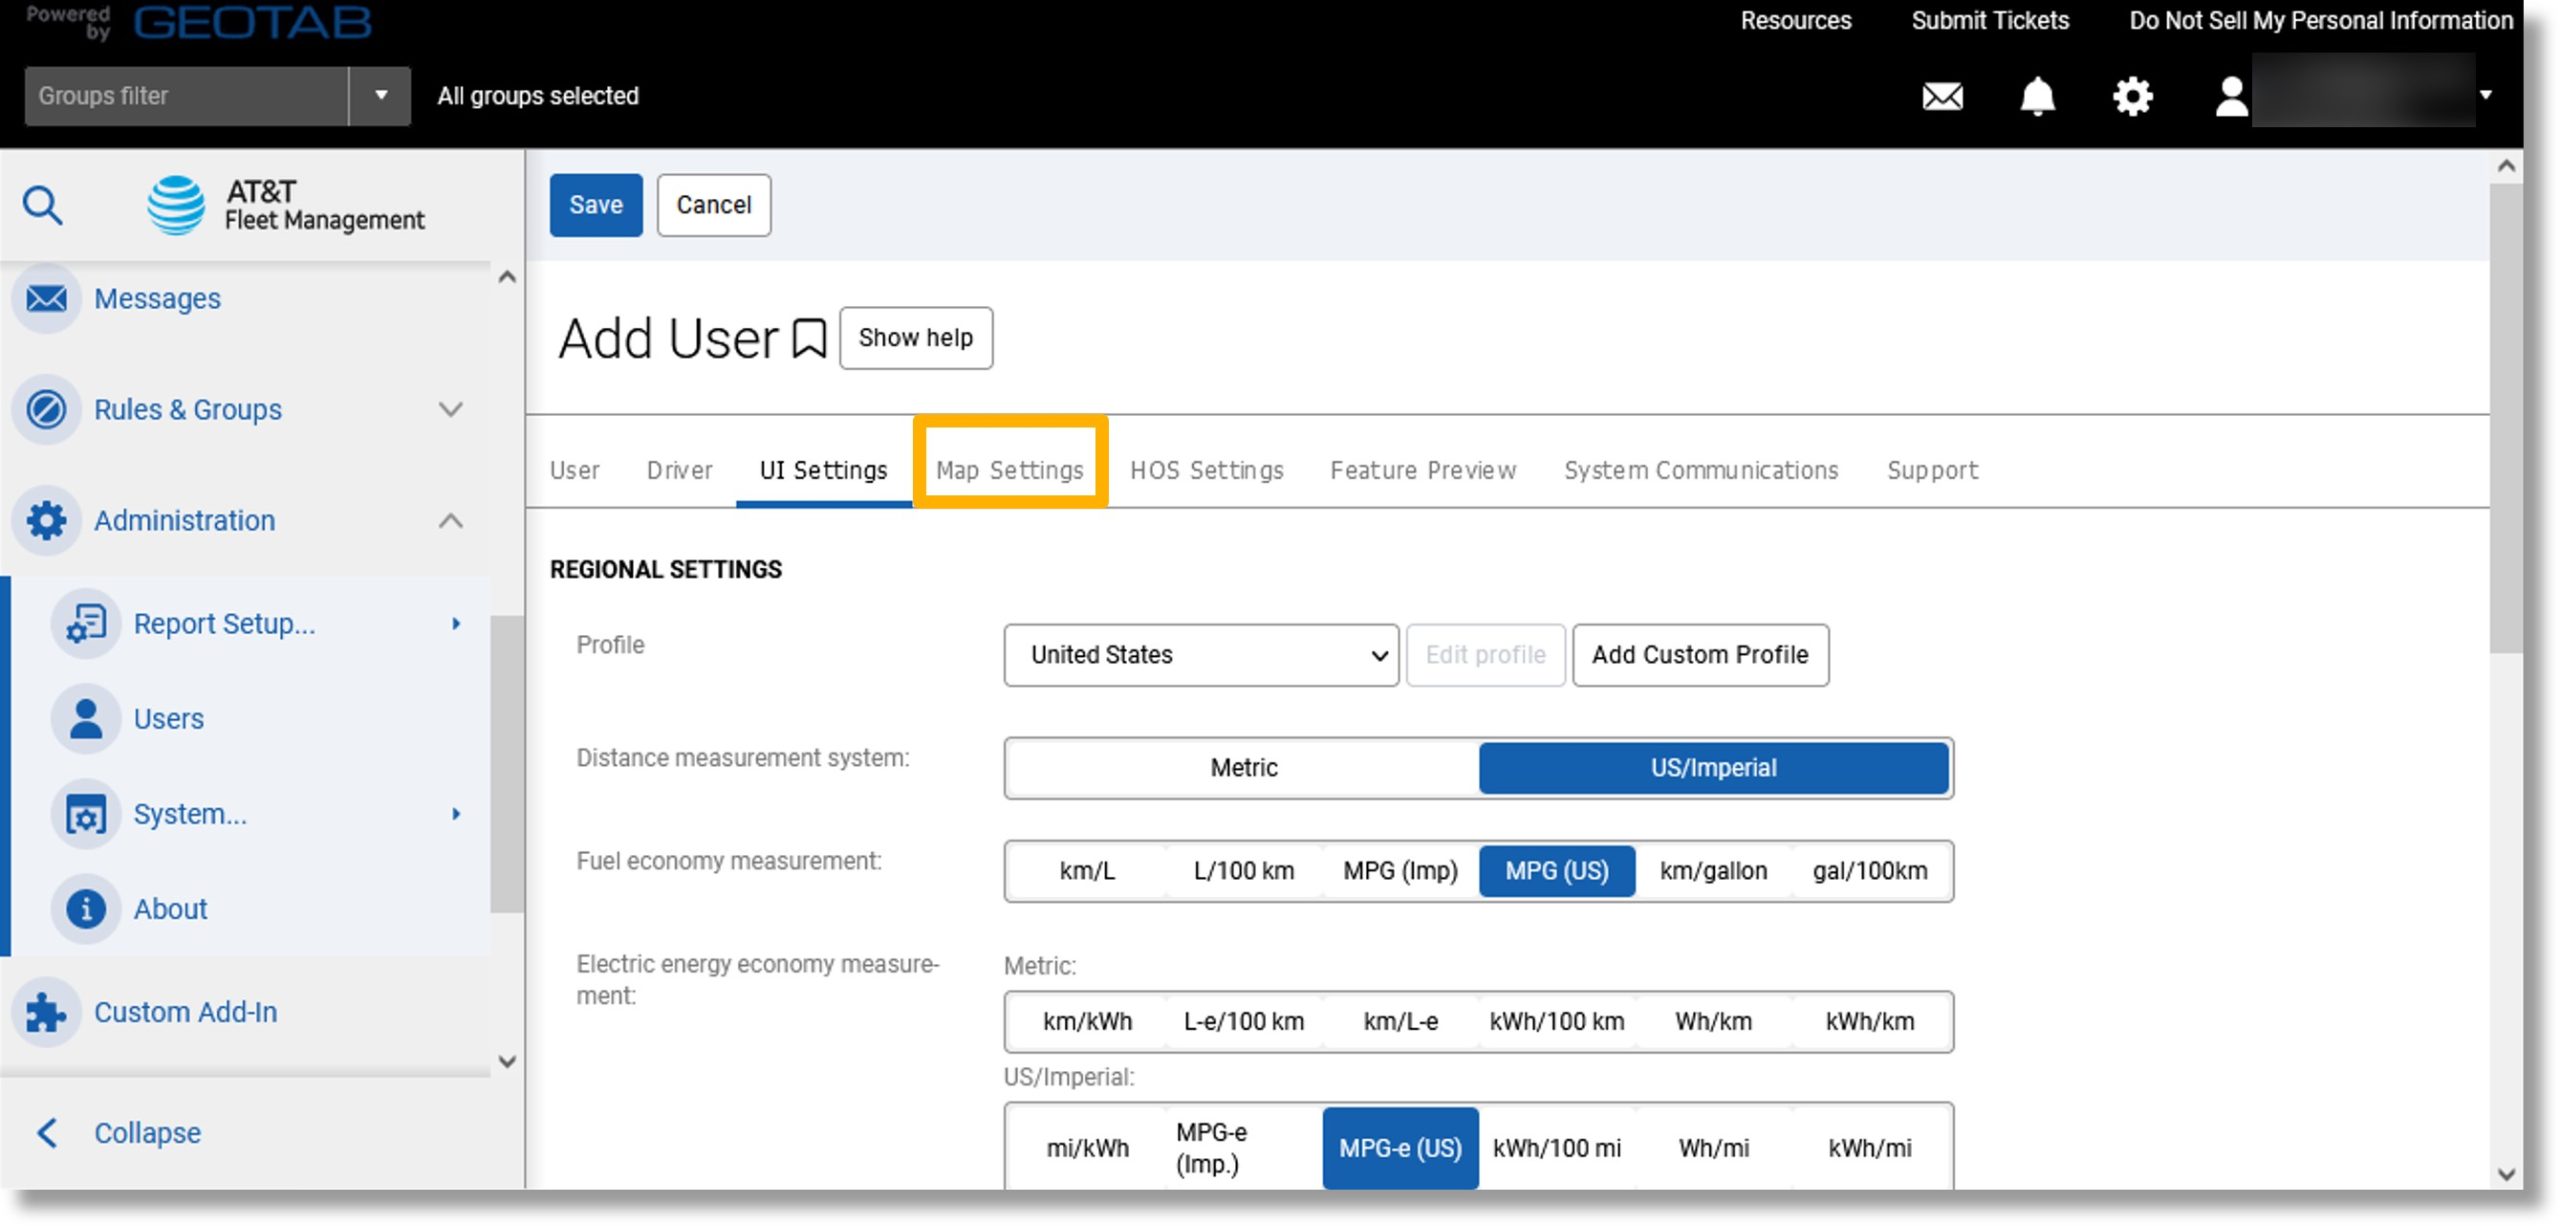
Configure the user interface settings
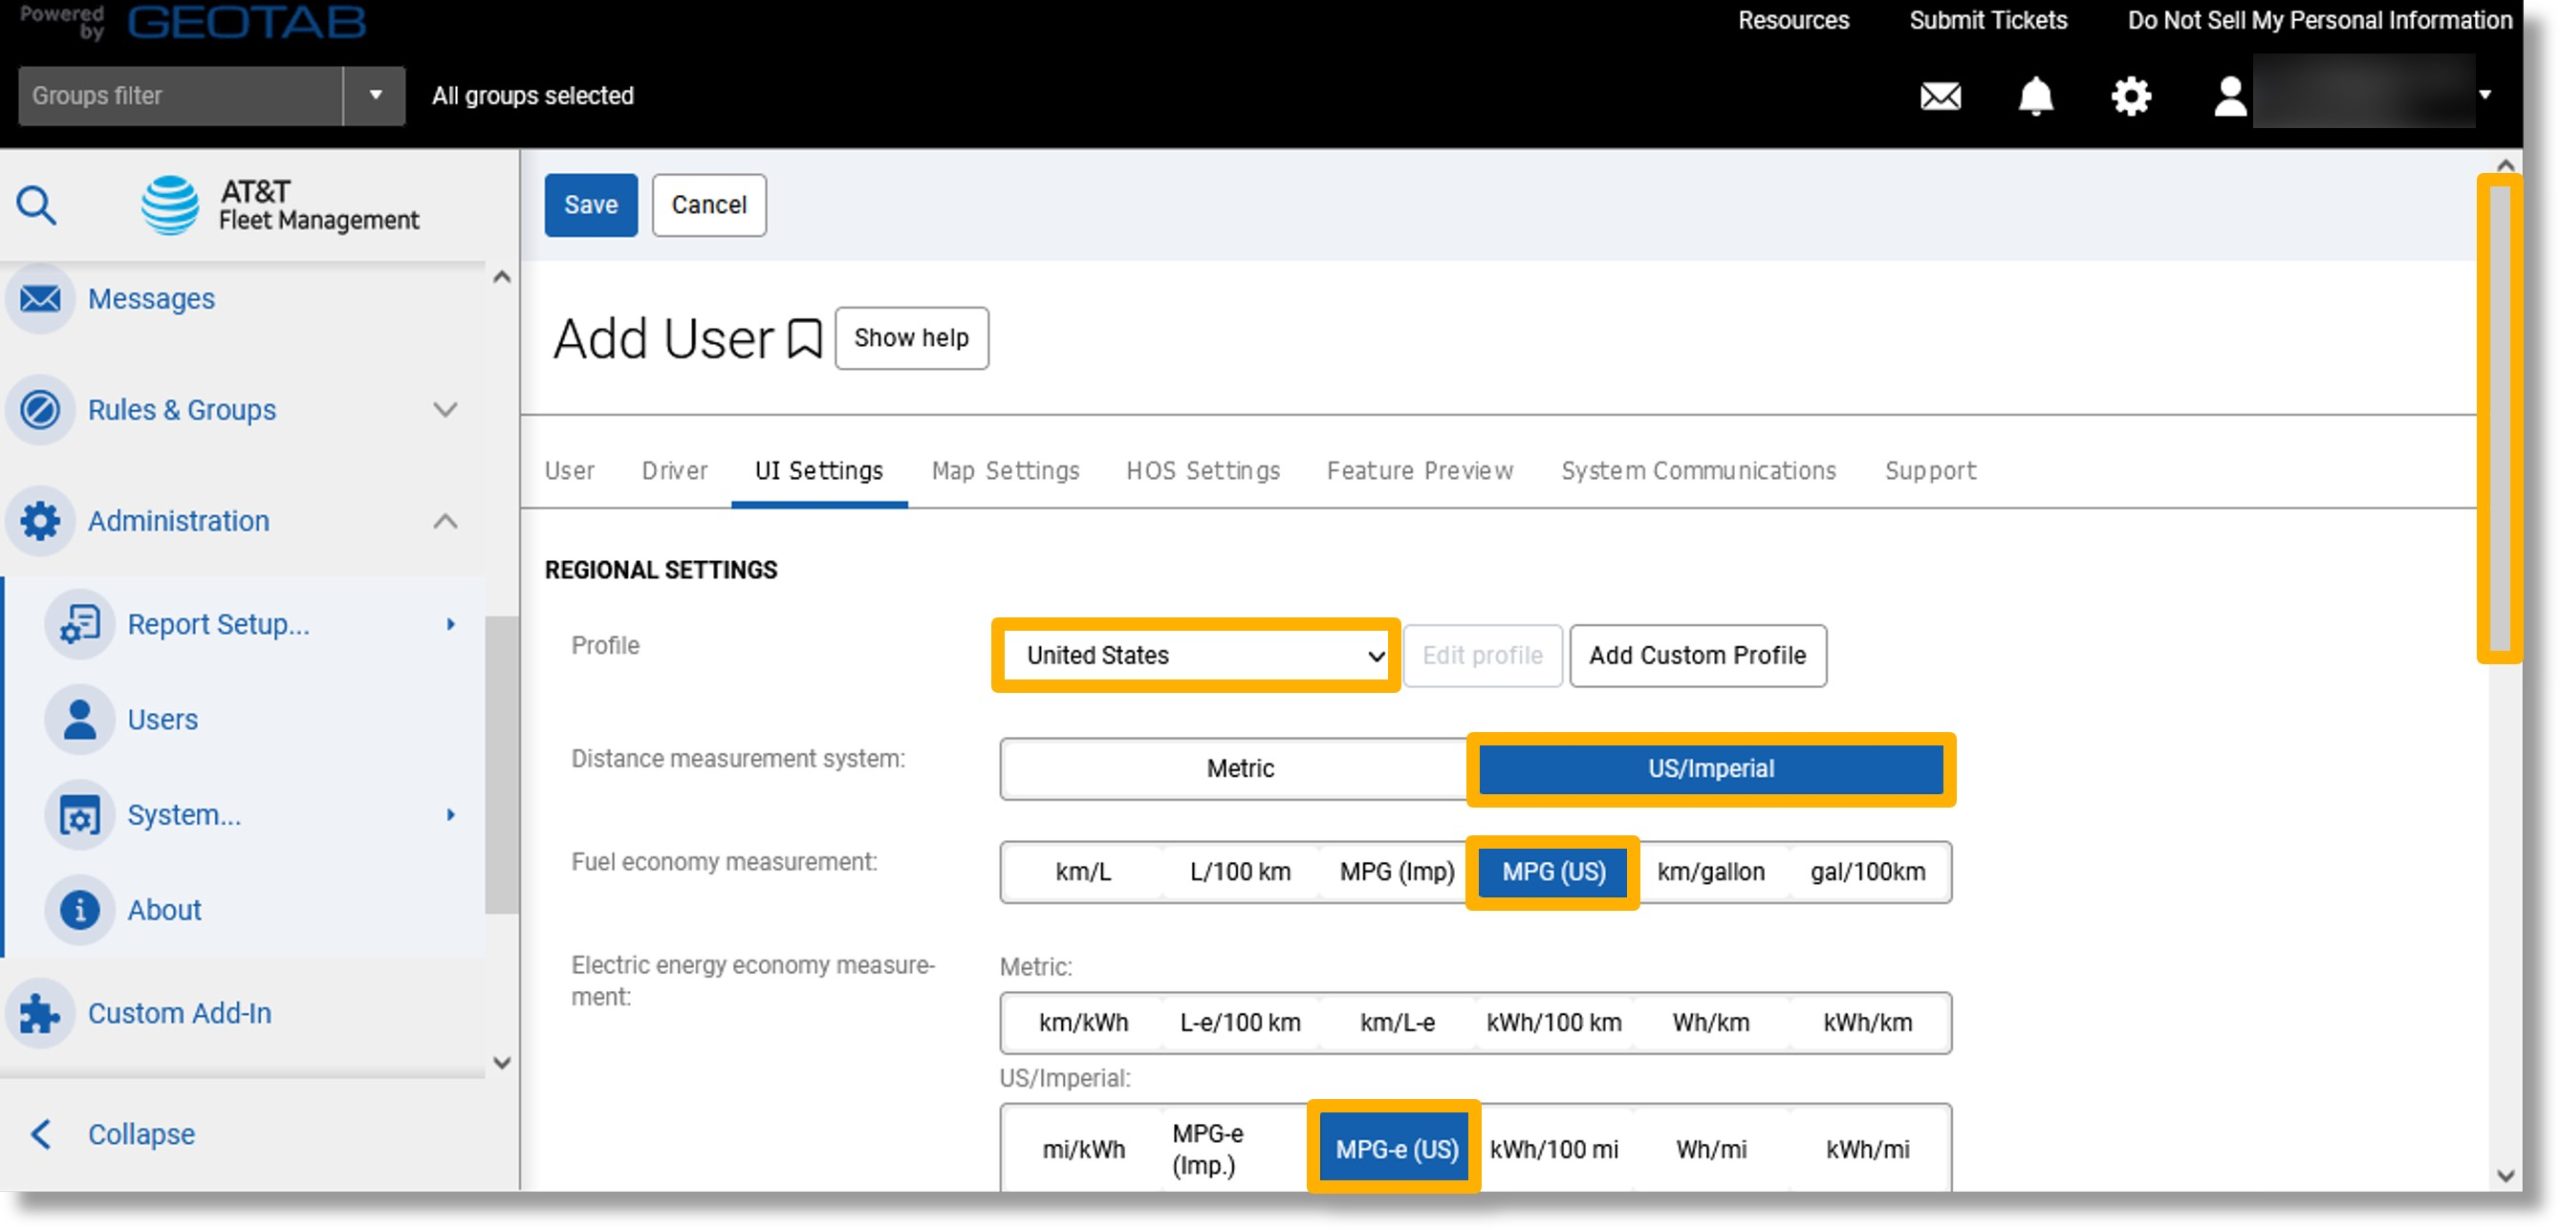
- Click on the UI Settings tab.
- Click on the drop down to the right of “Profile” and select your region to set the measurement units.
- Use the buttons to the right of “Distance measurement system:”, “Fuel economy measurement:”, or “Electric energy economy measurement:” to change the preselected measurement units.
Note: The measurements need to be consistent across measurement types.
- Scroll down.
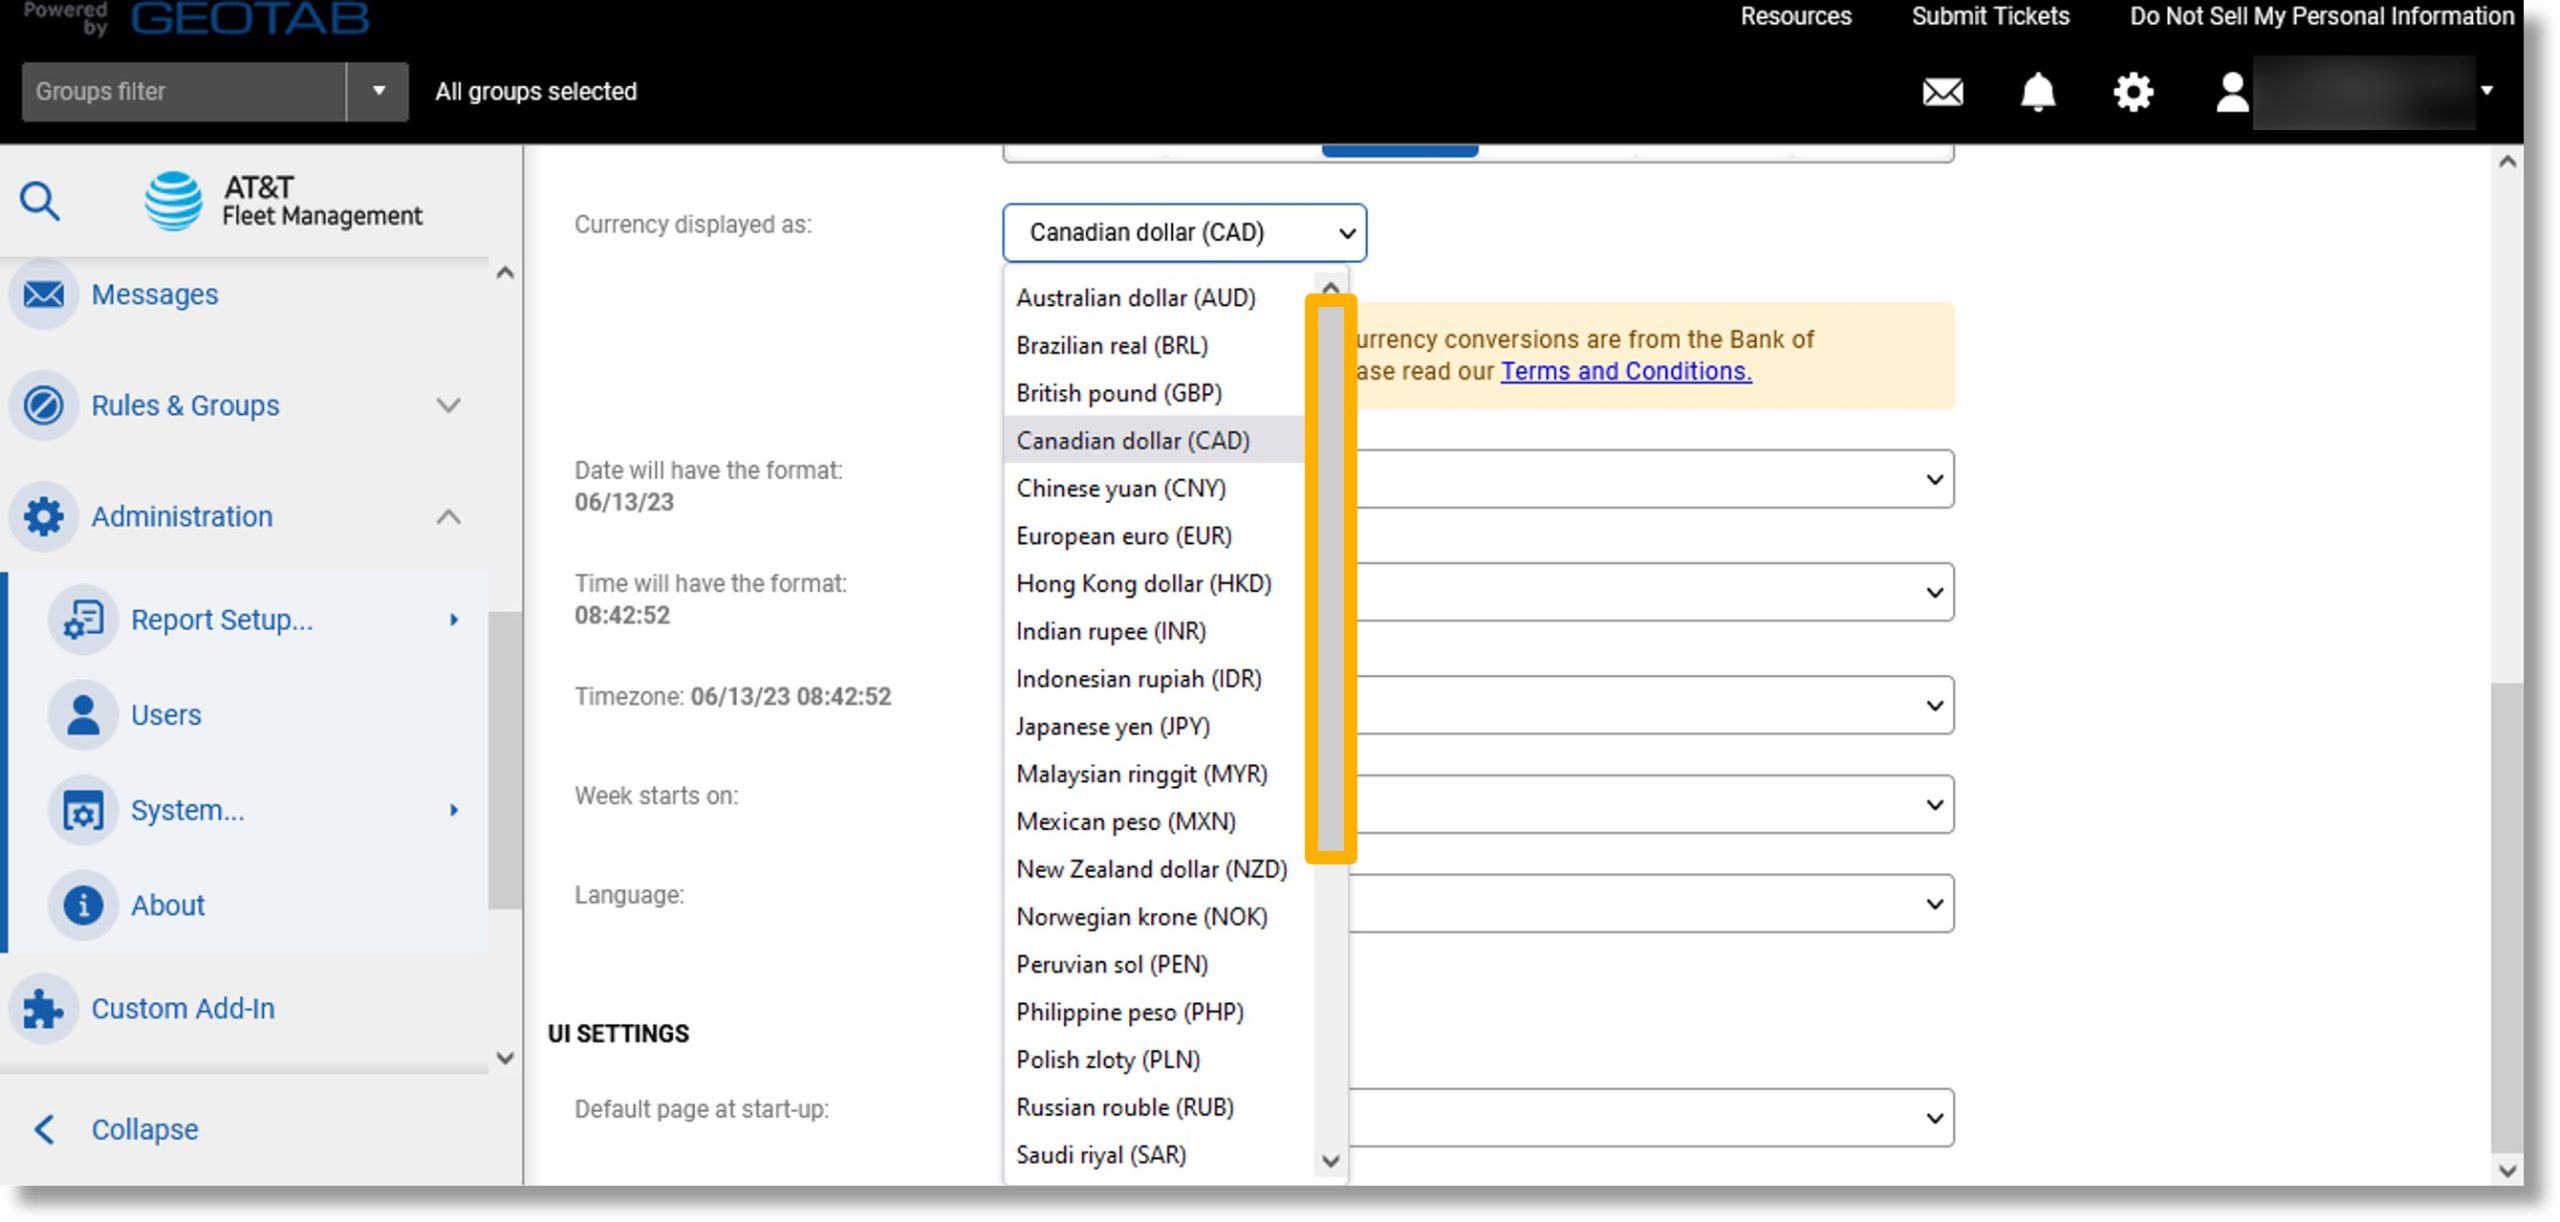
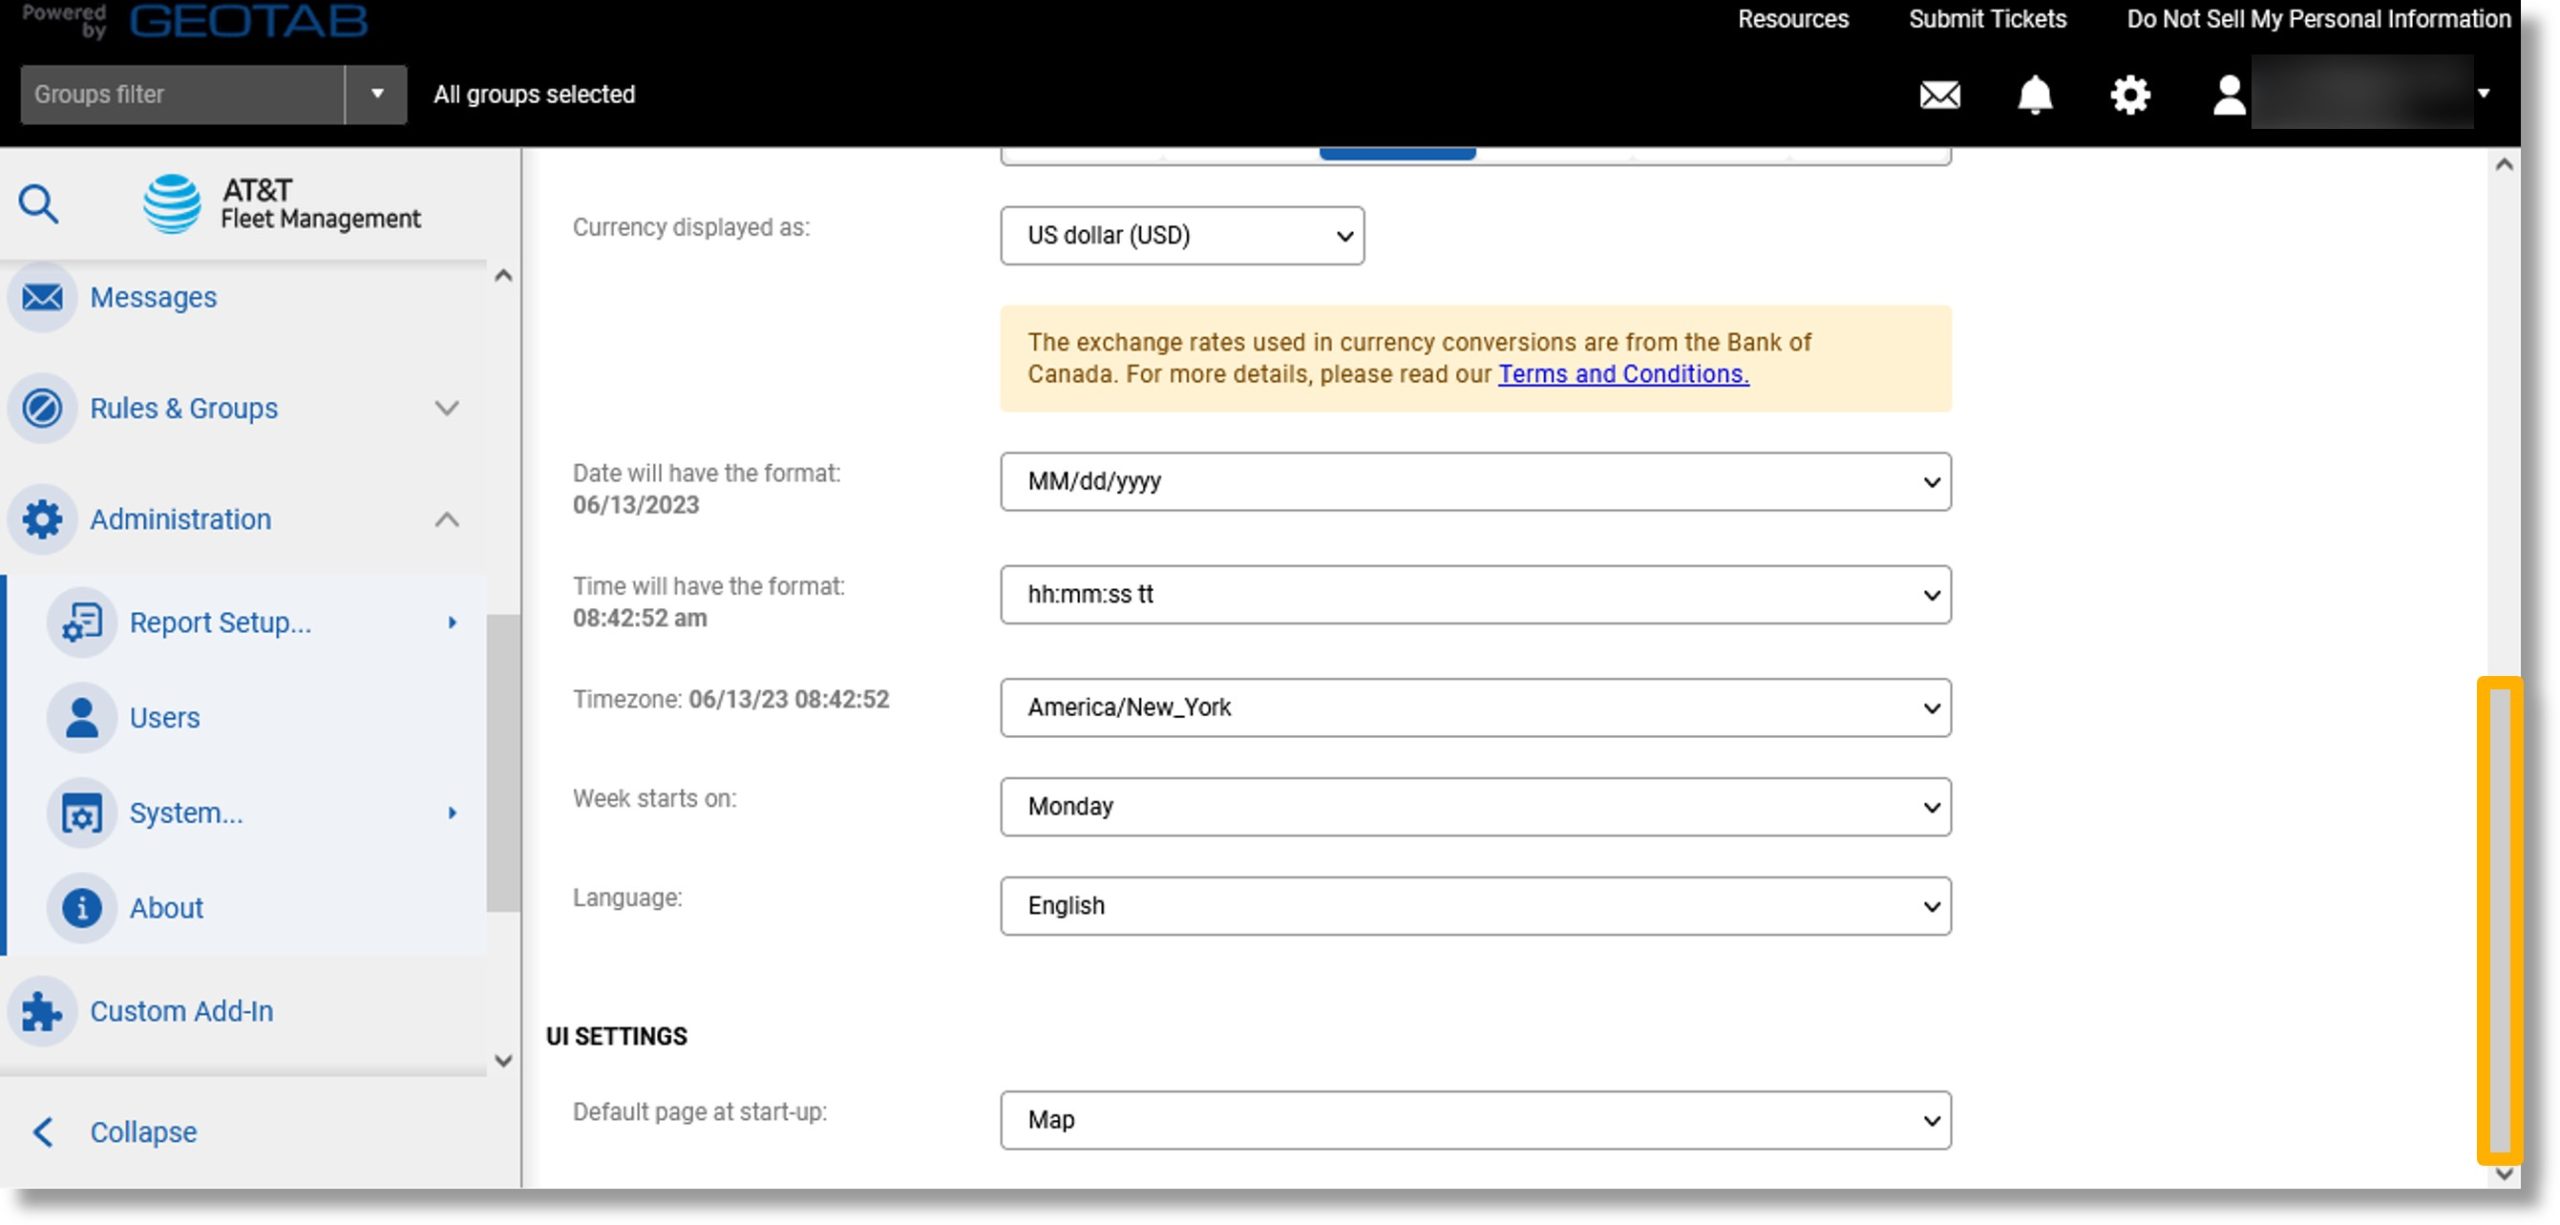
- Click on the drop down to the right of “Currency displayed as”.

- Click on the desired currency.
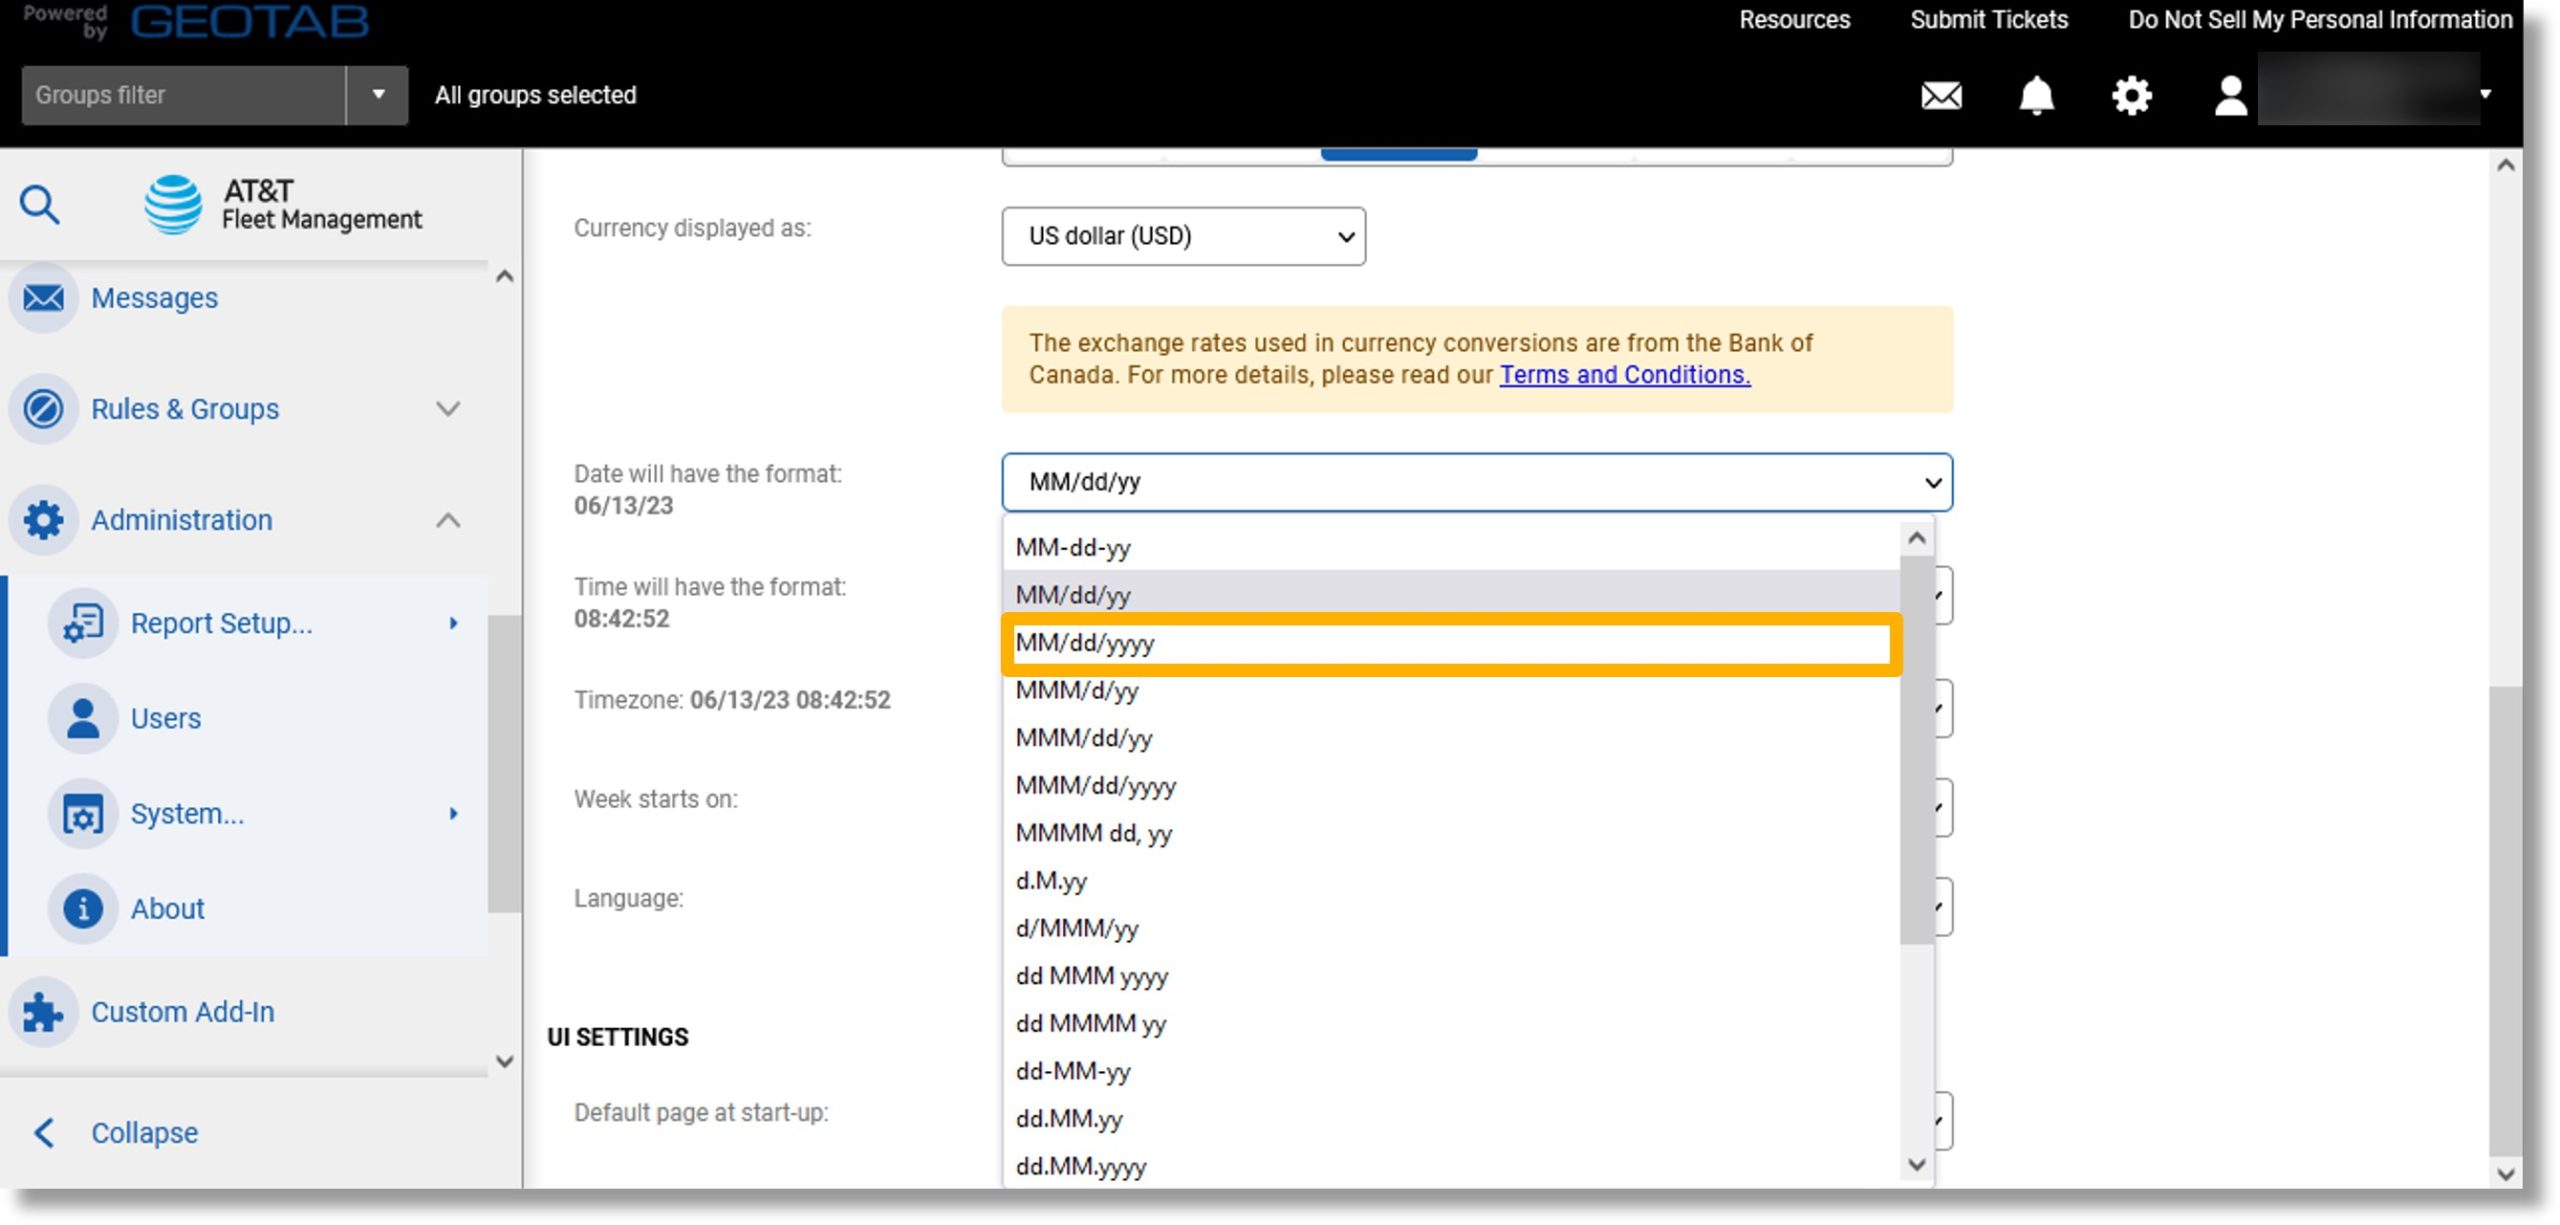
- Click on the drop down to the right of “Date will have the format:”.
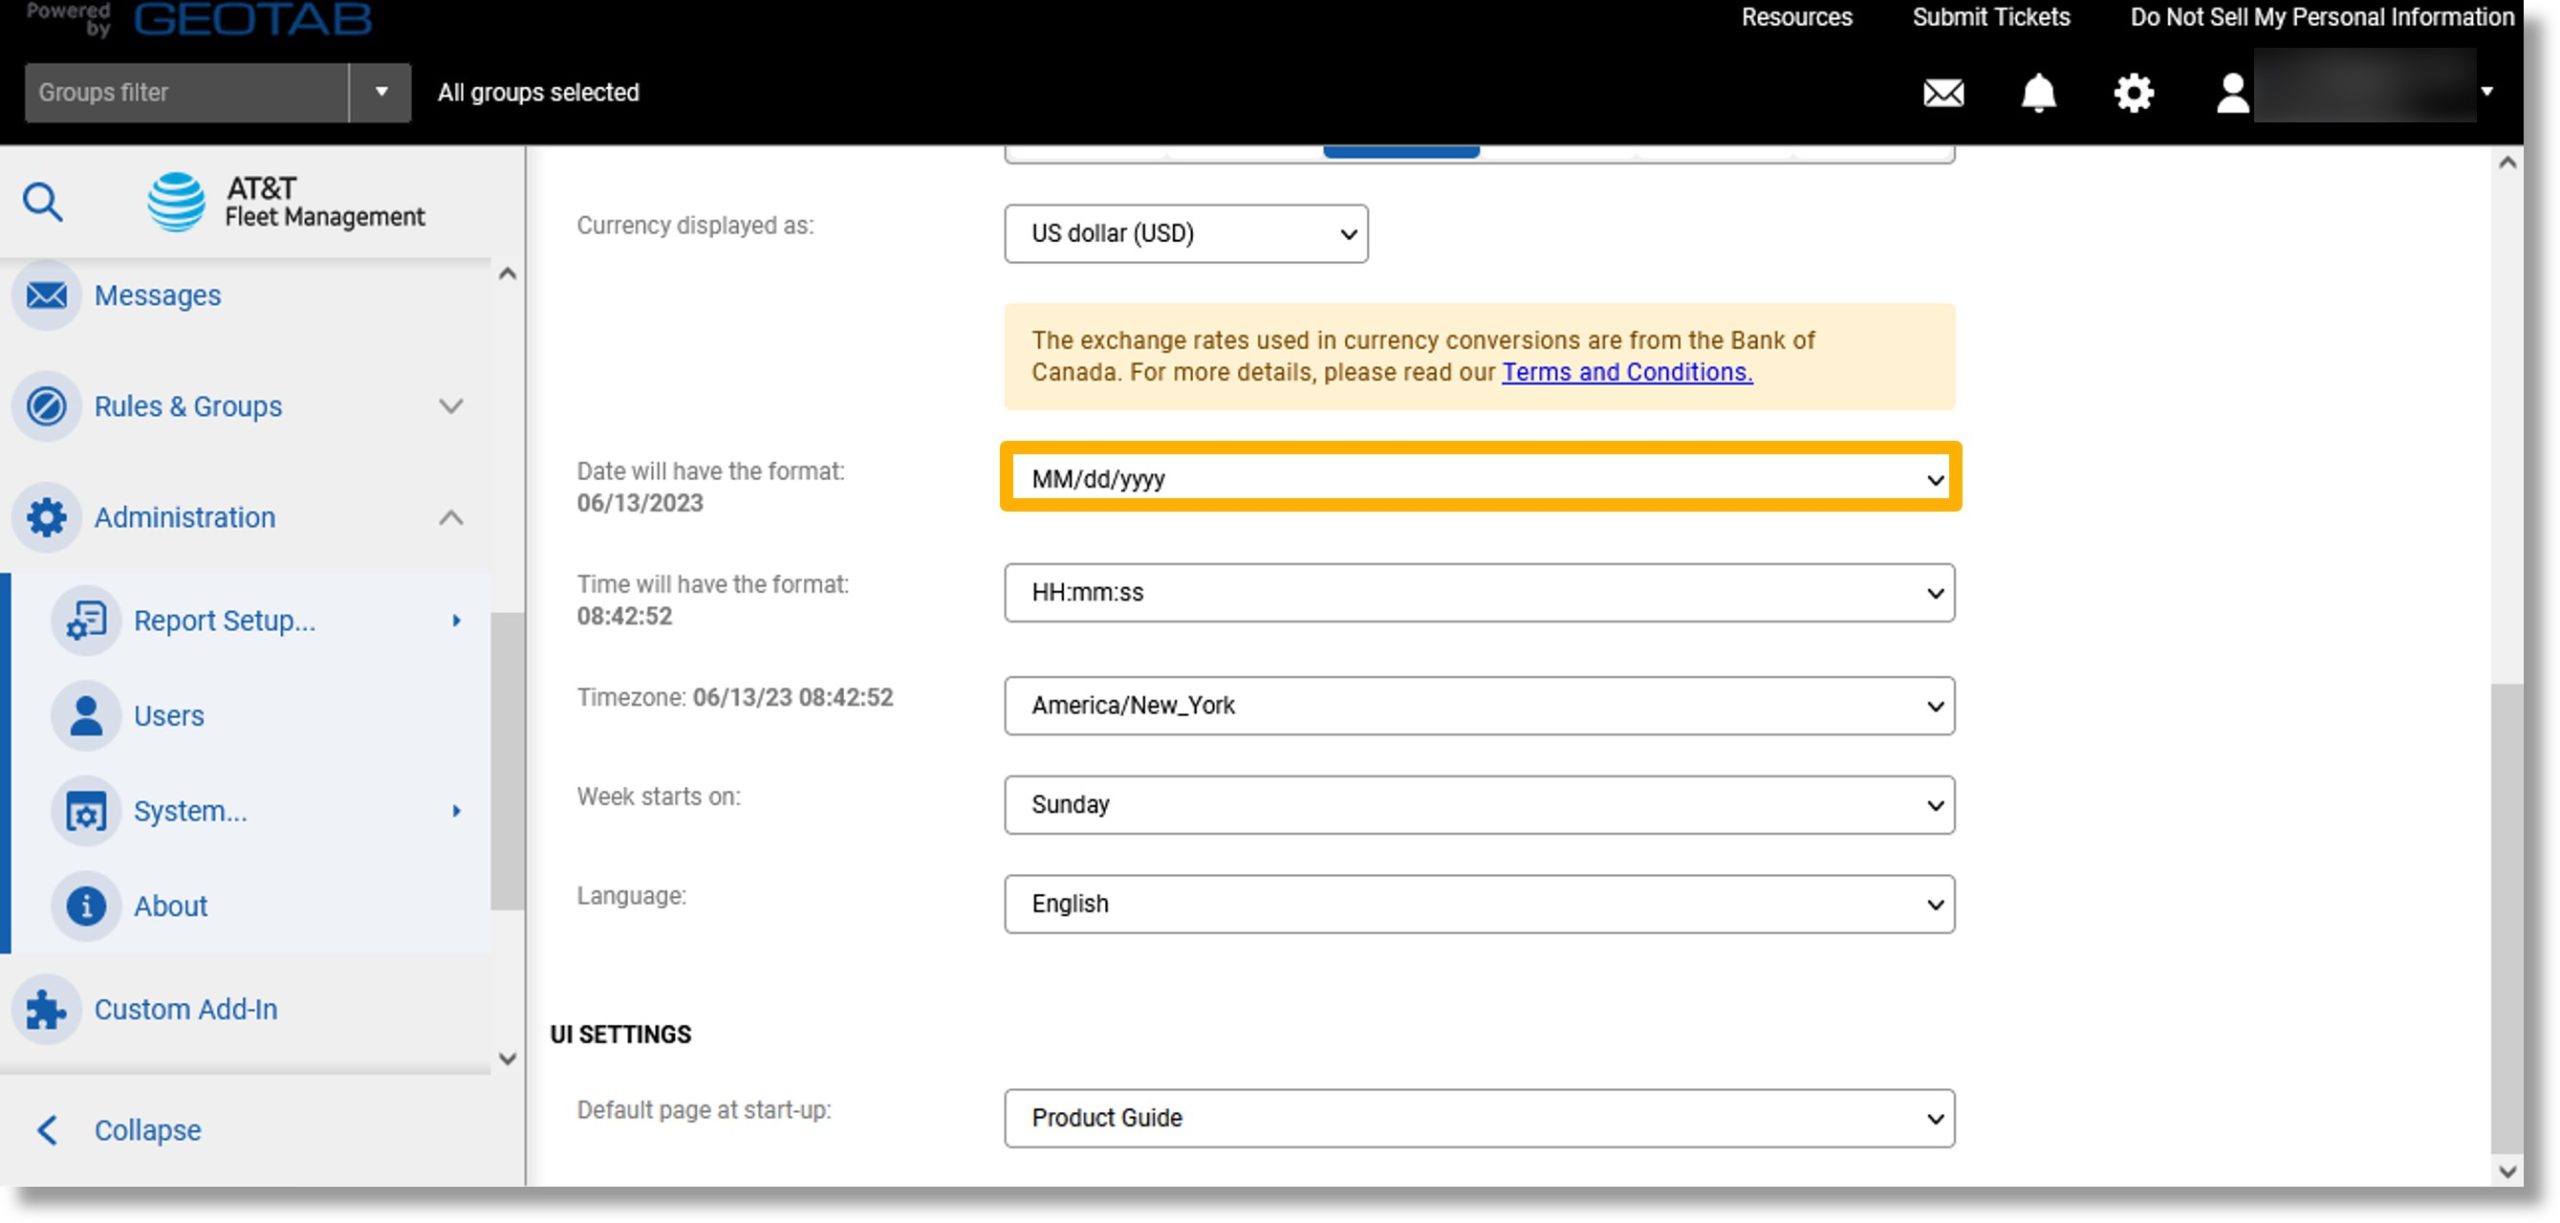
- Click on the desired date format.
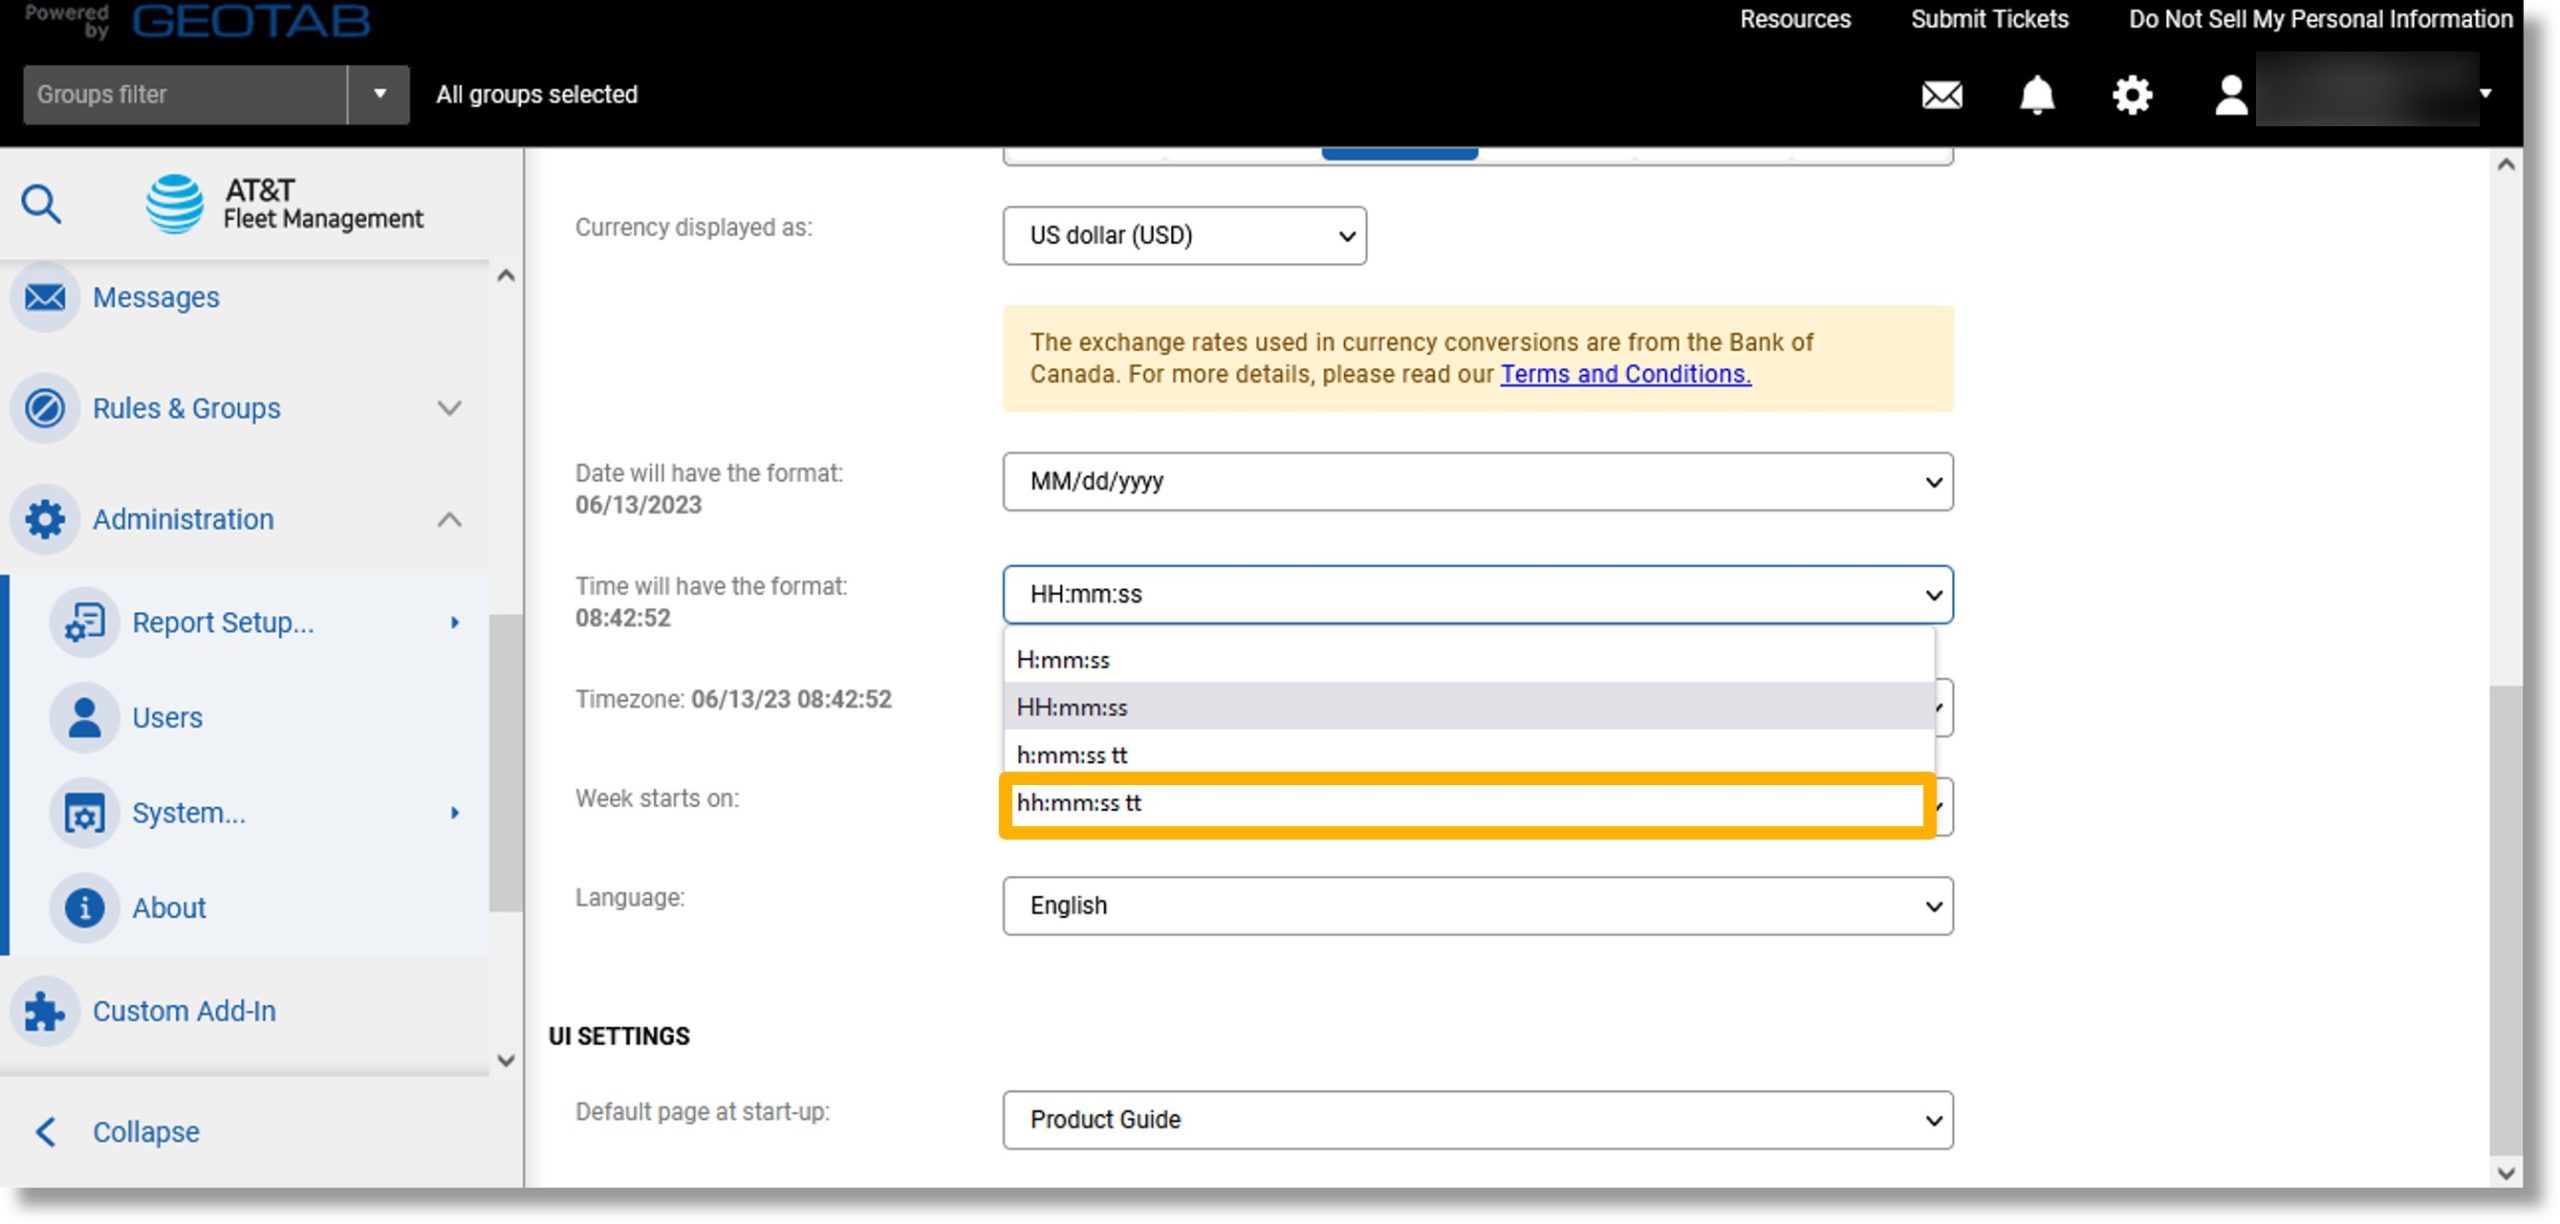
- Click on the drop down to the right of “Time will have the format:”.
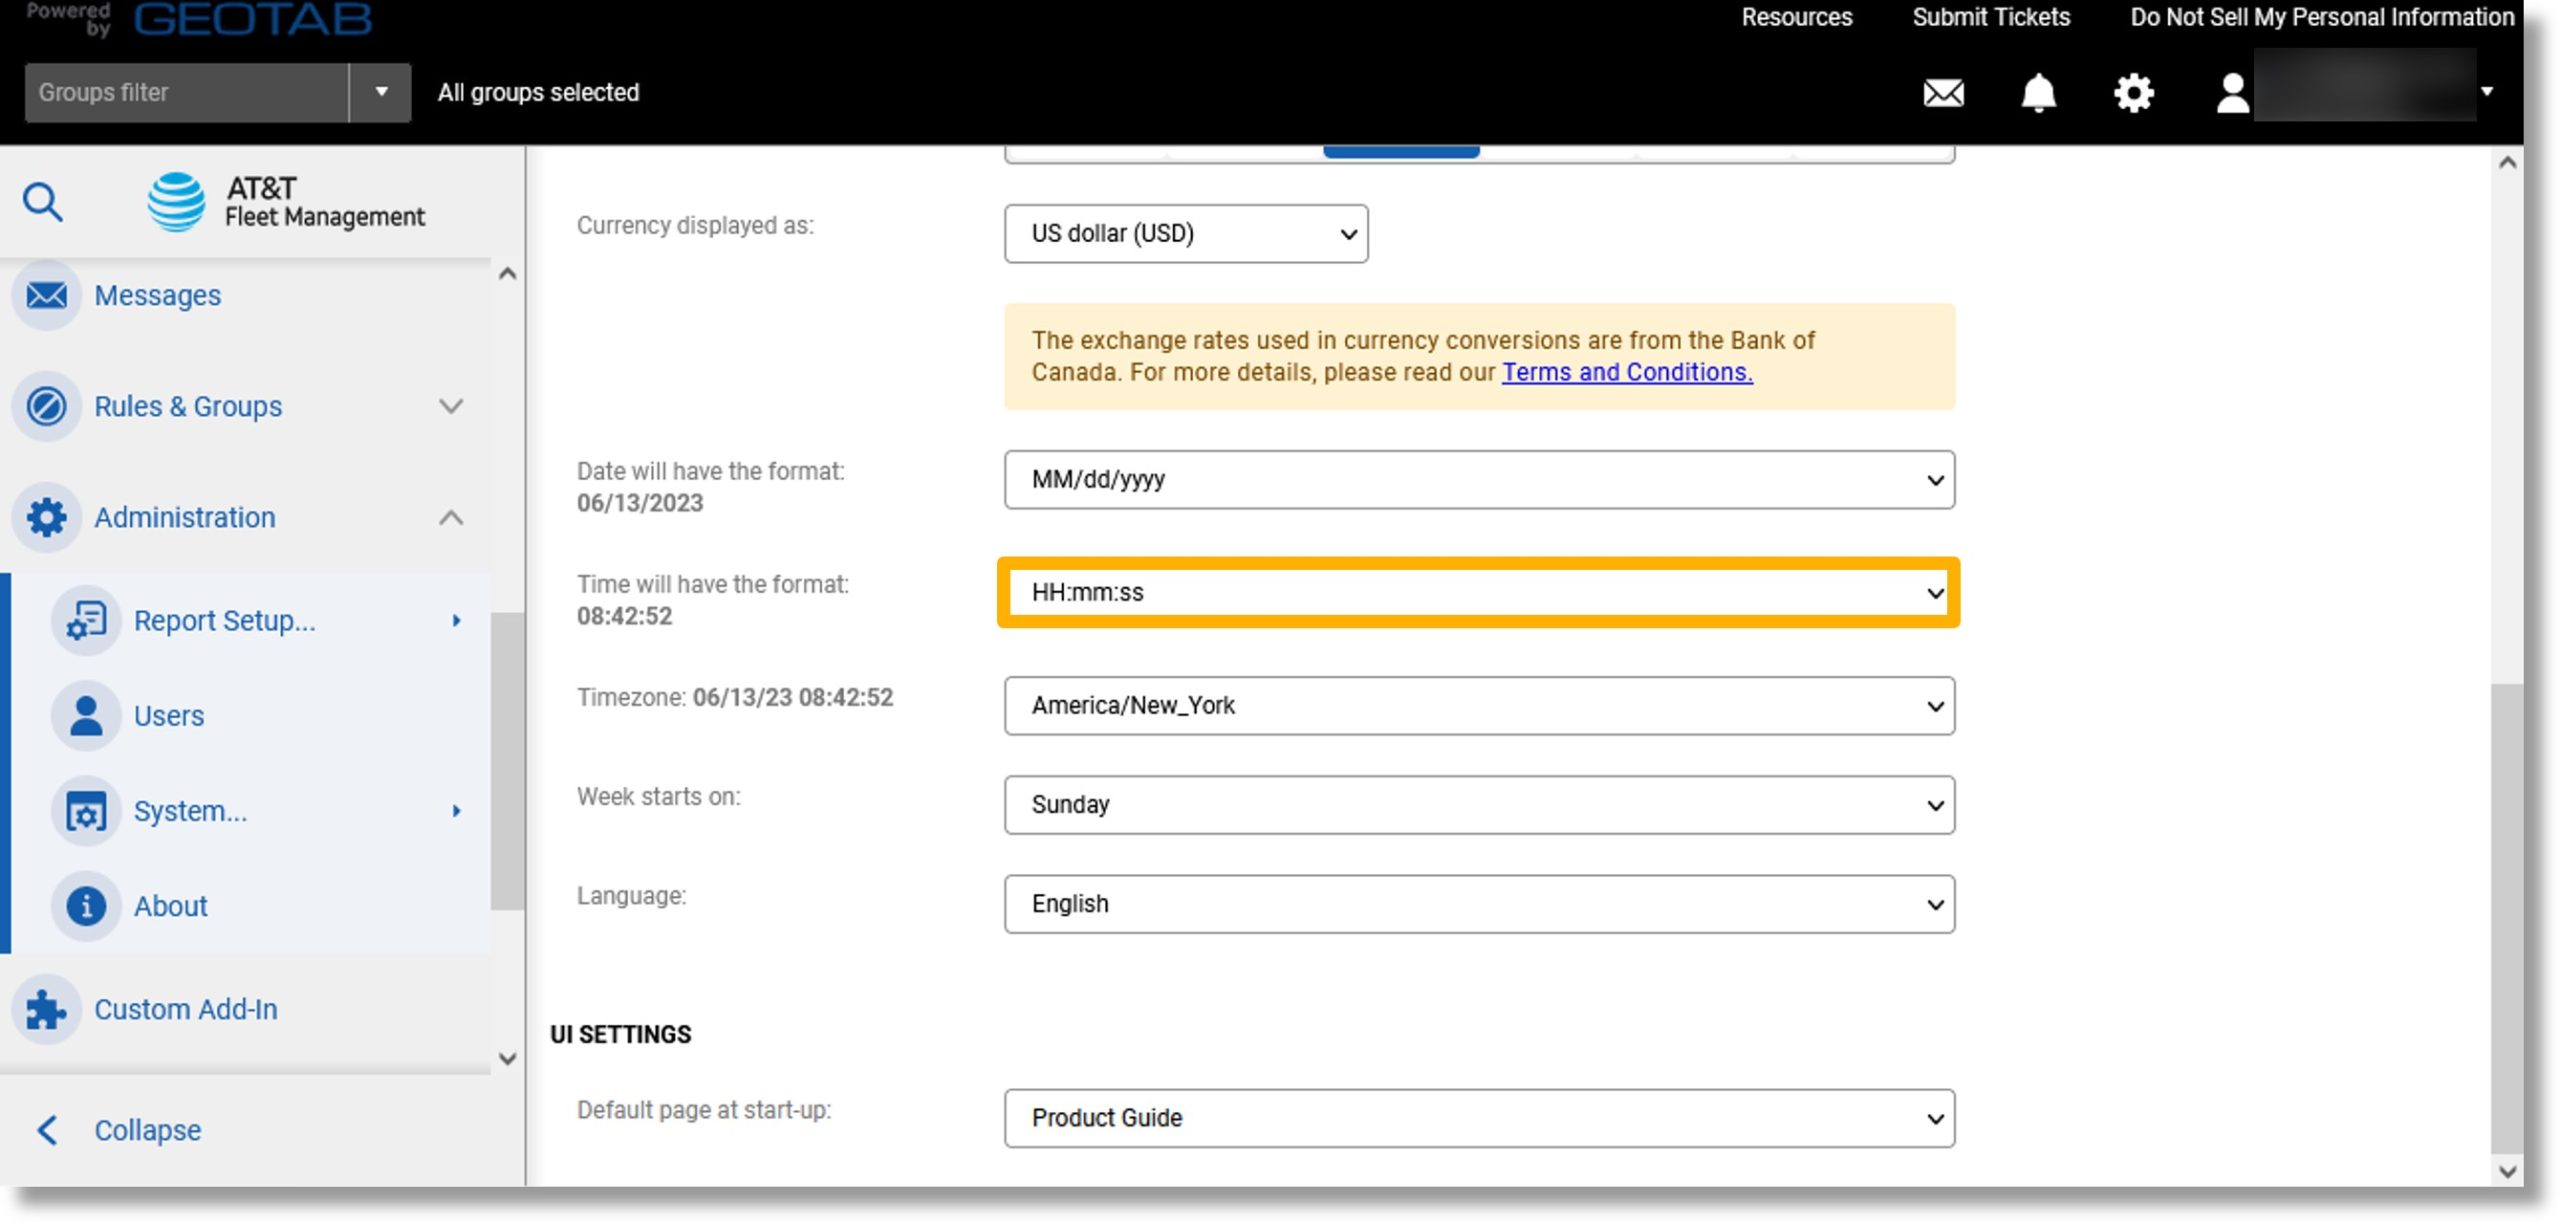
- Select how you would like the time to be displayed.
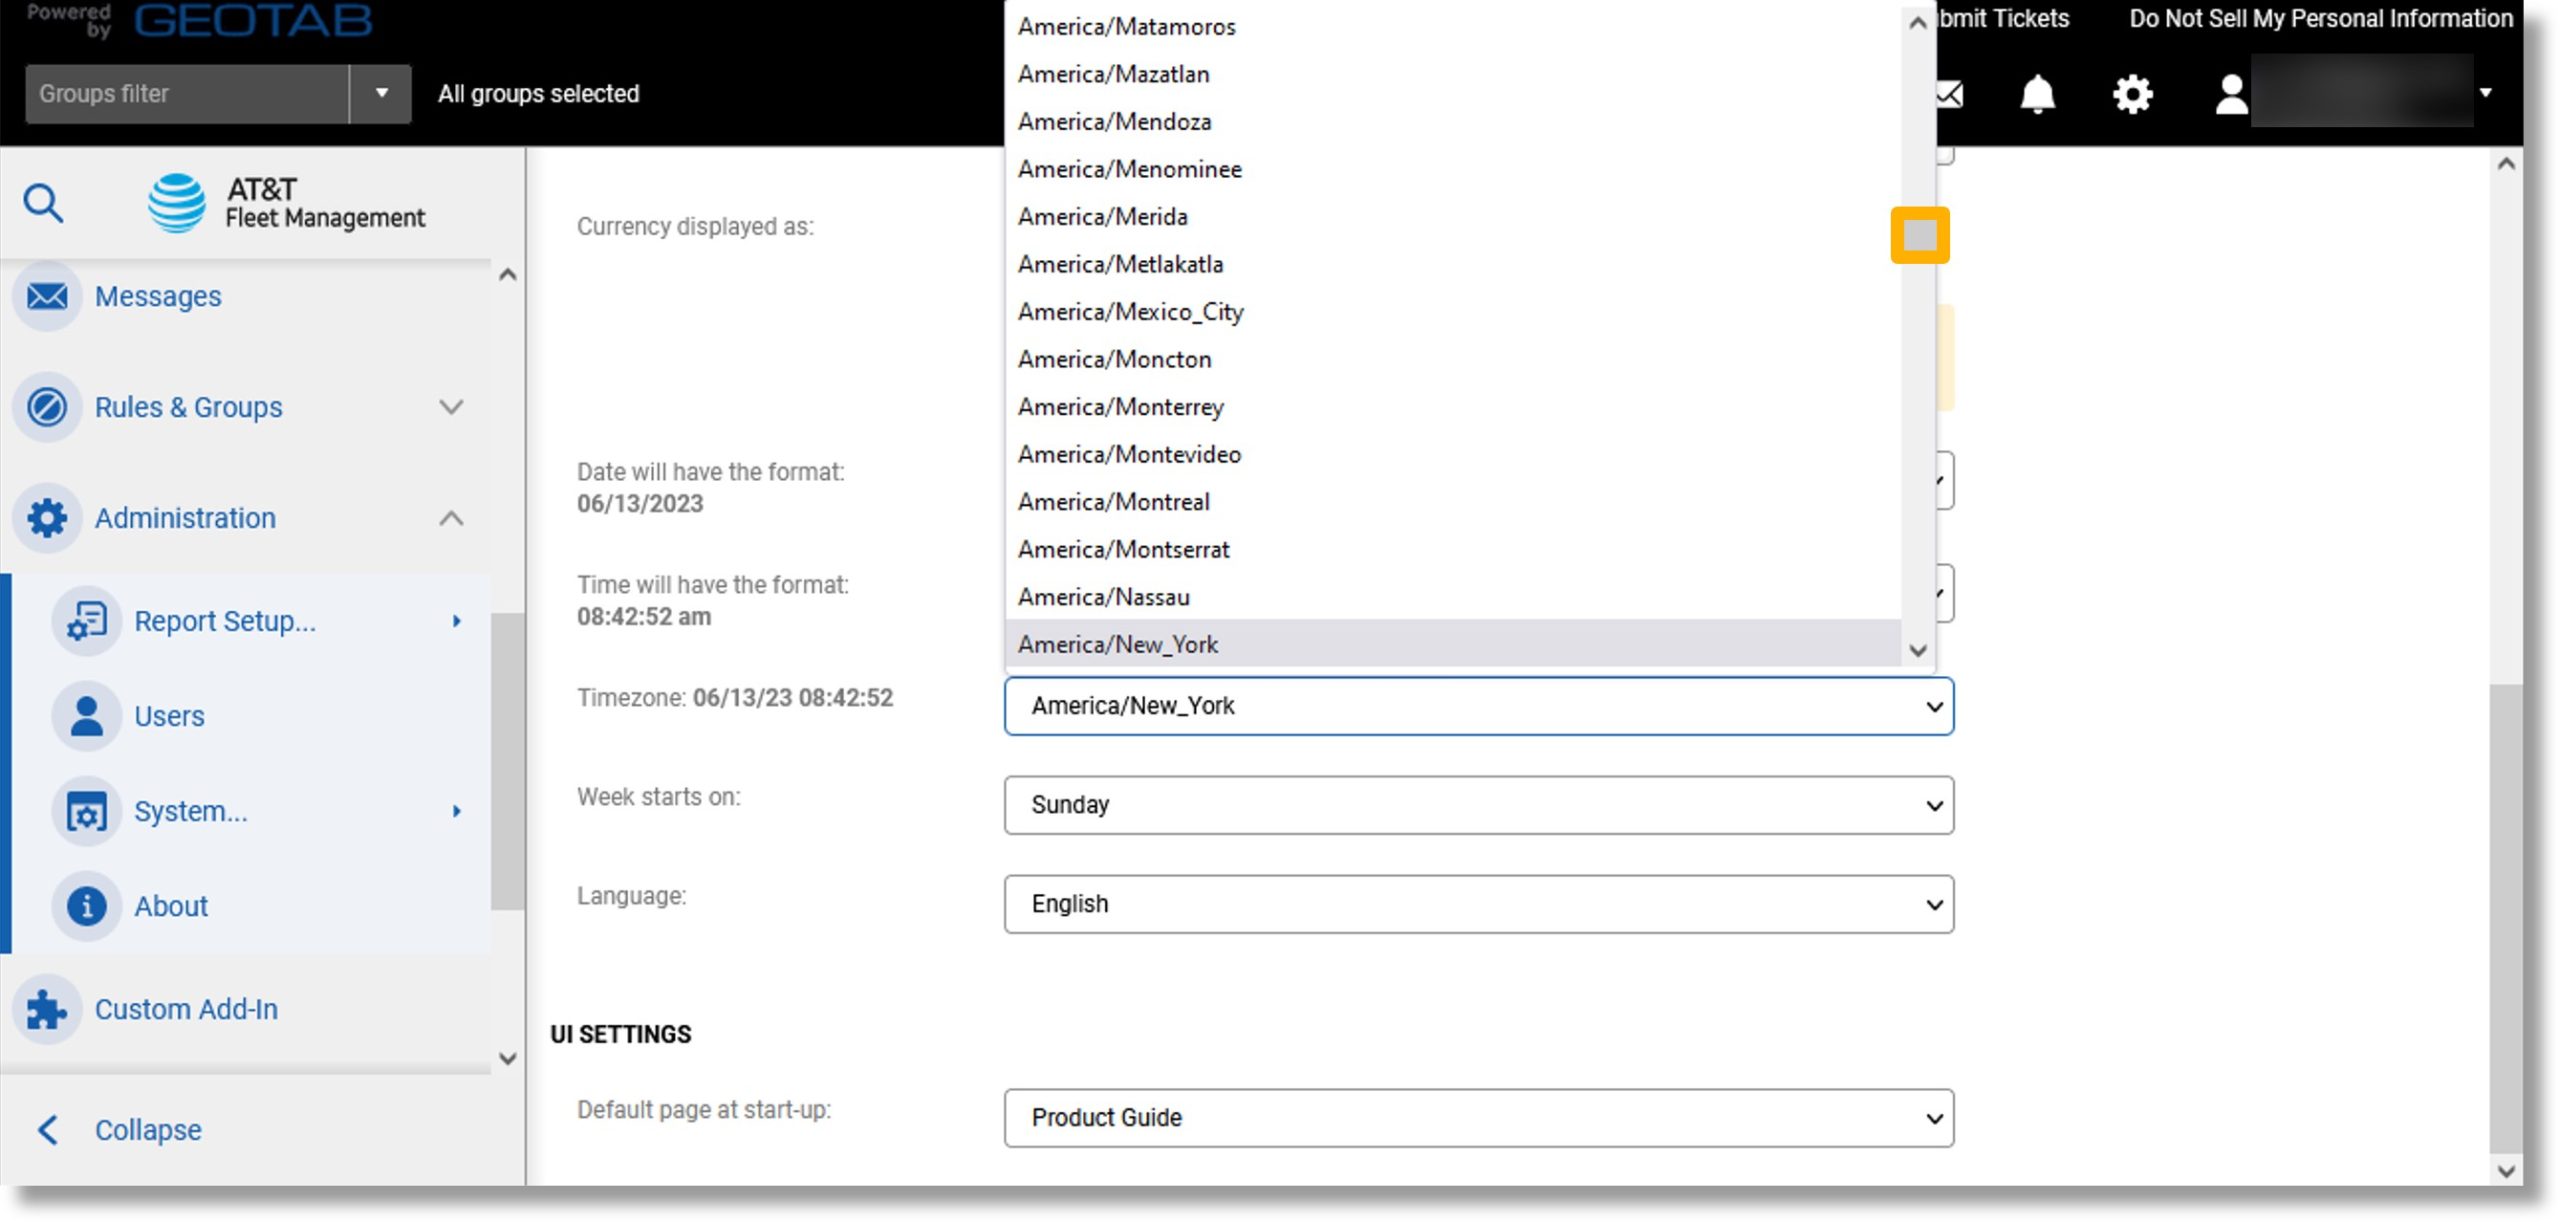
- Click the drop down to the right of “Time Zone:”.
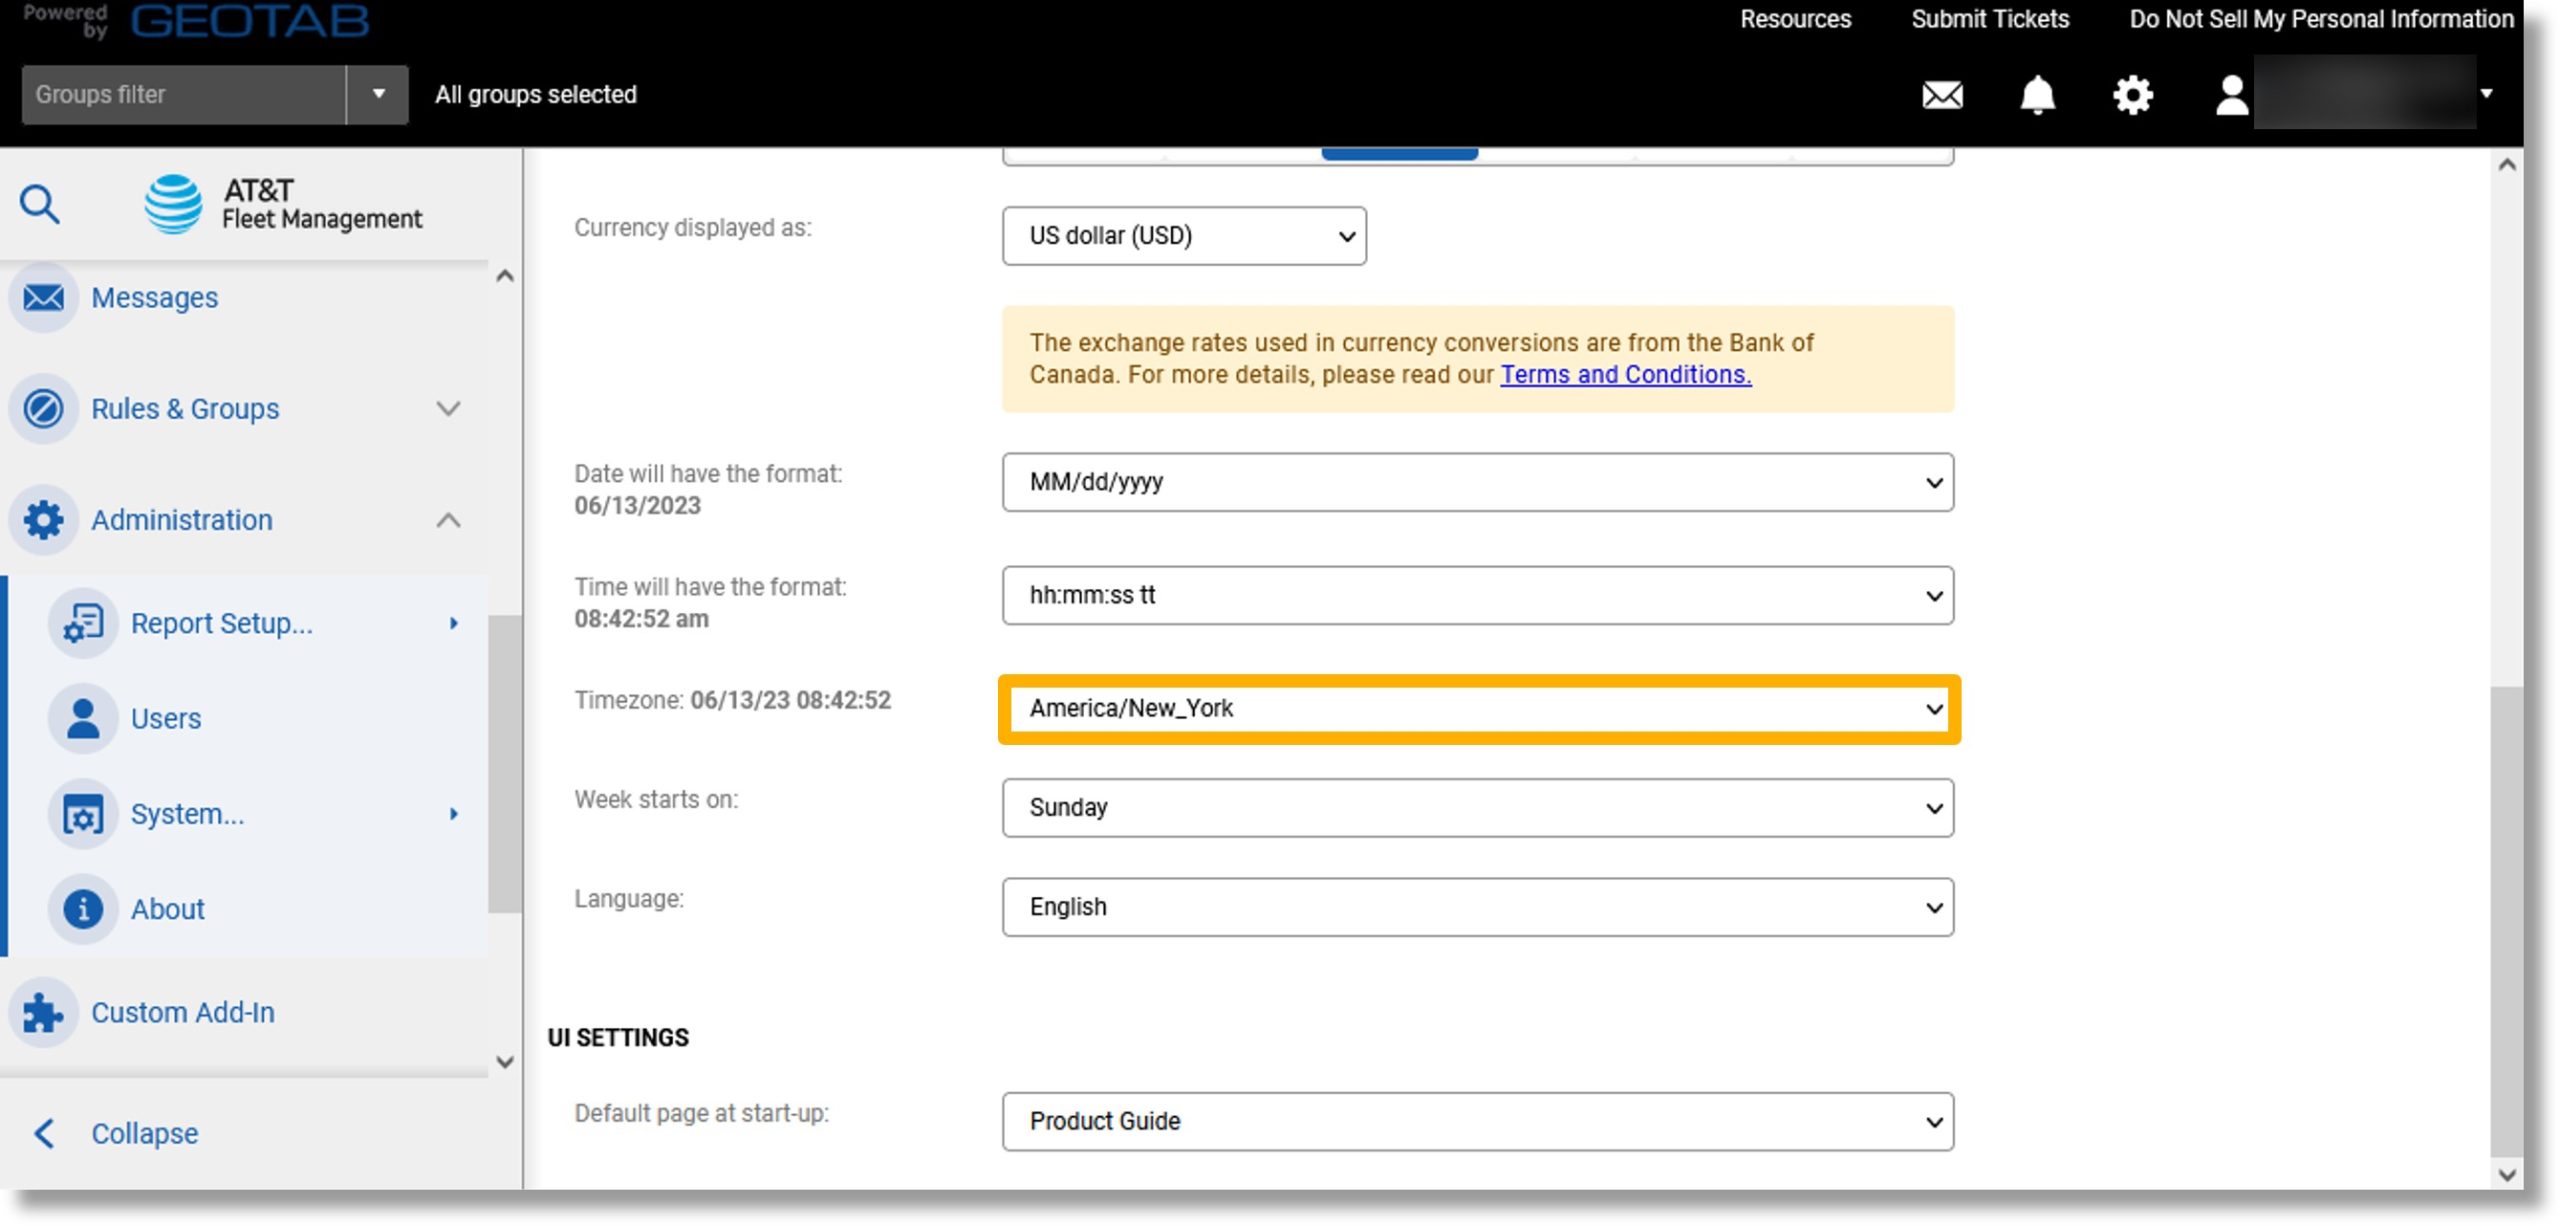
- Select the desired time zone.
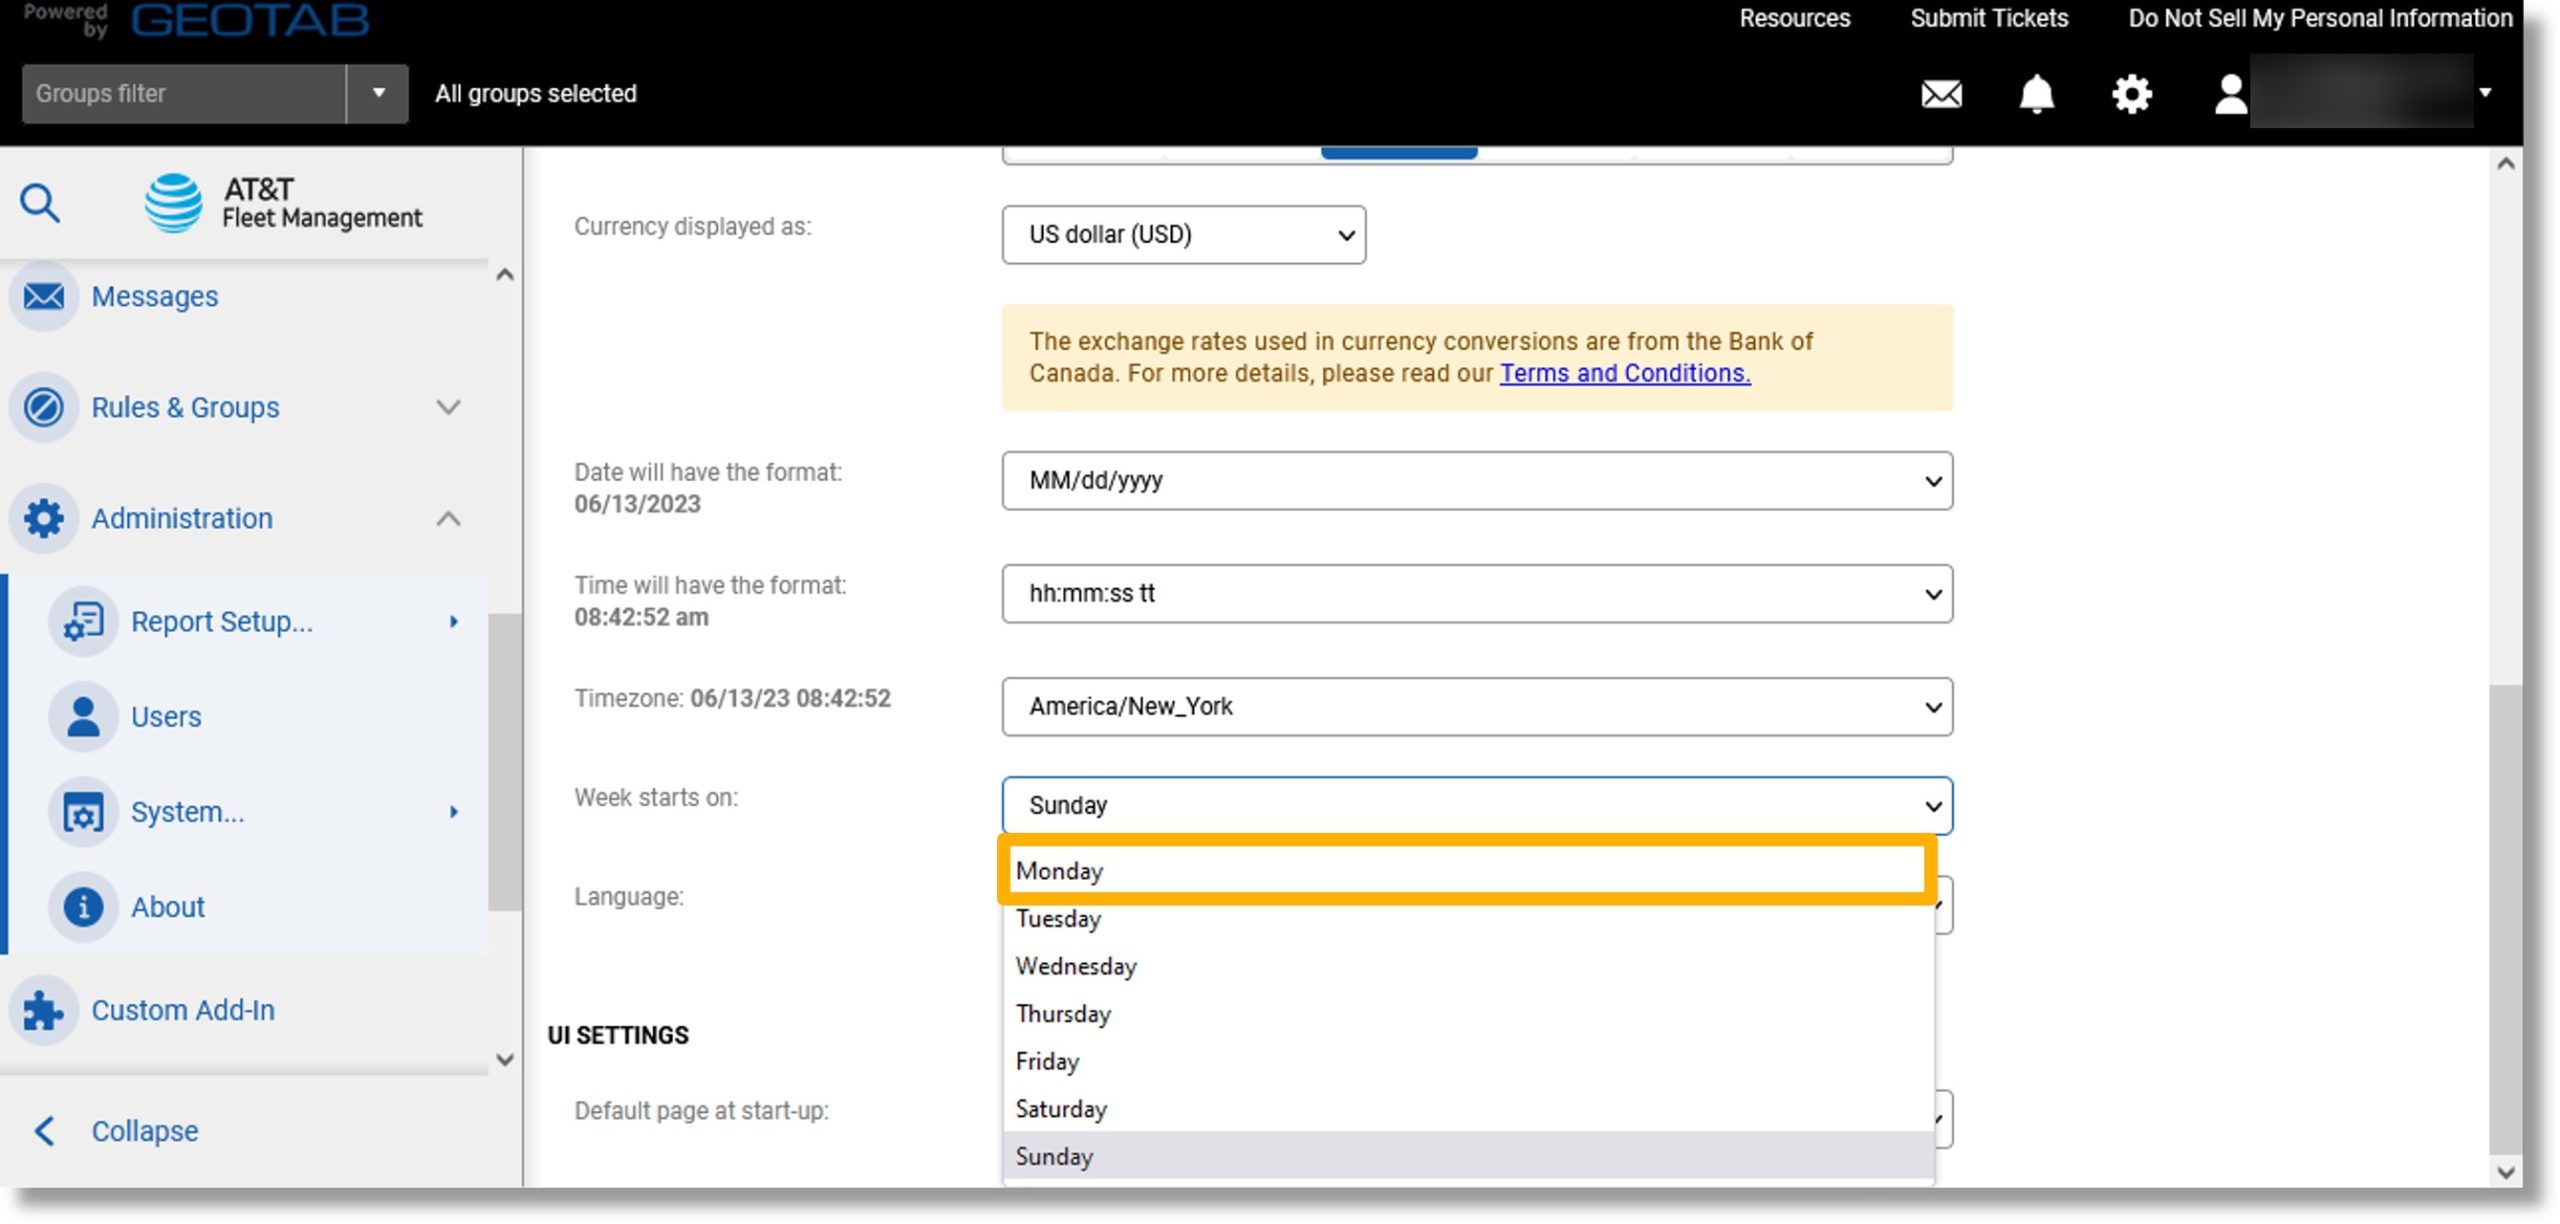
- Click on the drop down to the right of “Week starts on”.
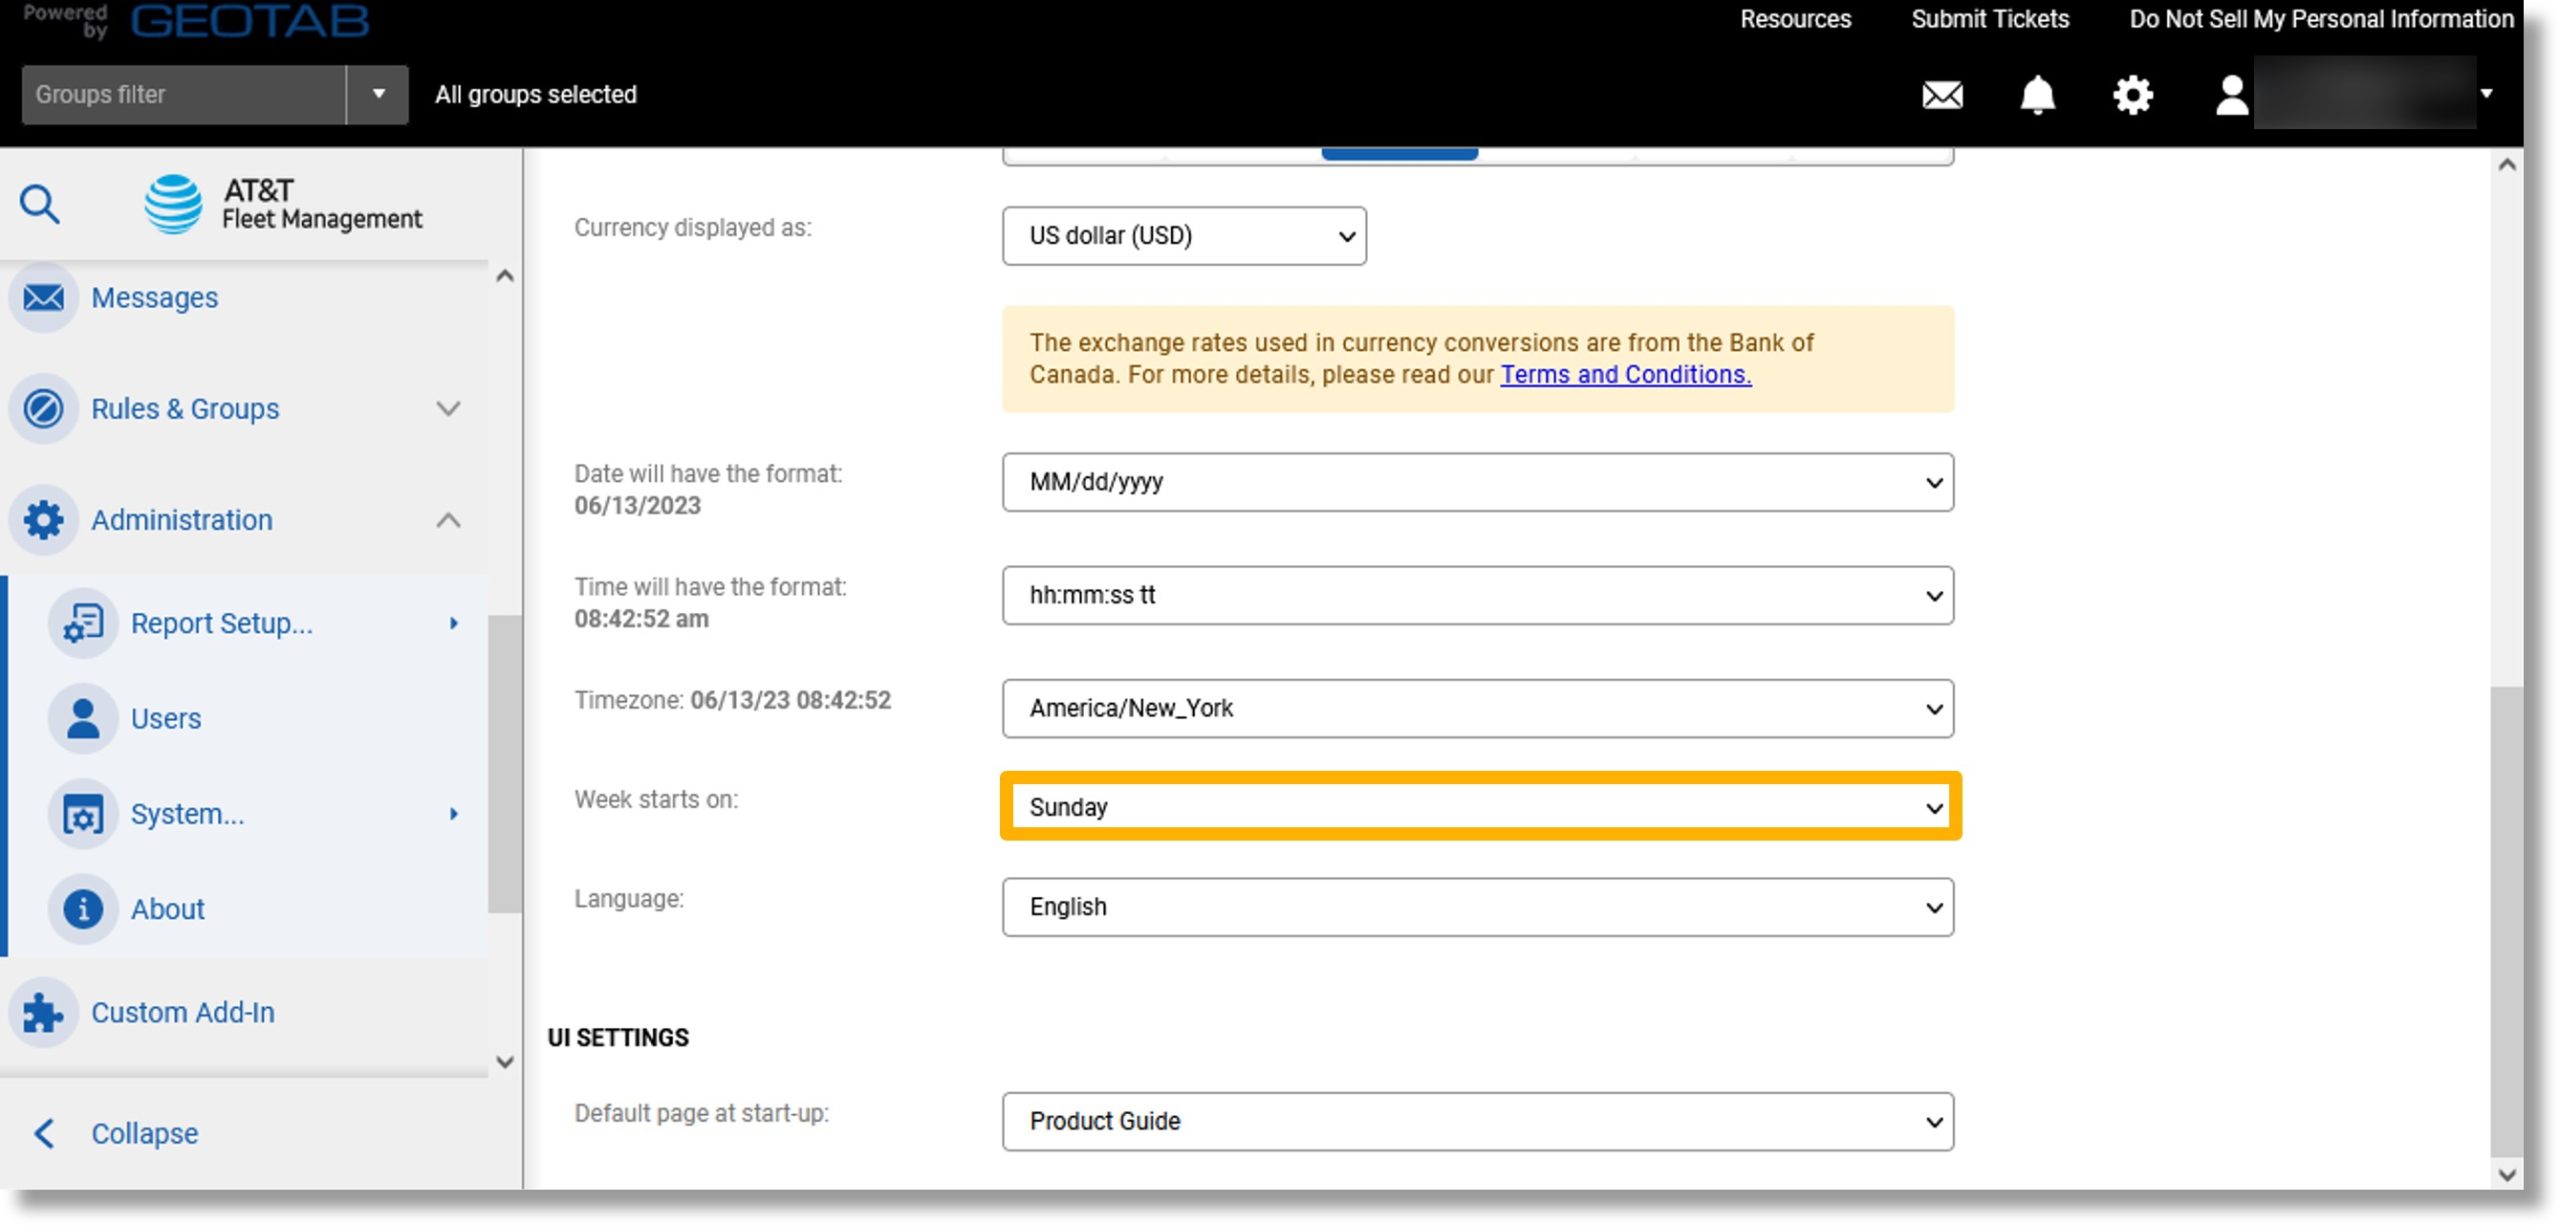
- Select the desired day of the week.
- Click on the drop down to the right of “Language:”.
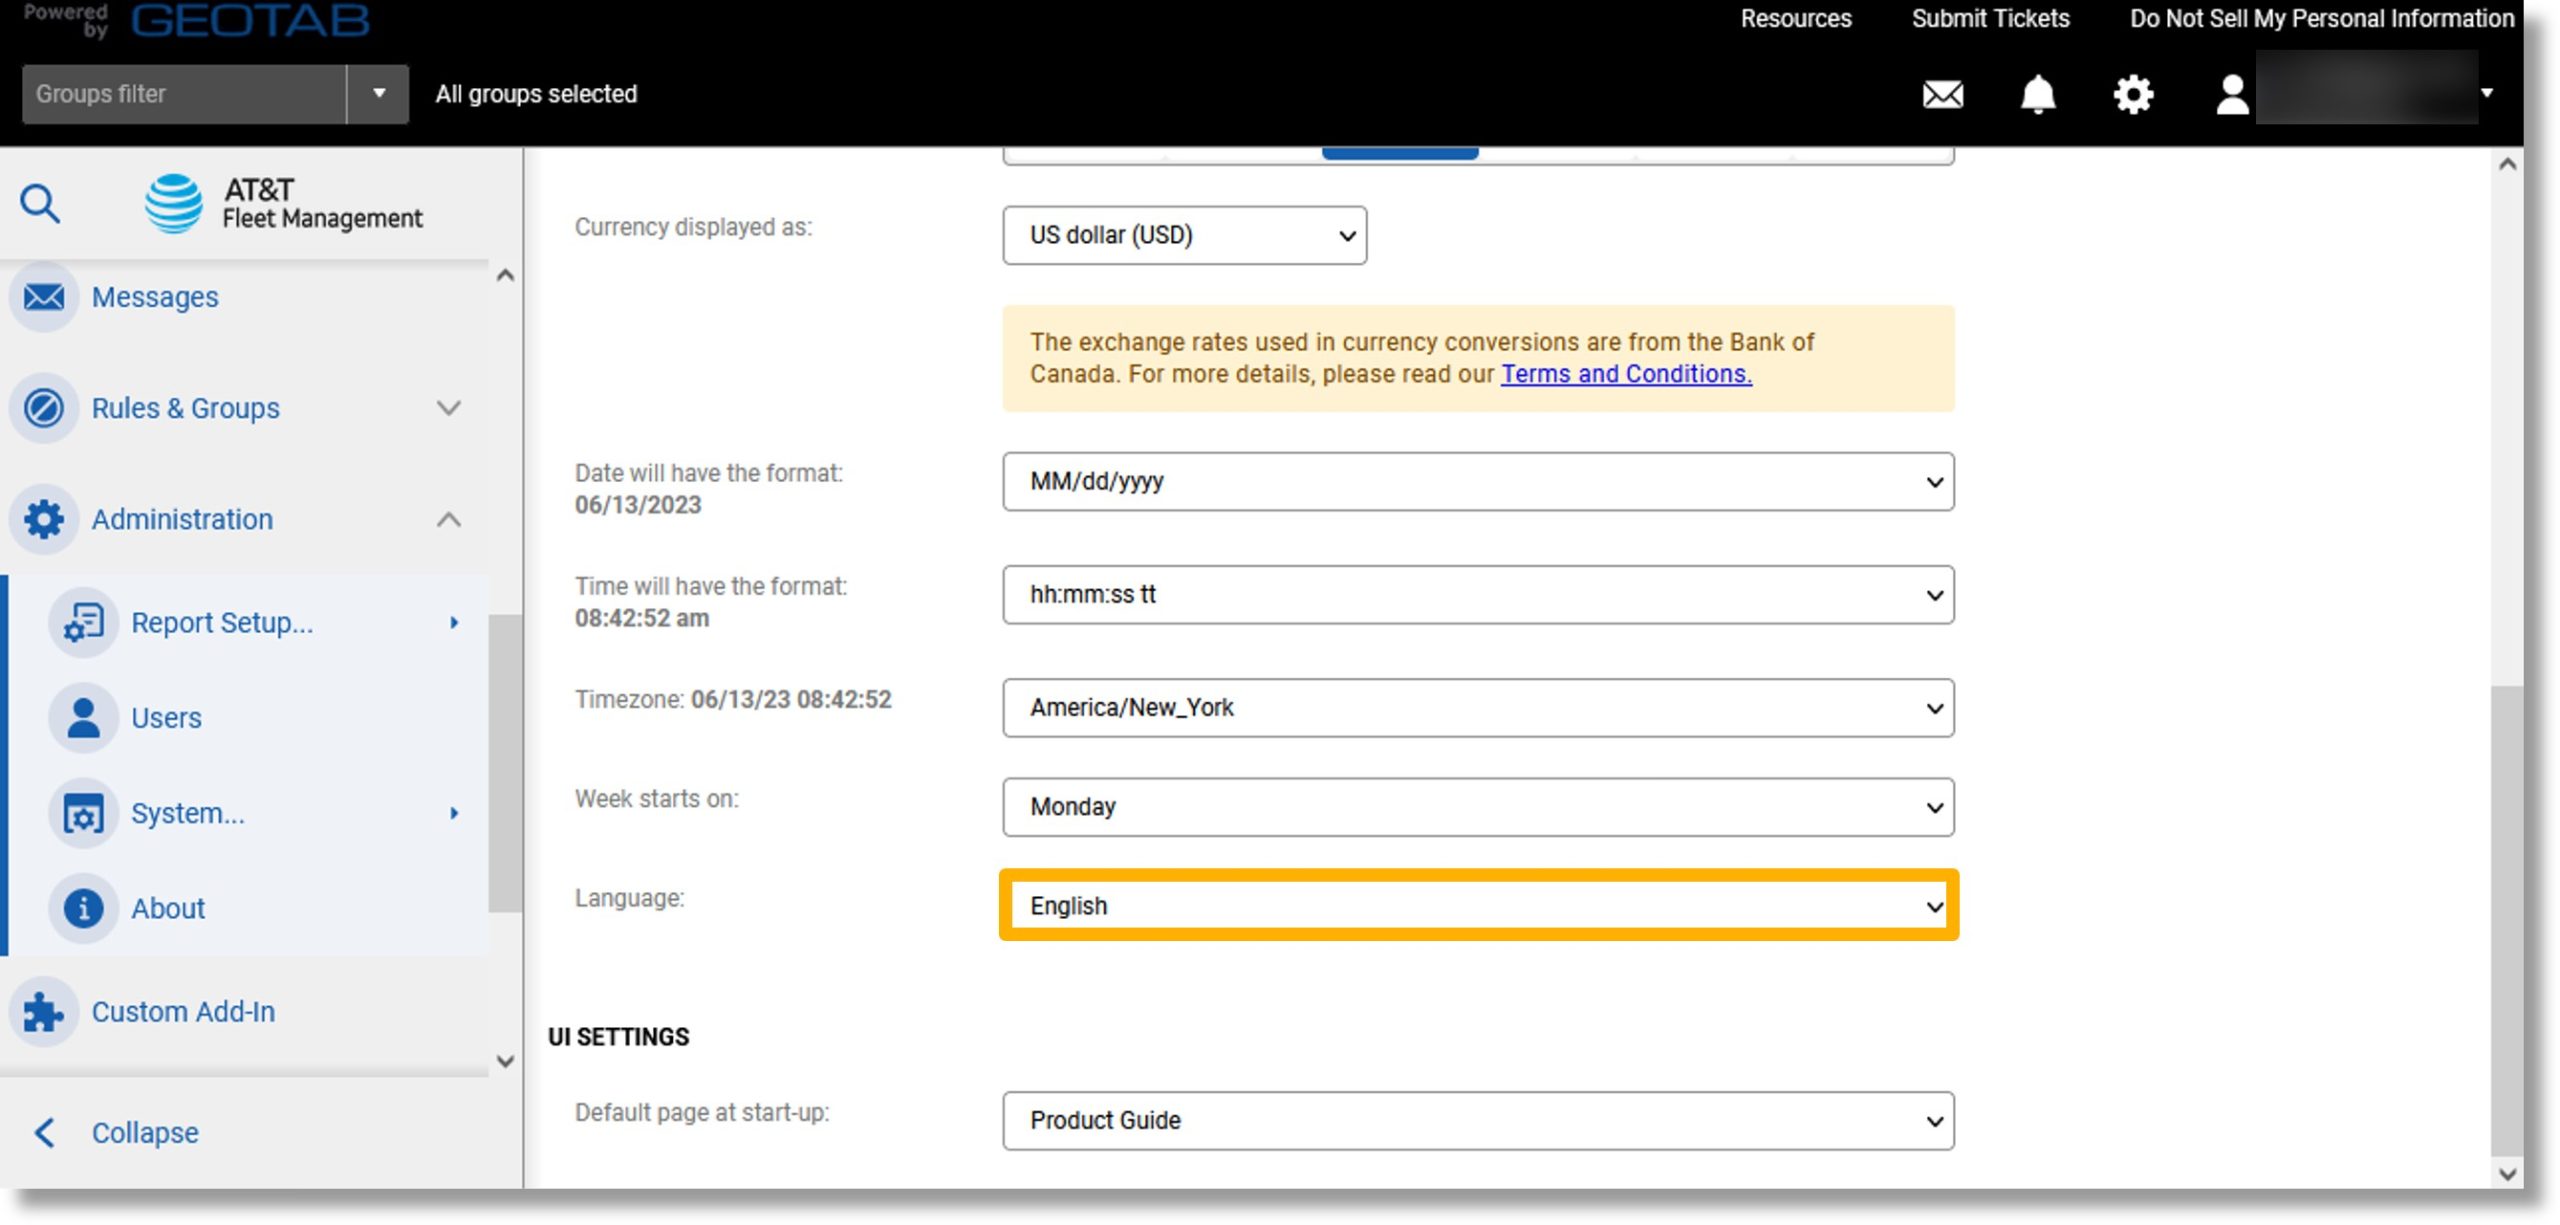
- Select your desired language.

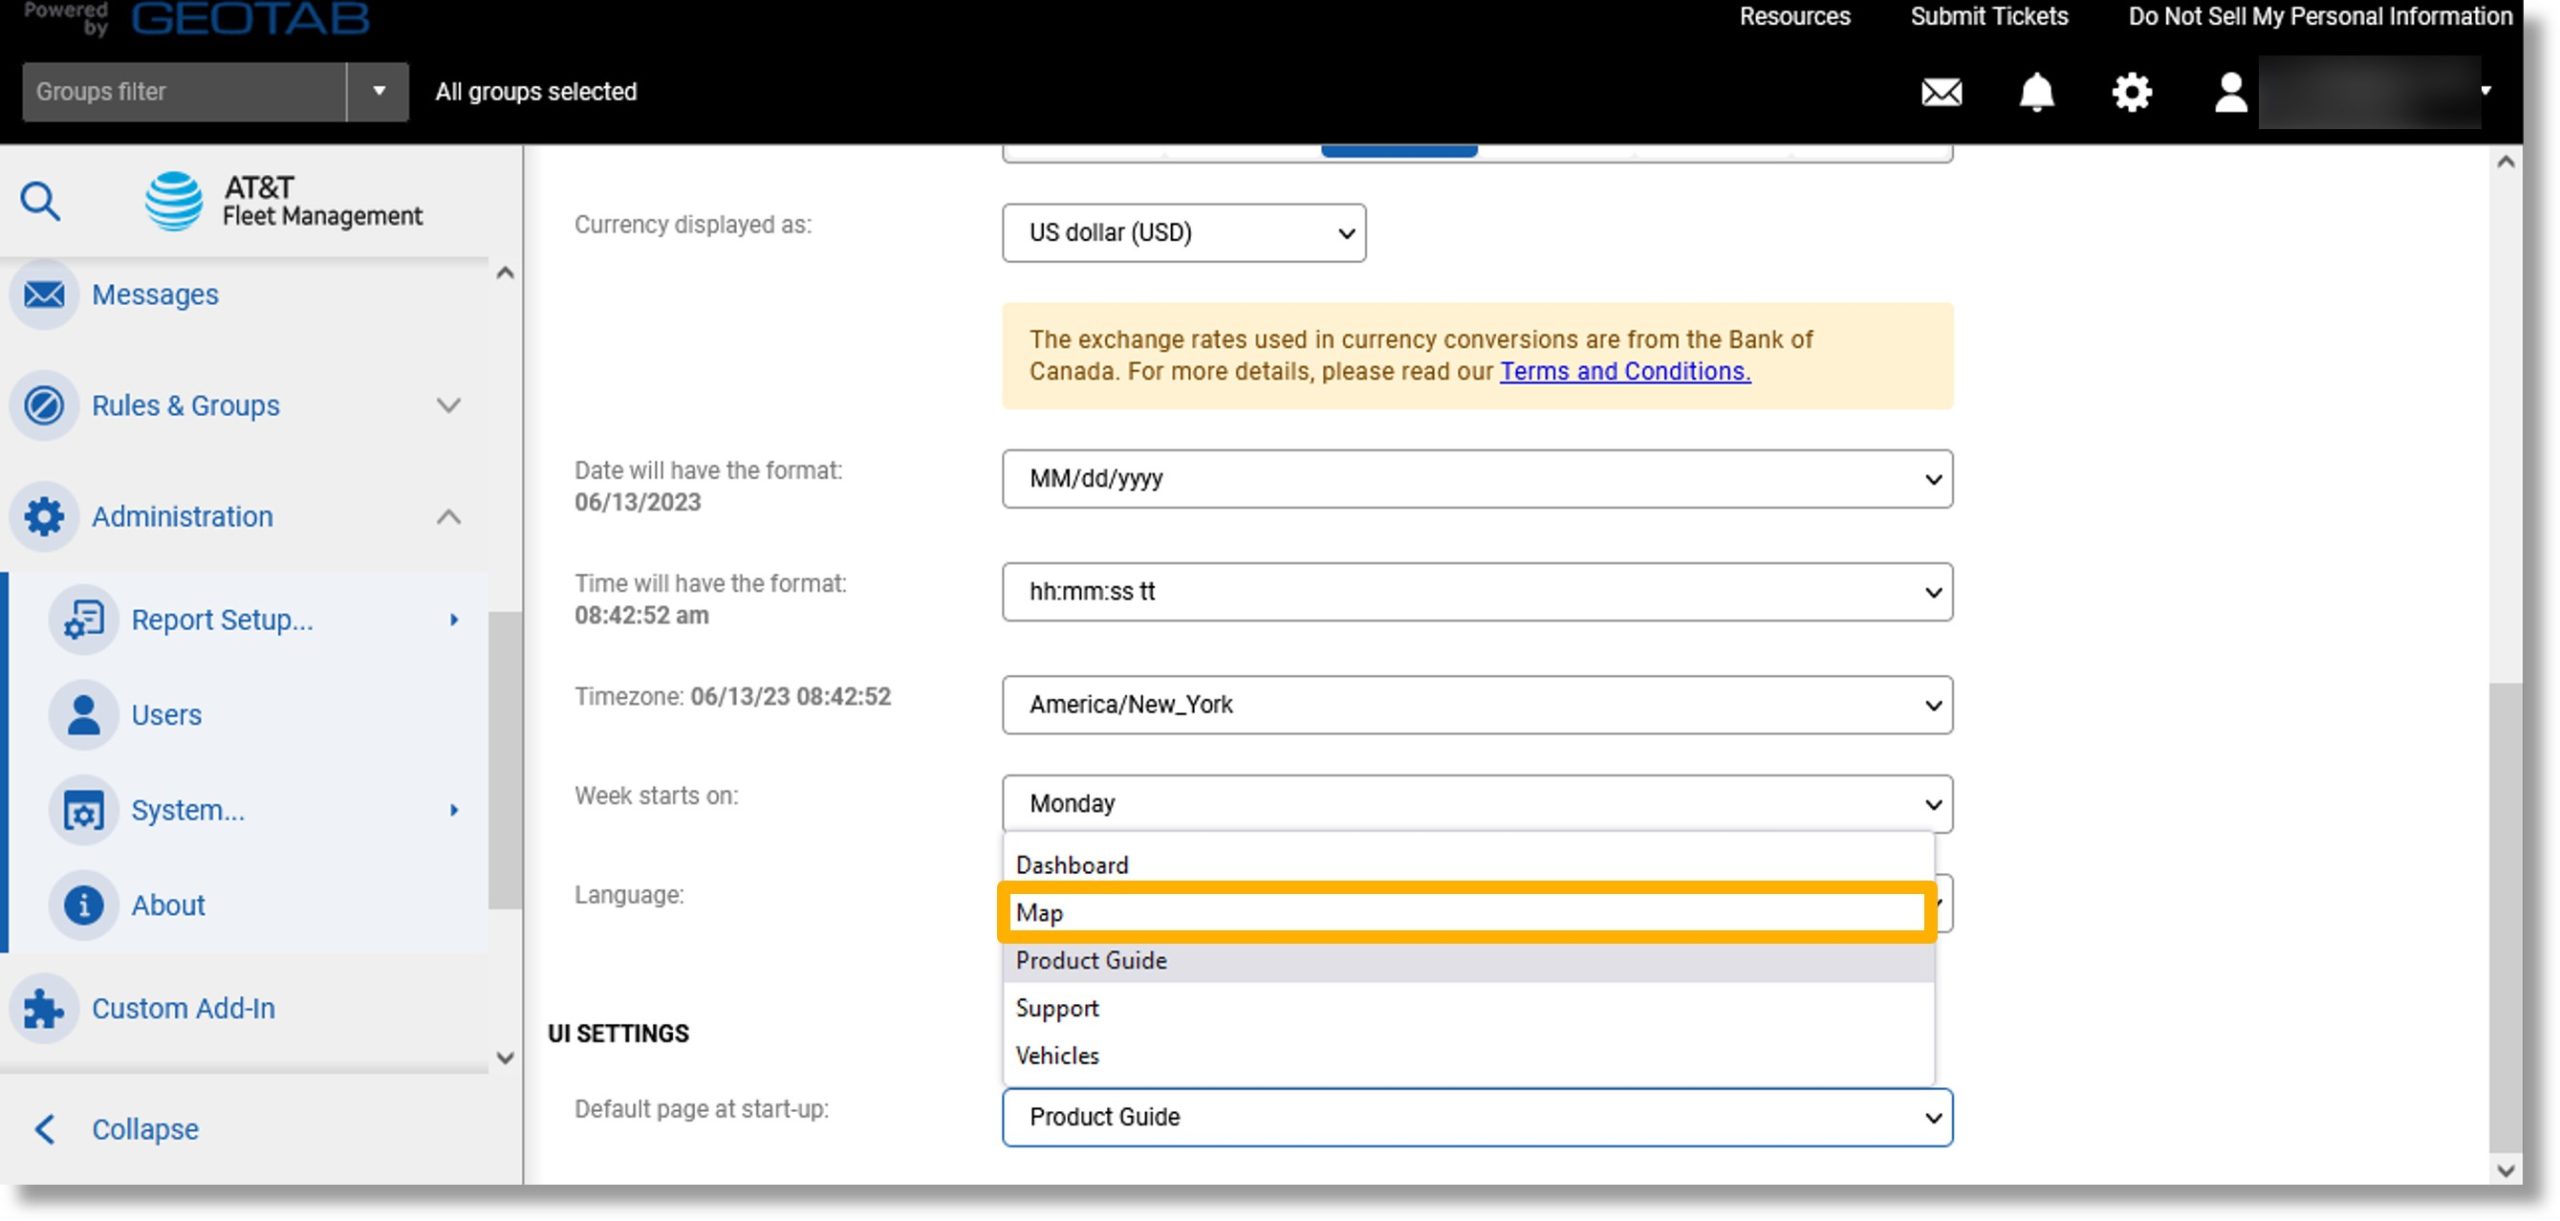
- Click on the drop down to the right of “Default page at start-up:”.
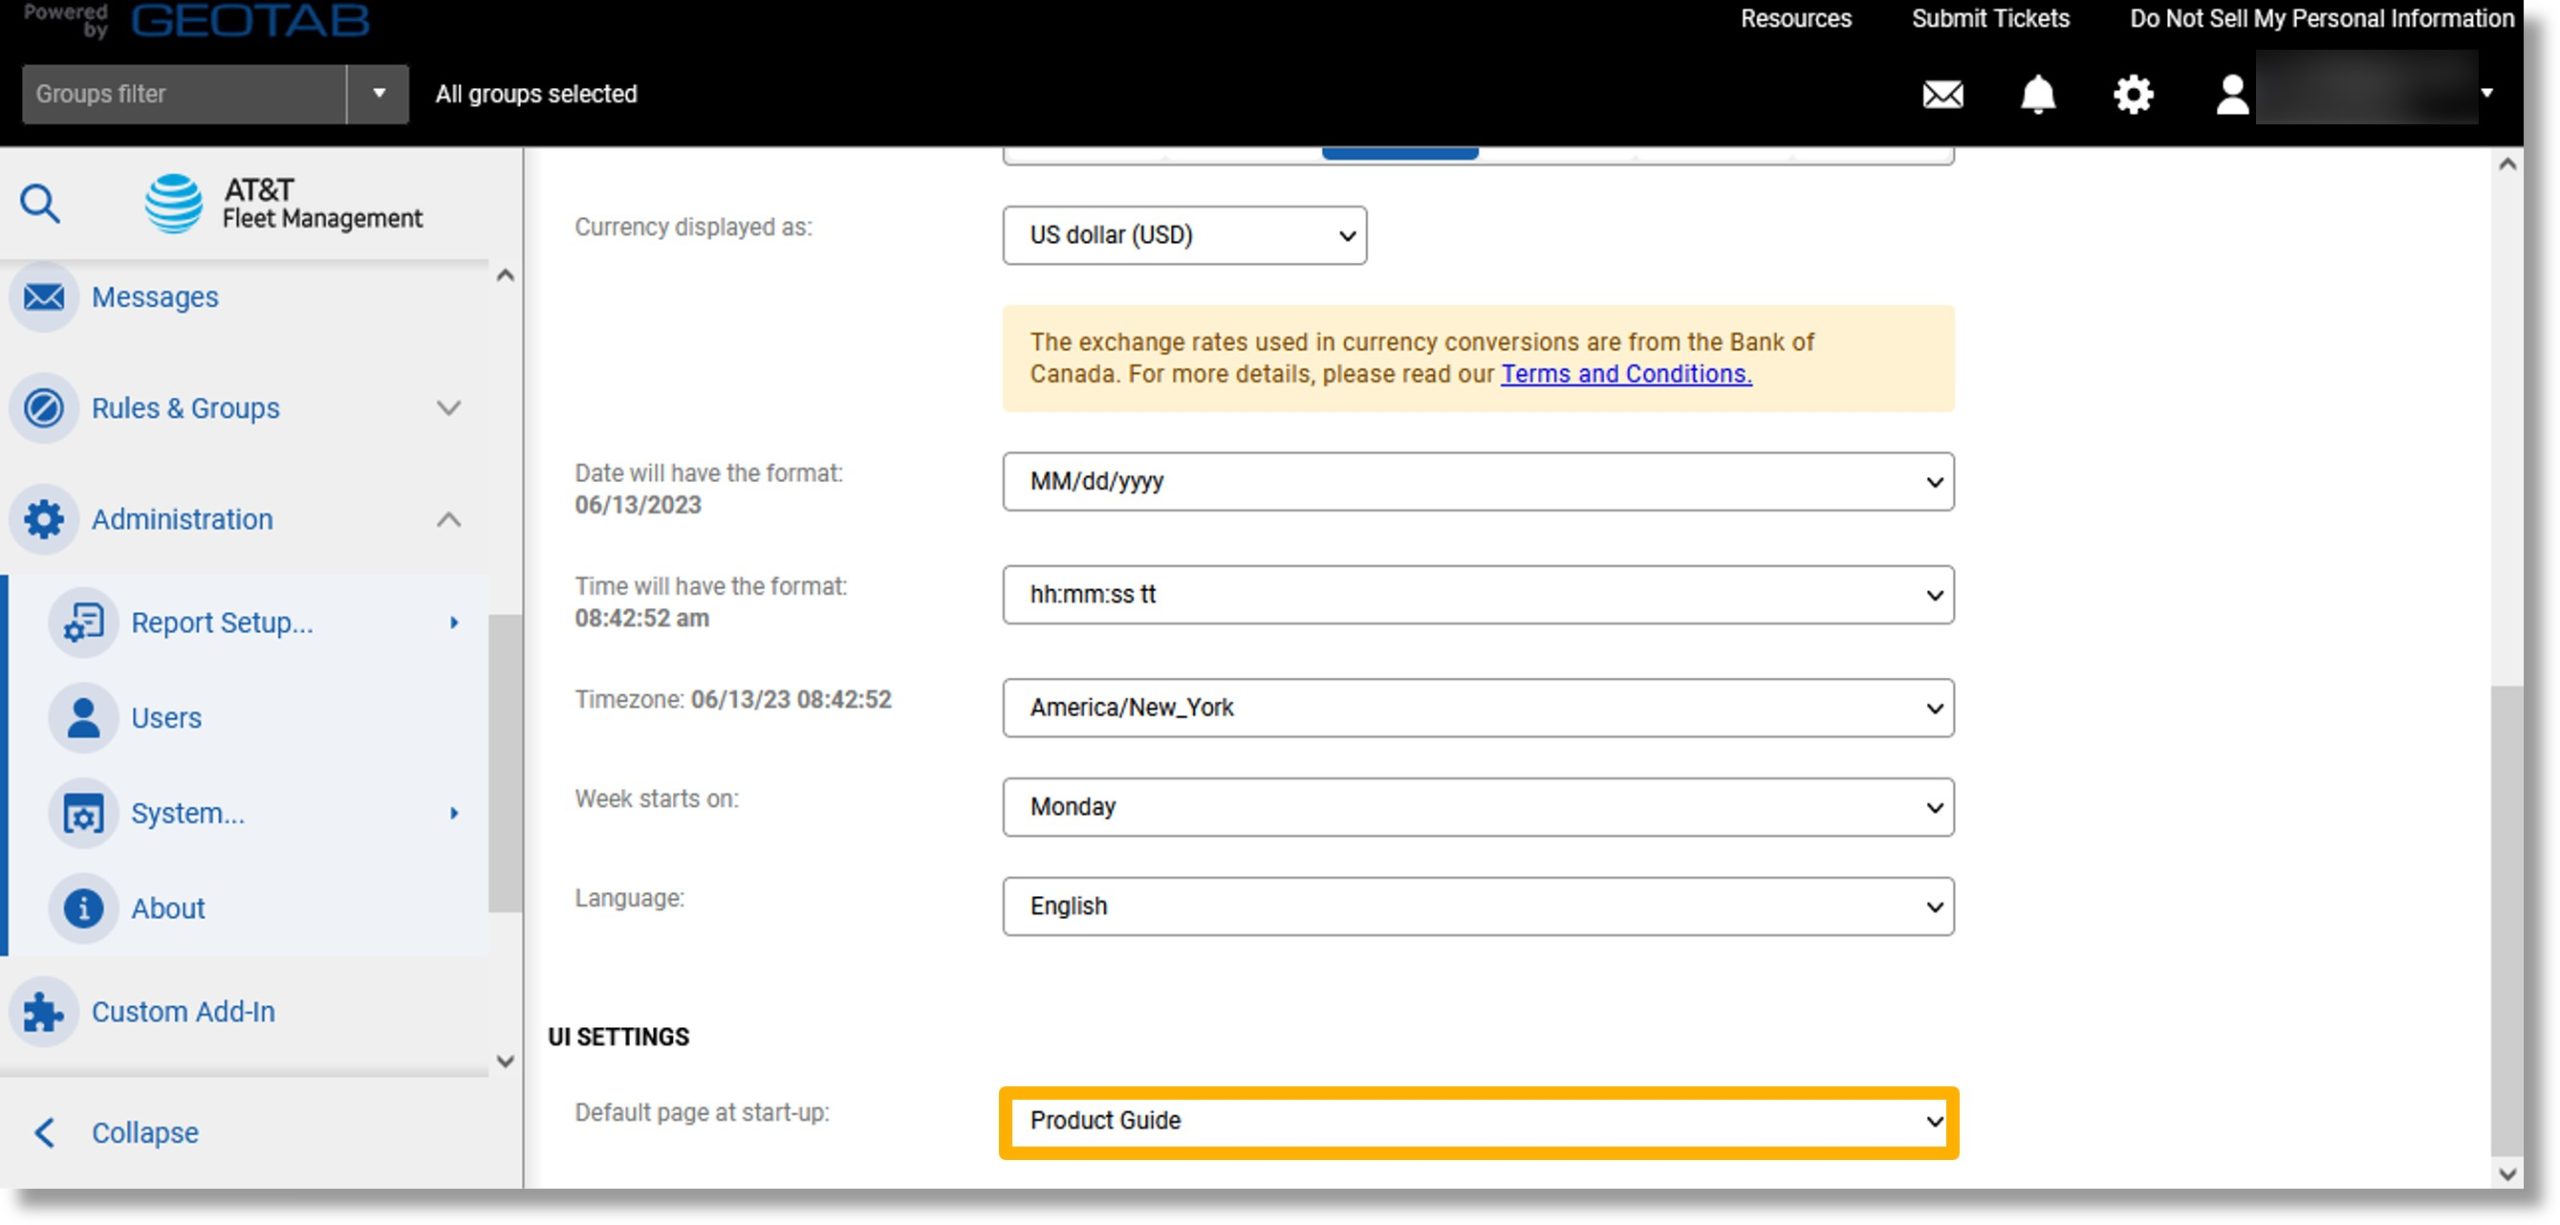
- Select the desired start page.
- Scroll to the top of the page.
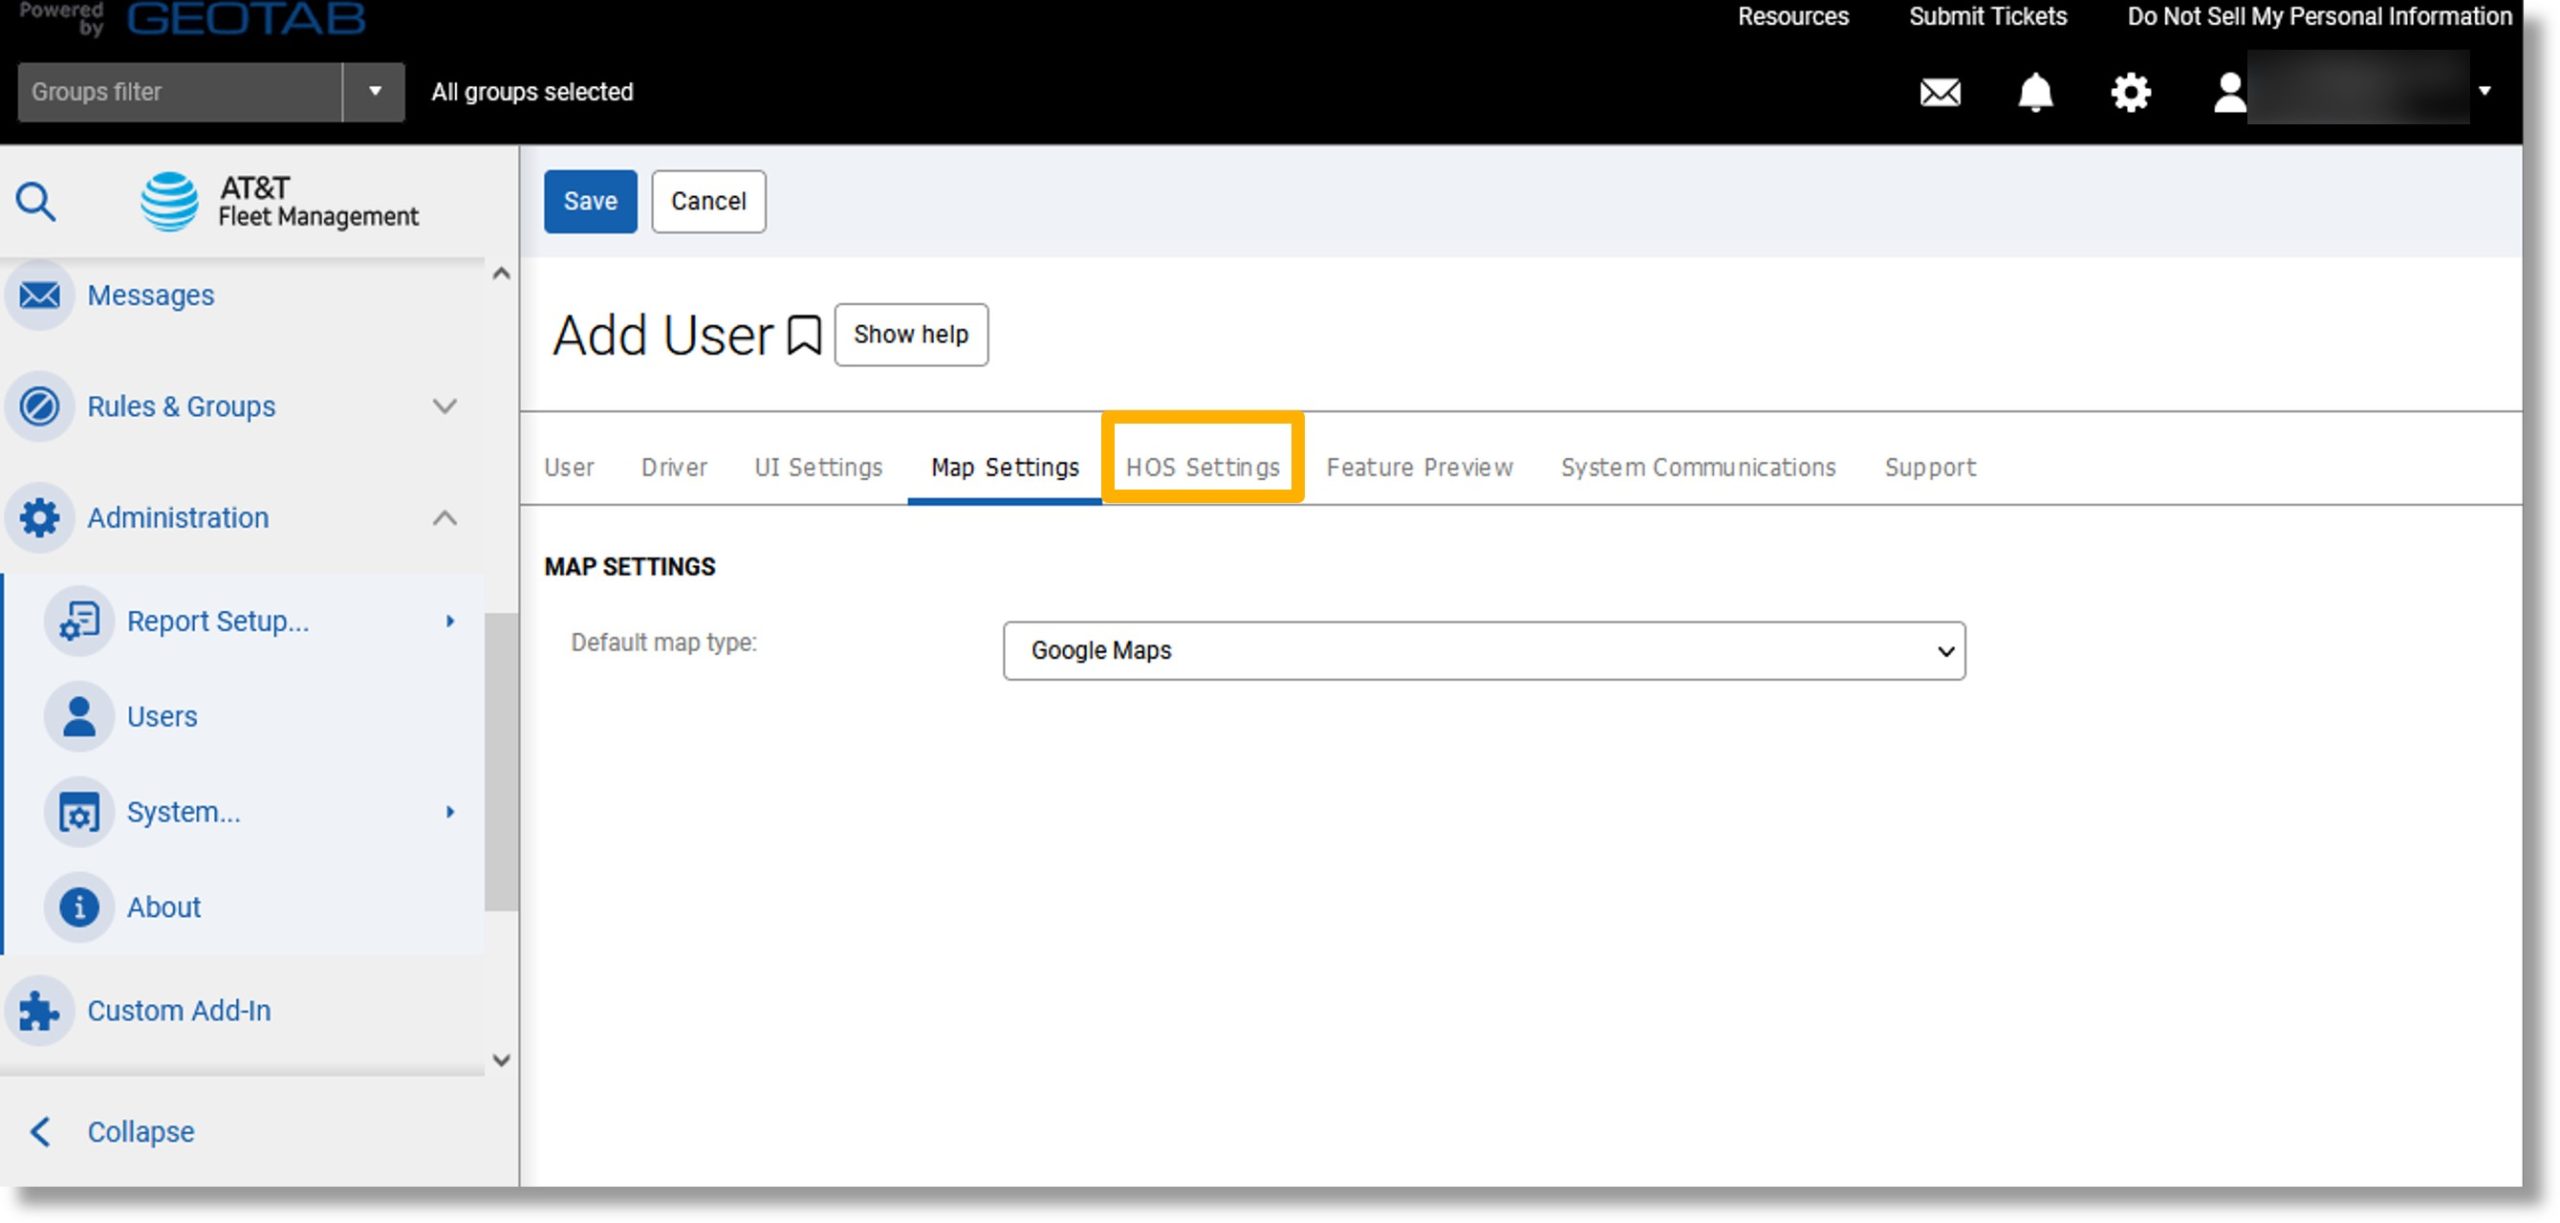
Configure the map settings
- Click on the Map Settings tab.
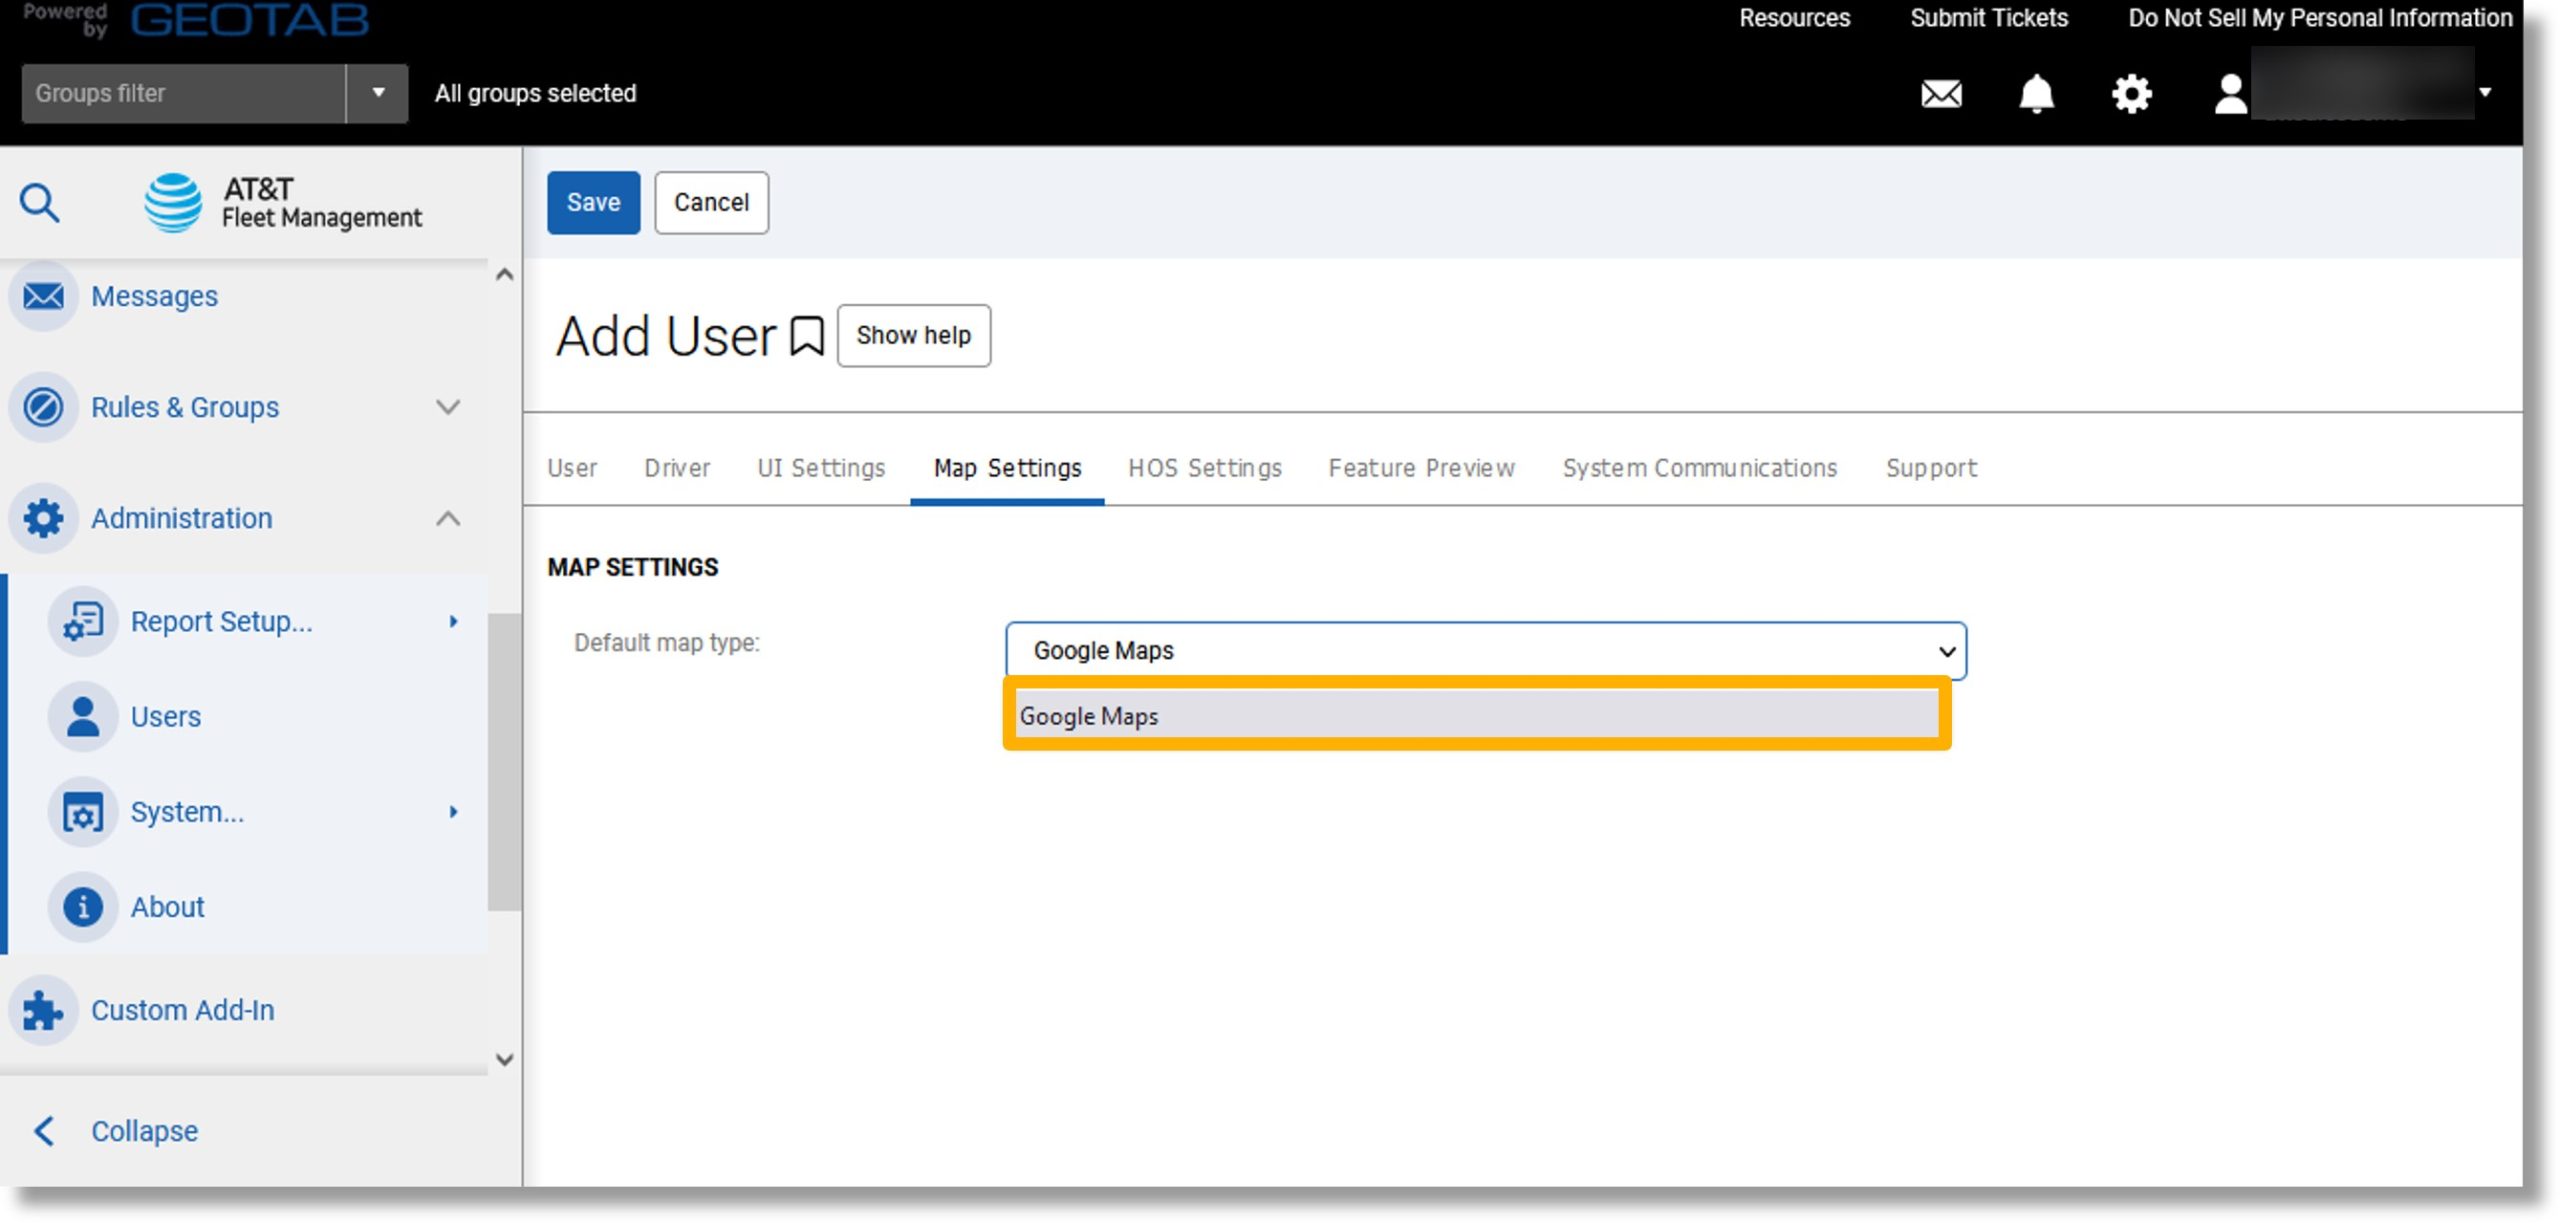
- Click on the drop down to the right of “Default map type:”.
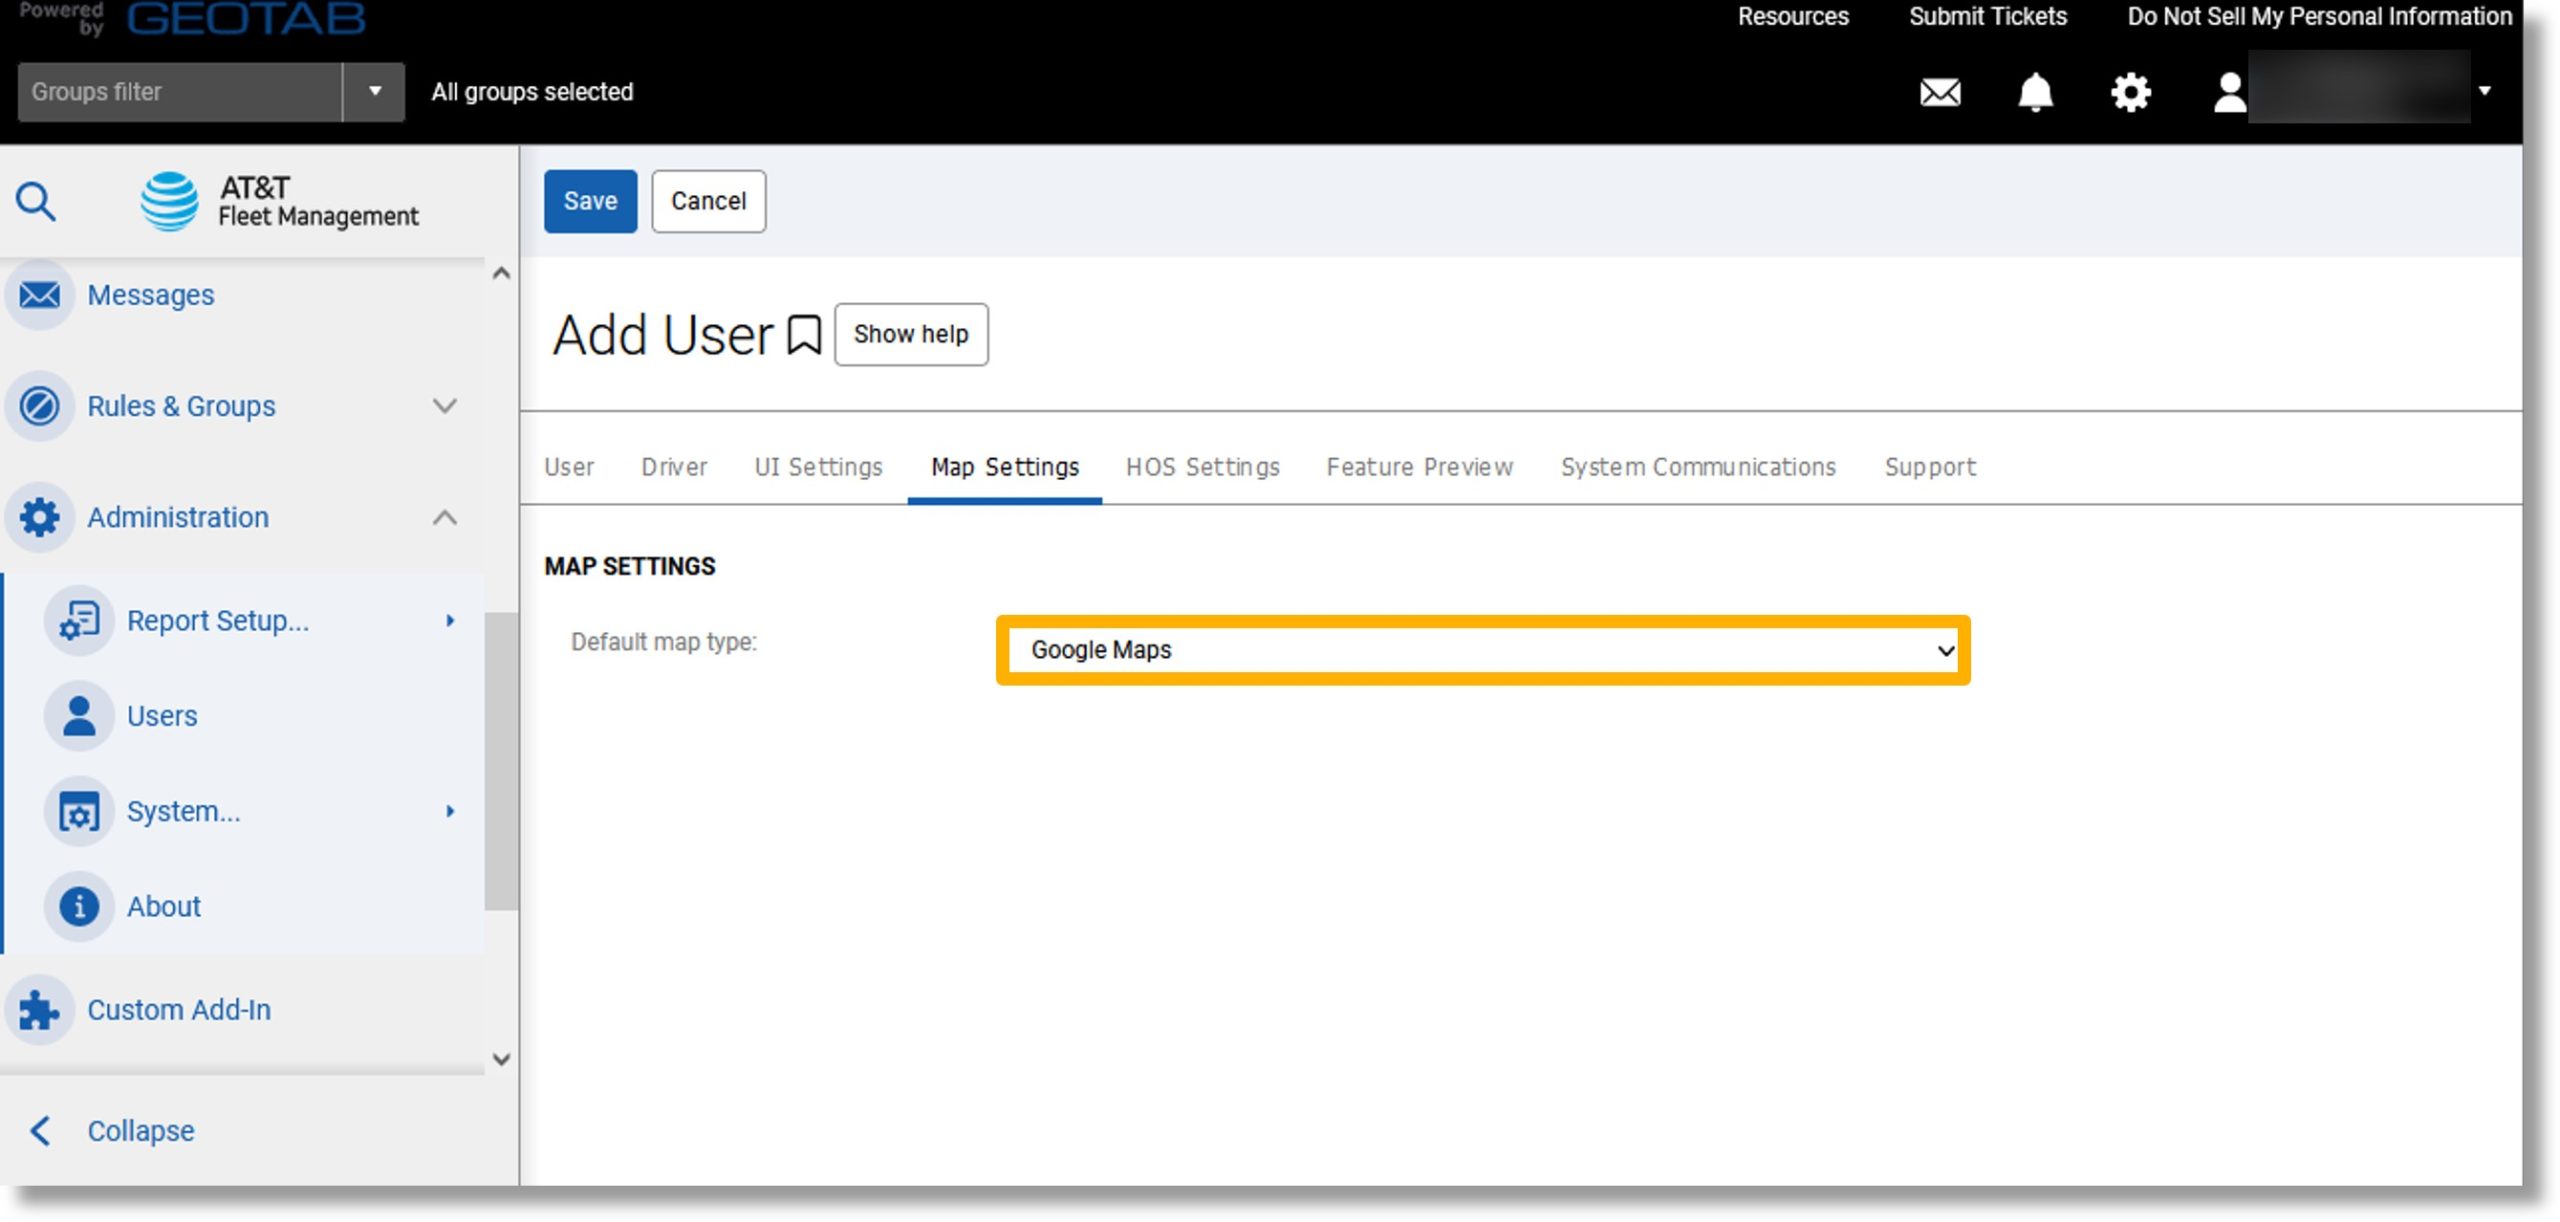
- Select the default map type.
Note: There may be additional settings displayed. Select the desired options for the settings.
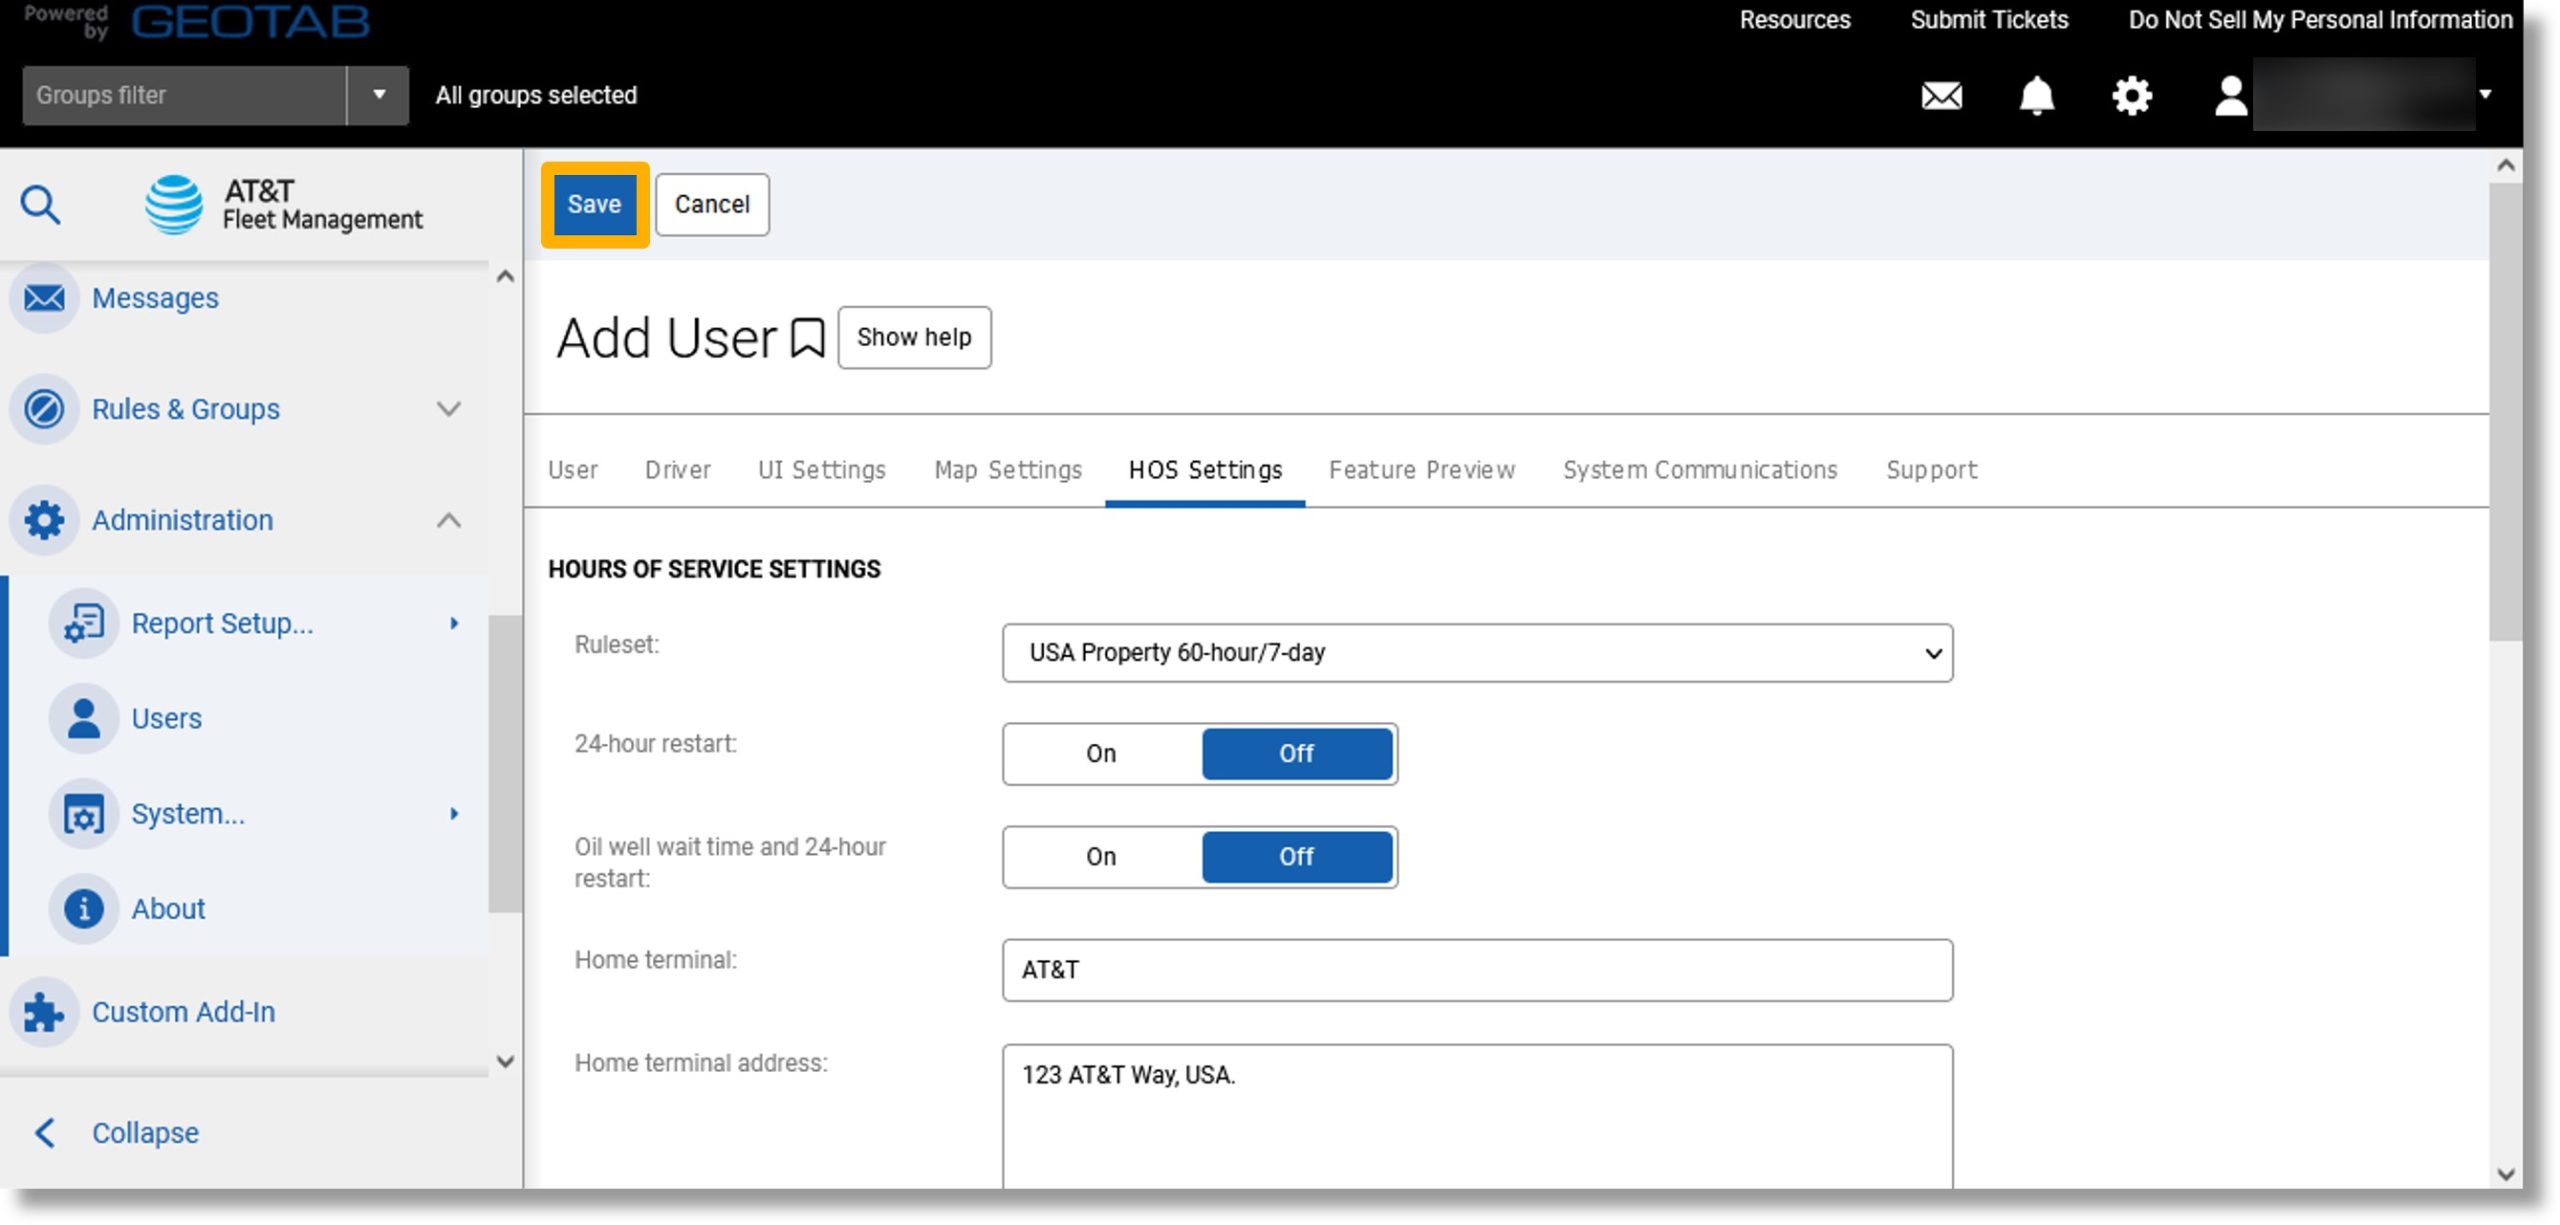
Configure the hours of service settings
Note: The HOS Settings tab may not be visible for some user types.
- Click on the HOS Settings tab.
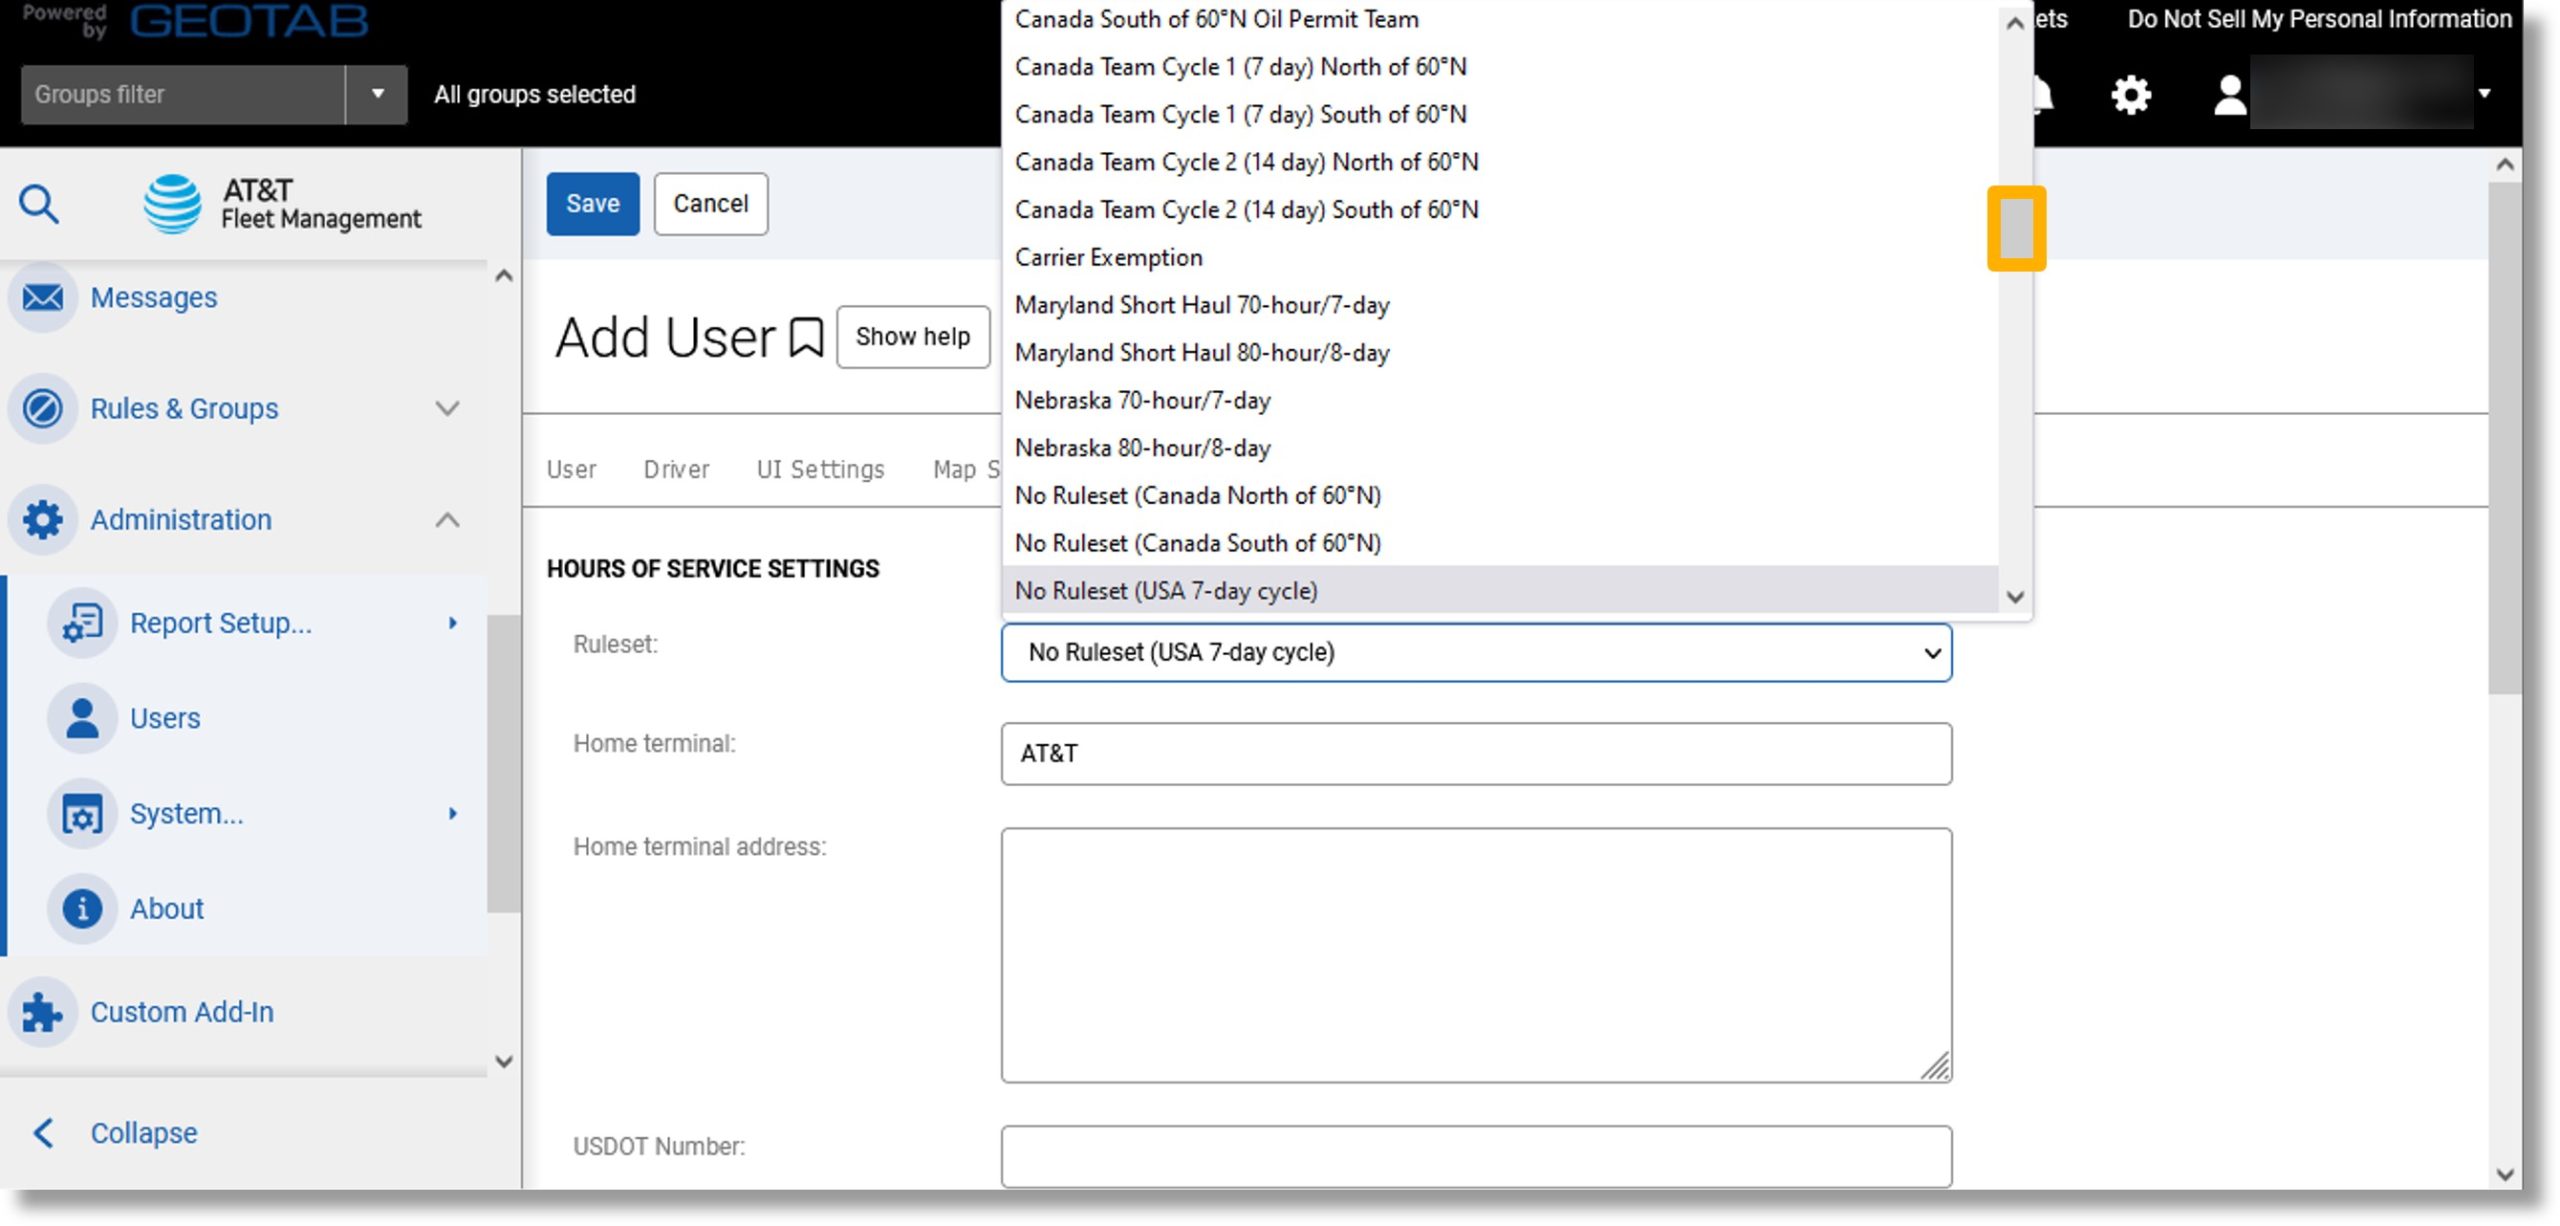
- Click on the drop down to the right of “Ruleset:”.
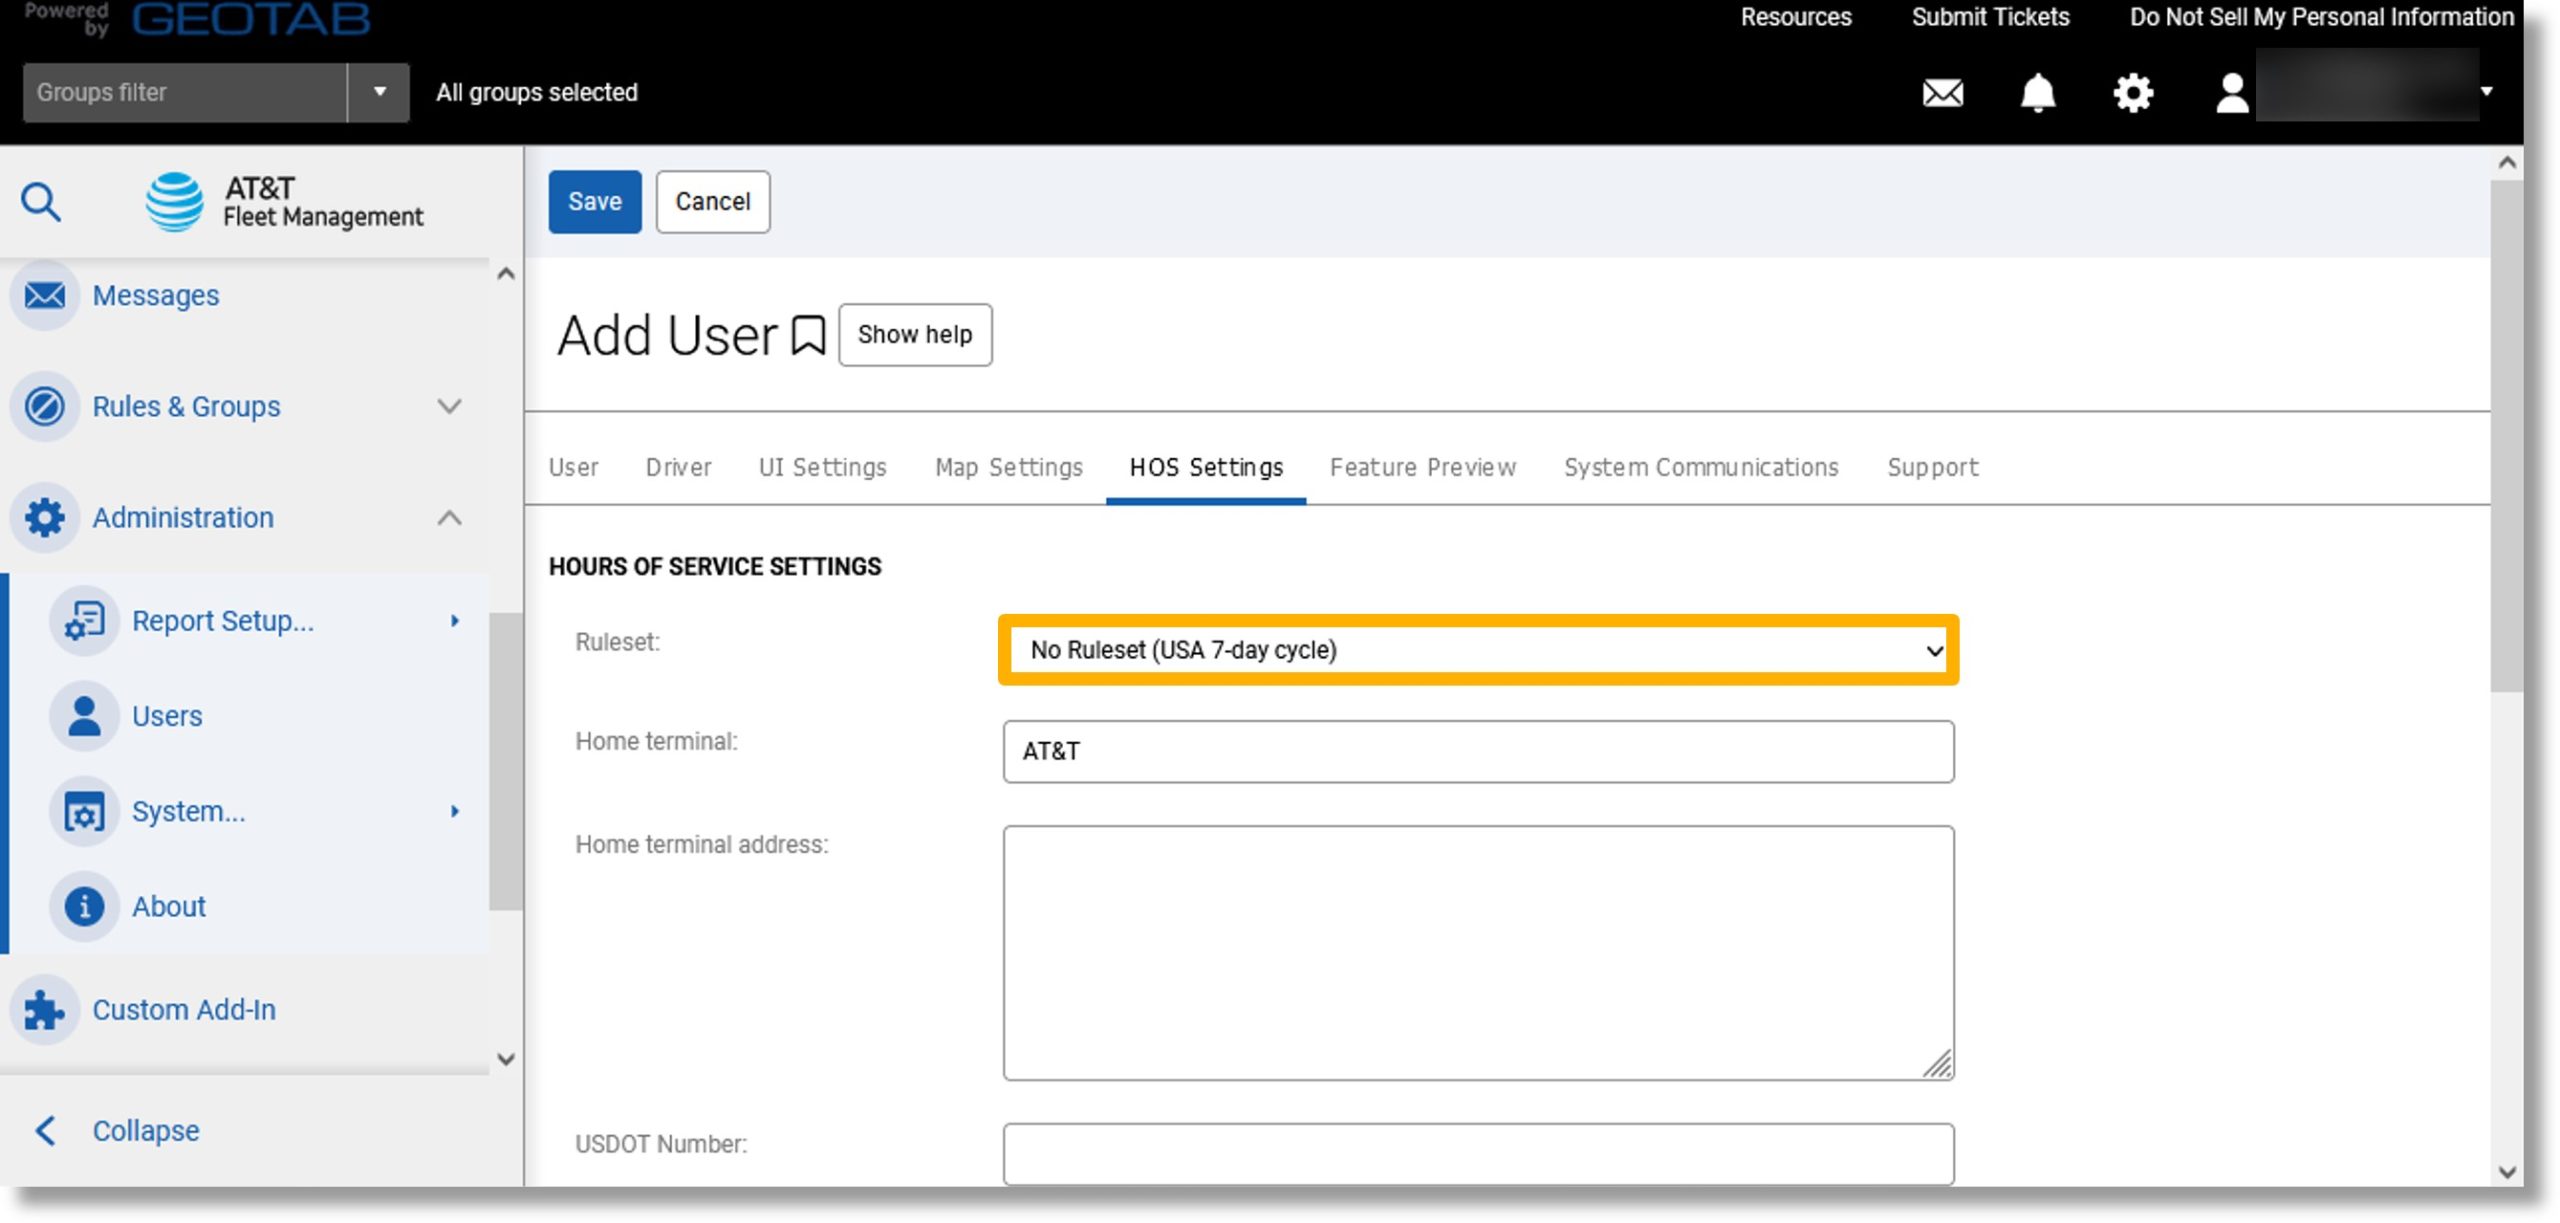
- Scroll to and click on the desired ruleset.
- Select the desired ruleset settings.
Note: The information requested will change depending on the ruleset chosen.
- Click on the field to the right of “Home terminal:” and enter your desired location.
- Scroll down.
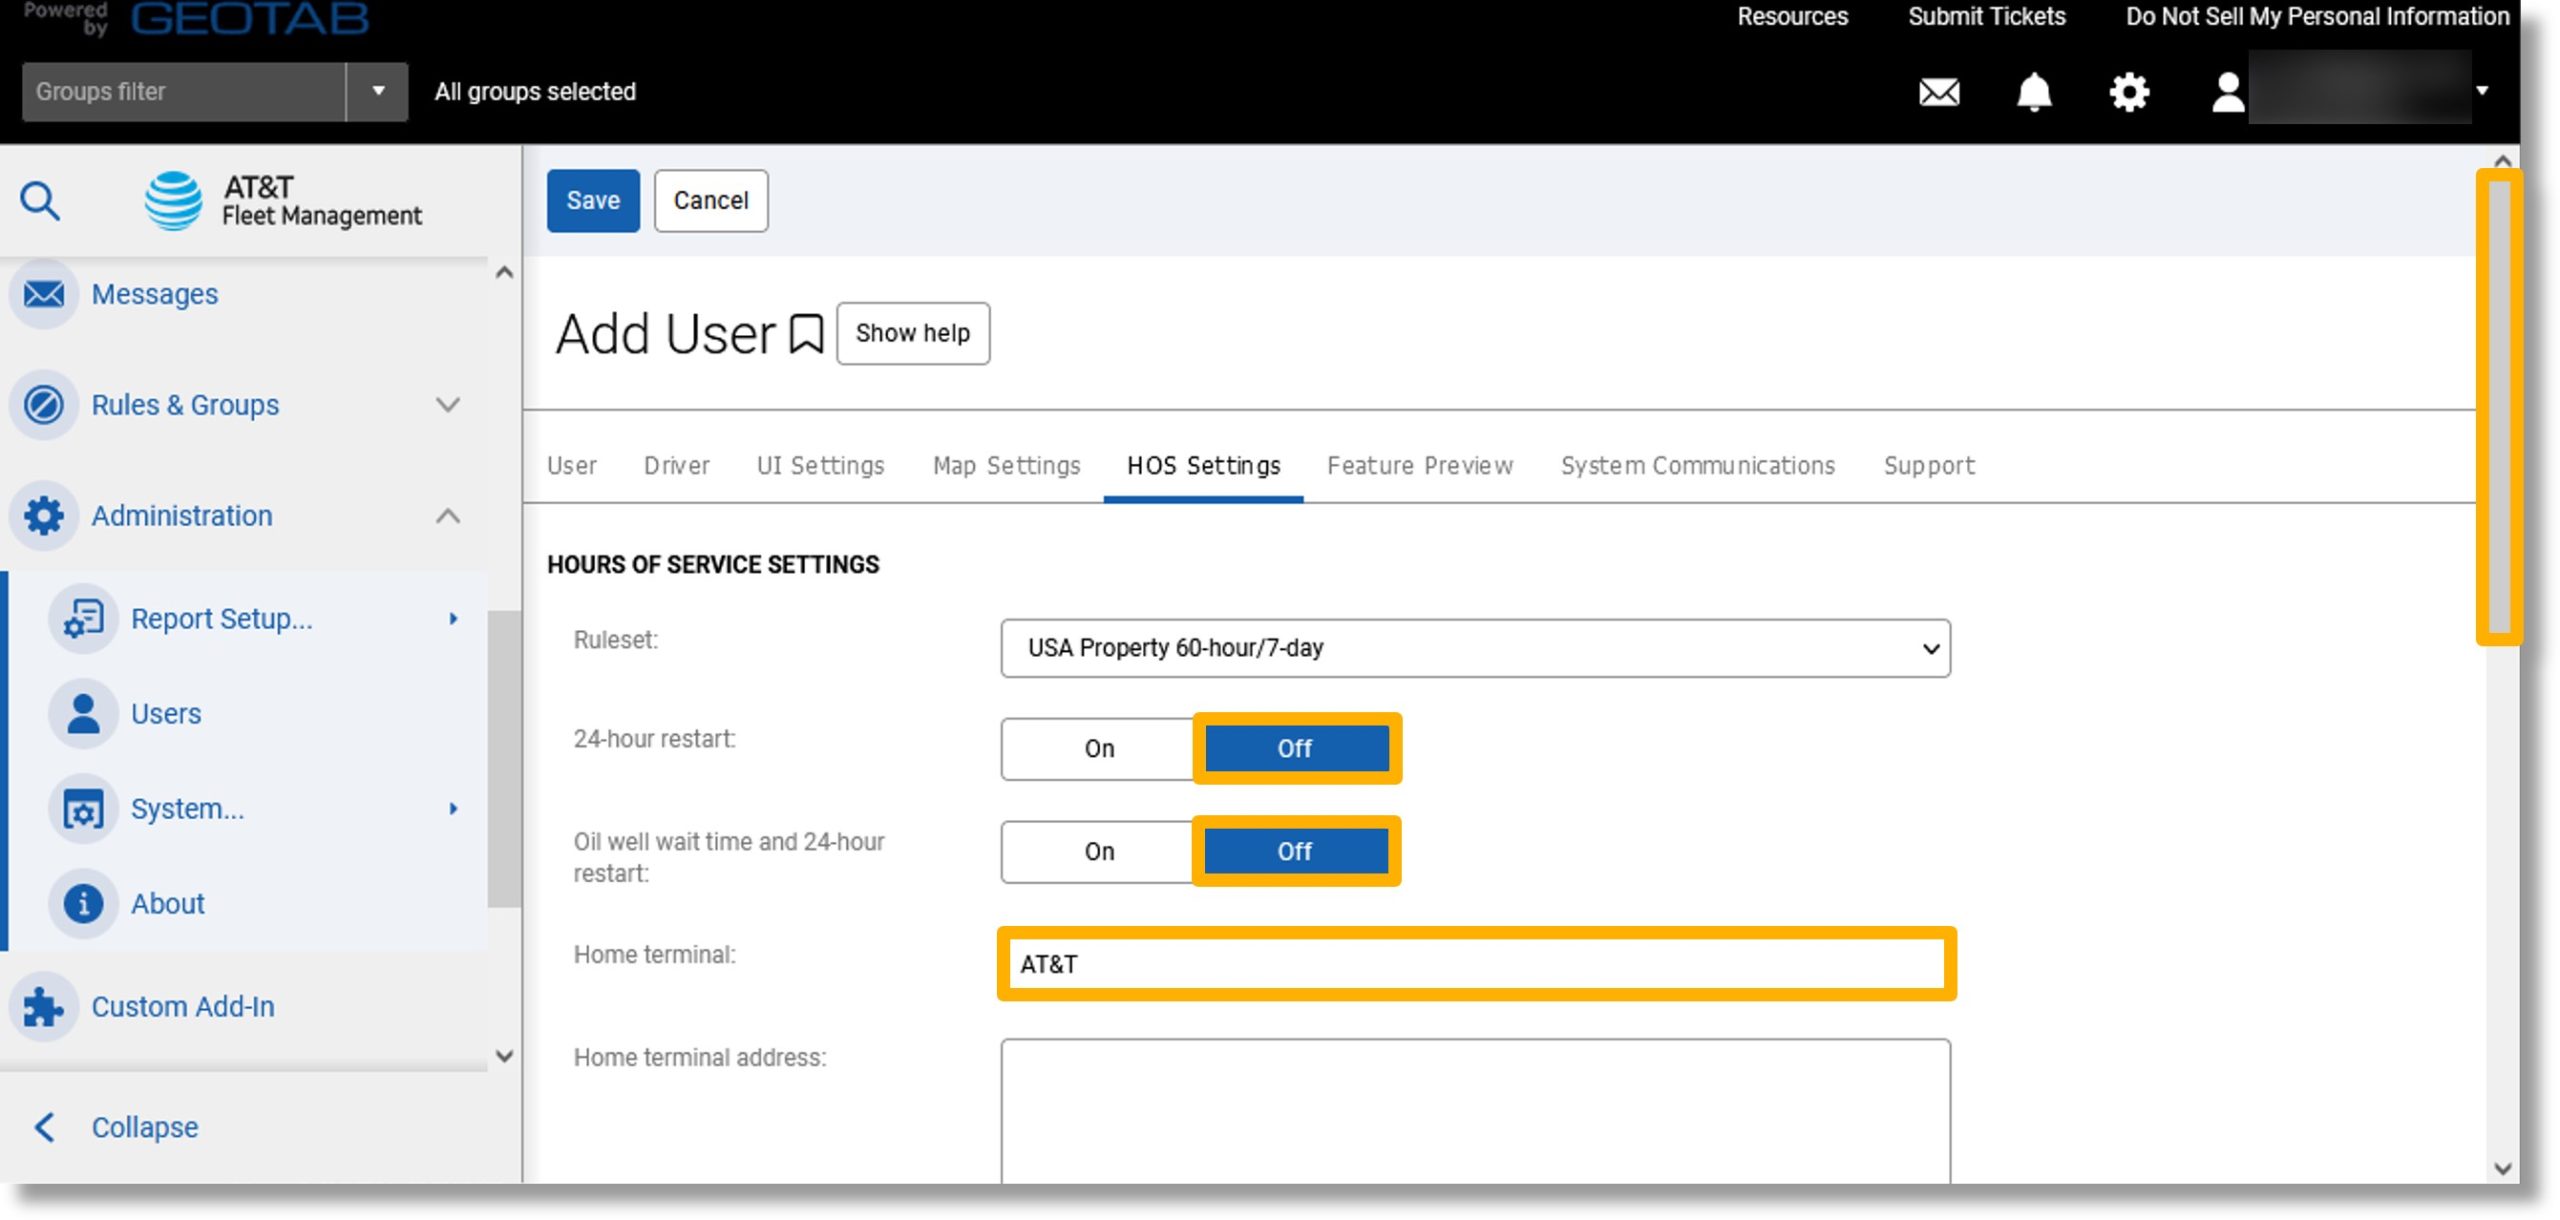
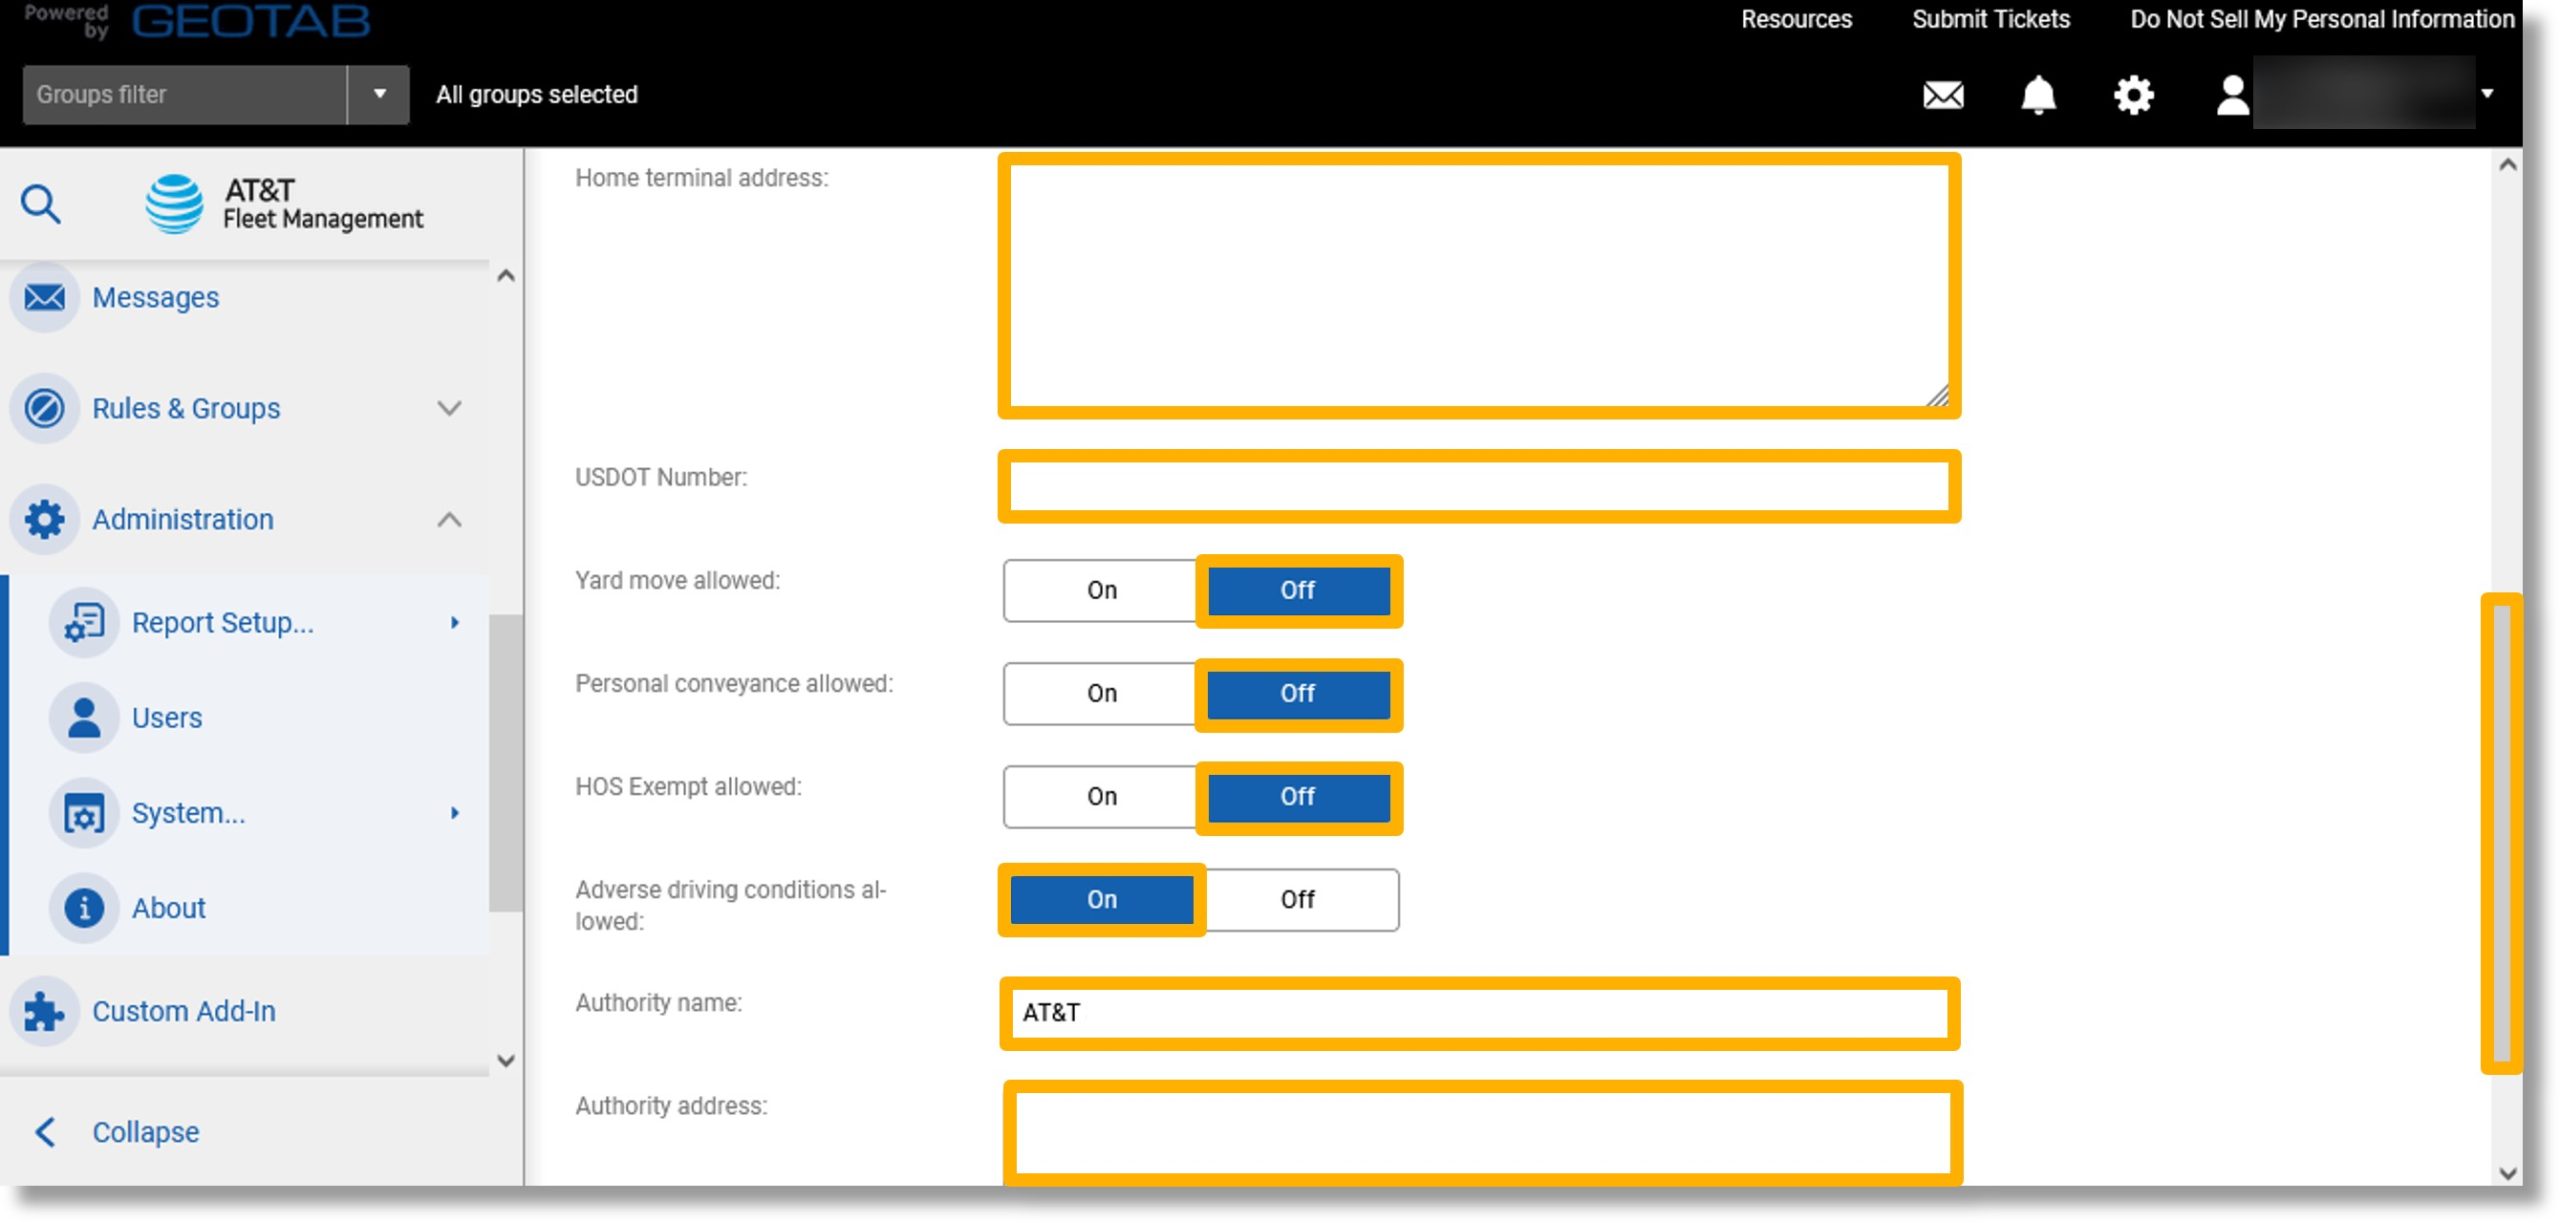
- Click in the field to the right of “Home terminal address:” and enter the home terminal’s address.
- Click on the field to the right of “Carrier number:” and enter your carrier number.
- Scroll down.
- Click On or Off to the right of “Yard move allowed:”.
- Click On or Off to the right of “Personal conveyance allowed:”.
- Click On or Off to the right of “HOS Exempt allowed:”.
- Click in the field to the right of “Authority name:” and enter the desired name.
- Click in the field to the right of “Authority address:” and enter the authority’s address.
- Scroll to the top of the page.
Note: Additional tabs may display depending on the user role you chose. Click on the additional tabs and configure the settings as desired.
- Click the Save button.