TOP

AT&T Fleet Complete

Learn how to set up AT&T Fleet Complete, your solution for a more efficient and responsive fleet. Find tips on how to use available dispatching, routing, tracking, and reporting features while engaging in two-way communications between your operations staff and couriers.

Back to Product Page
Use the dropdown to get support, or purchase this product

Related Content

No related content found

Create a Geofence in AT&T Fleet Complete

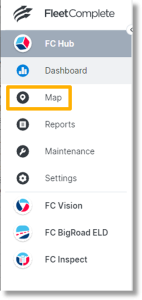
  1. Click Map on the left side bar.

    Click Map on the left side bar.

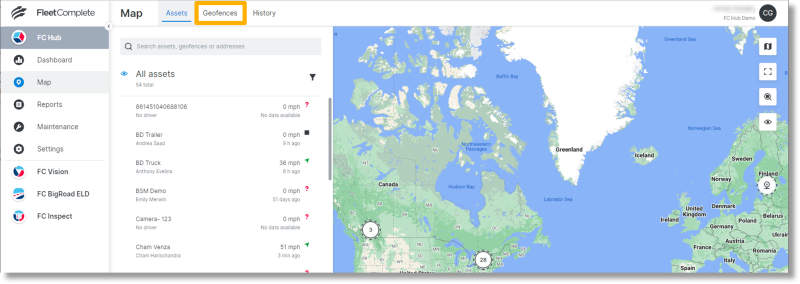
  2. Click Geofences.

    Click Geofences.

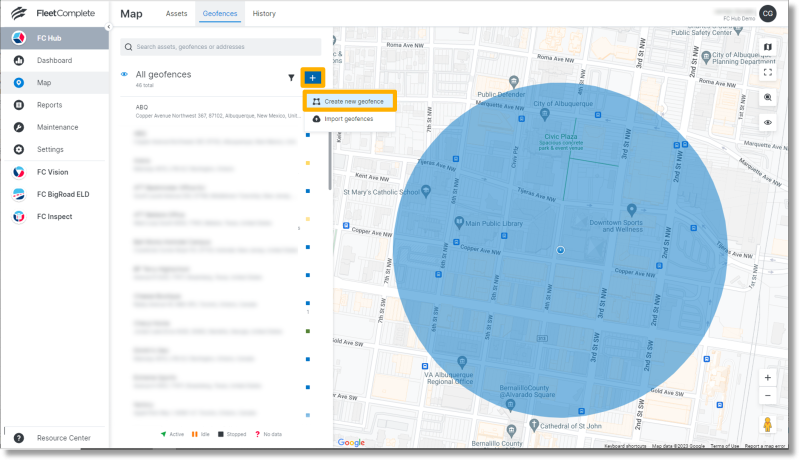
  3. Click the plus sign and then click Create new geofence.

    Click the plus sign and then click Create new geofence.

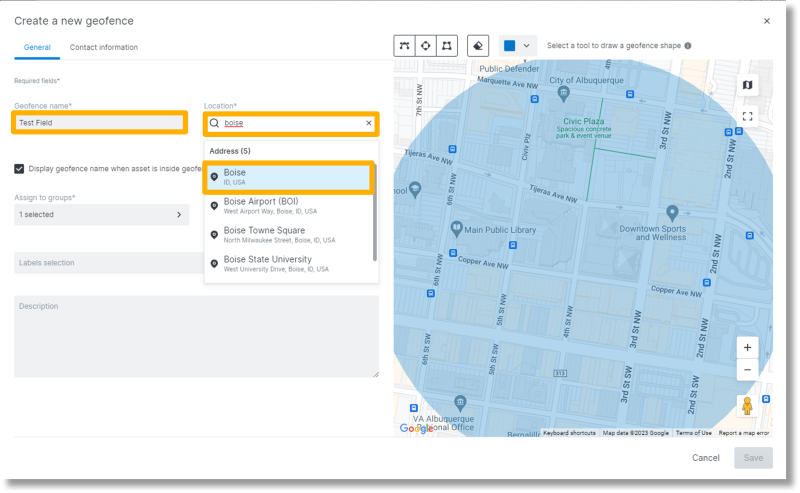
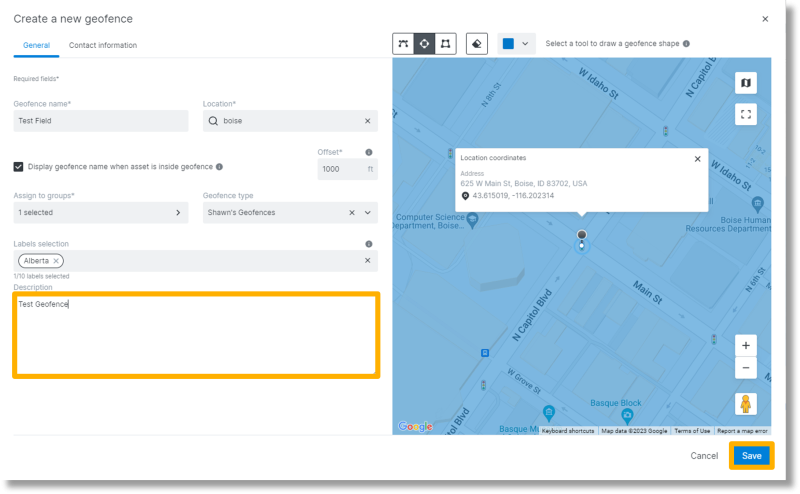
  4. Click inside the “Geofence name*” field and enter the name for the new geofence.
  5. Click inside the field below “Location*” and begin typing the name of the location for the geofence.
  6. Once the desired location populates, select it.

    Type geofence name and location.

  7. If you would like to display the geofence name when asset is inside the geofence, click the box to the left to select this option.
  8. In the field below “Offset*”, type the number in feet of how large the geofence should be.
  9. Click inside the field below “Assign to groups*” and choose a group for the geofence.
  10. Click inside the field below “Geofence type” to select an option or to add a new geofence type.

    Make field selections.

  11. Click inside the optional field below “Description” to type any description.
  12. Click Save.

    Type the description and click Save.

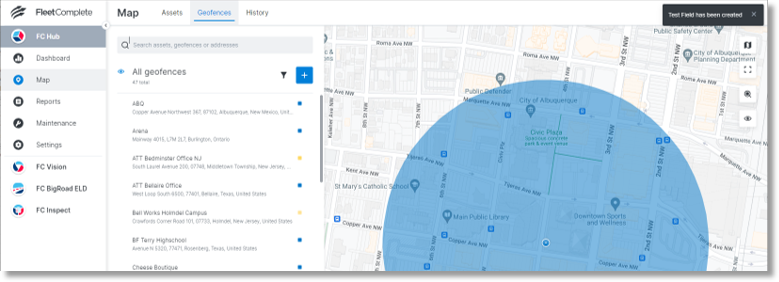
  13. A notification appears at the top right to confirm the creation of the new geofence.

    A notification appears at the top right to confirm the creation of the new geofence.