Add AT&T Workforce Manager to your account
This tutorial provides instructions on how to connect your AT&T Workforce Manager account to your AT&T Fleet Management for Enterprise/Government account.
You will need to perform three steps:
Create a New User
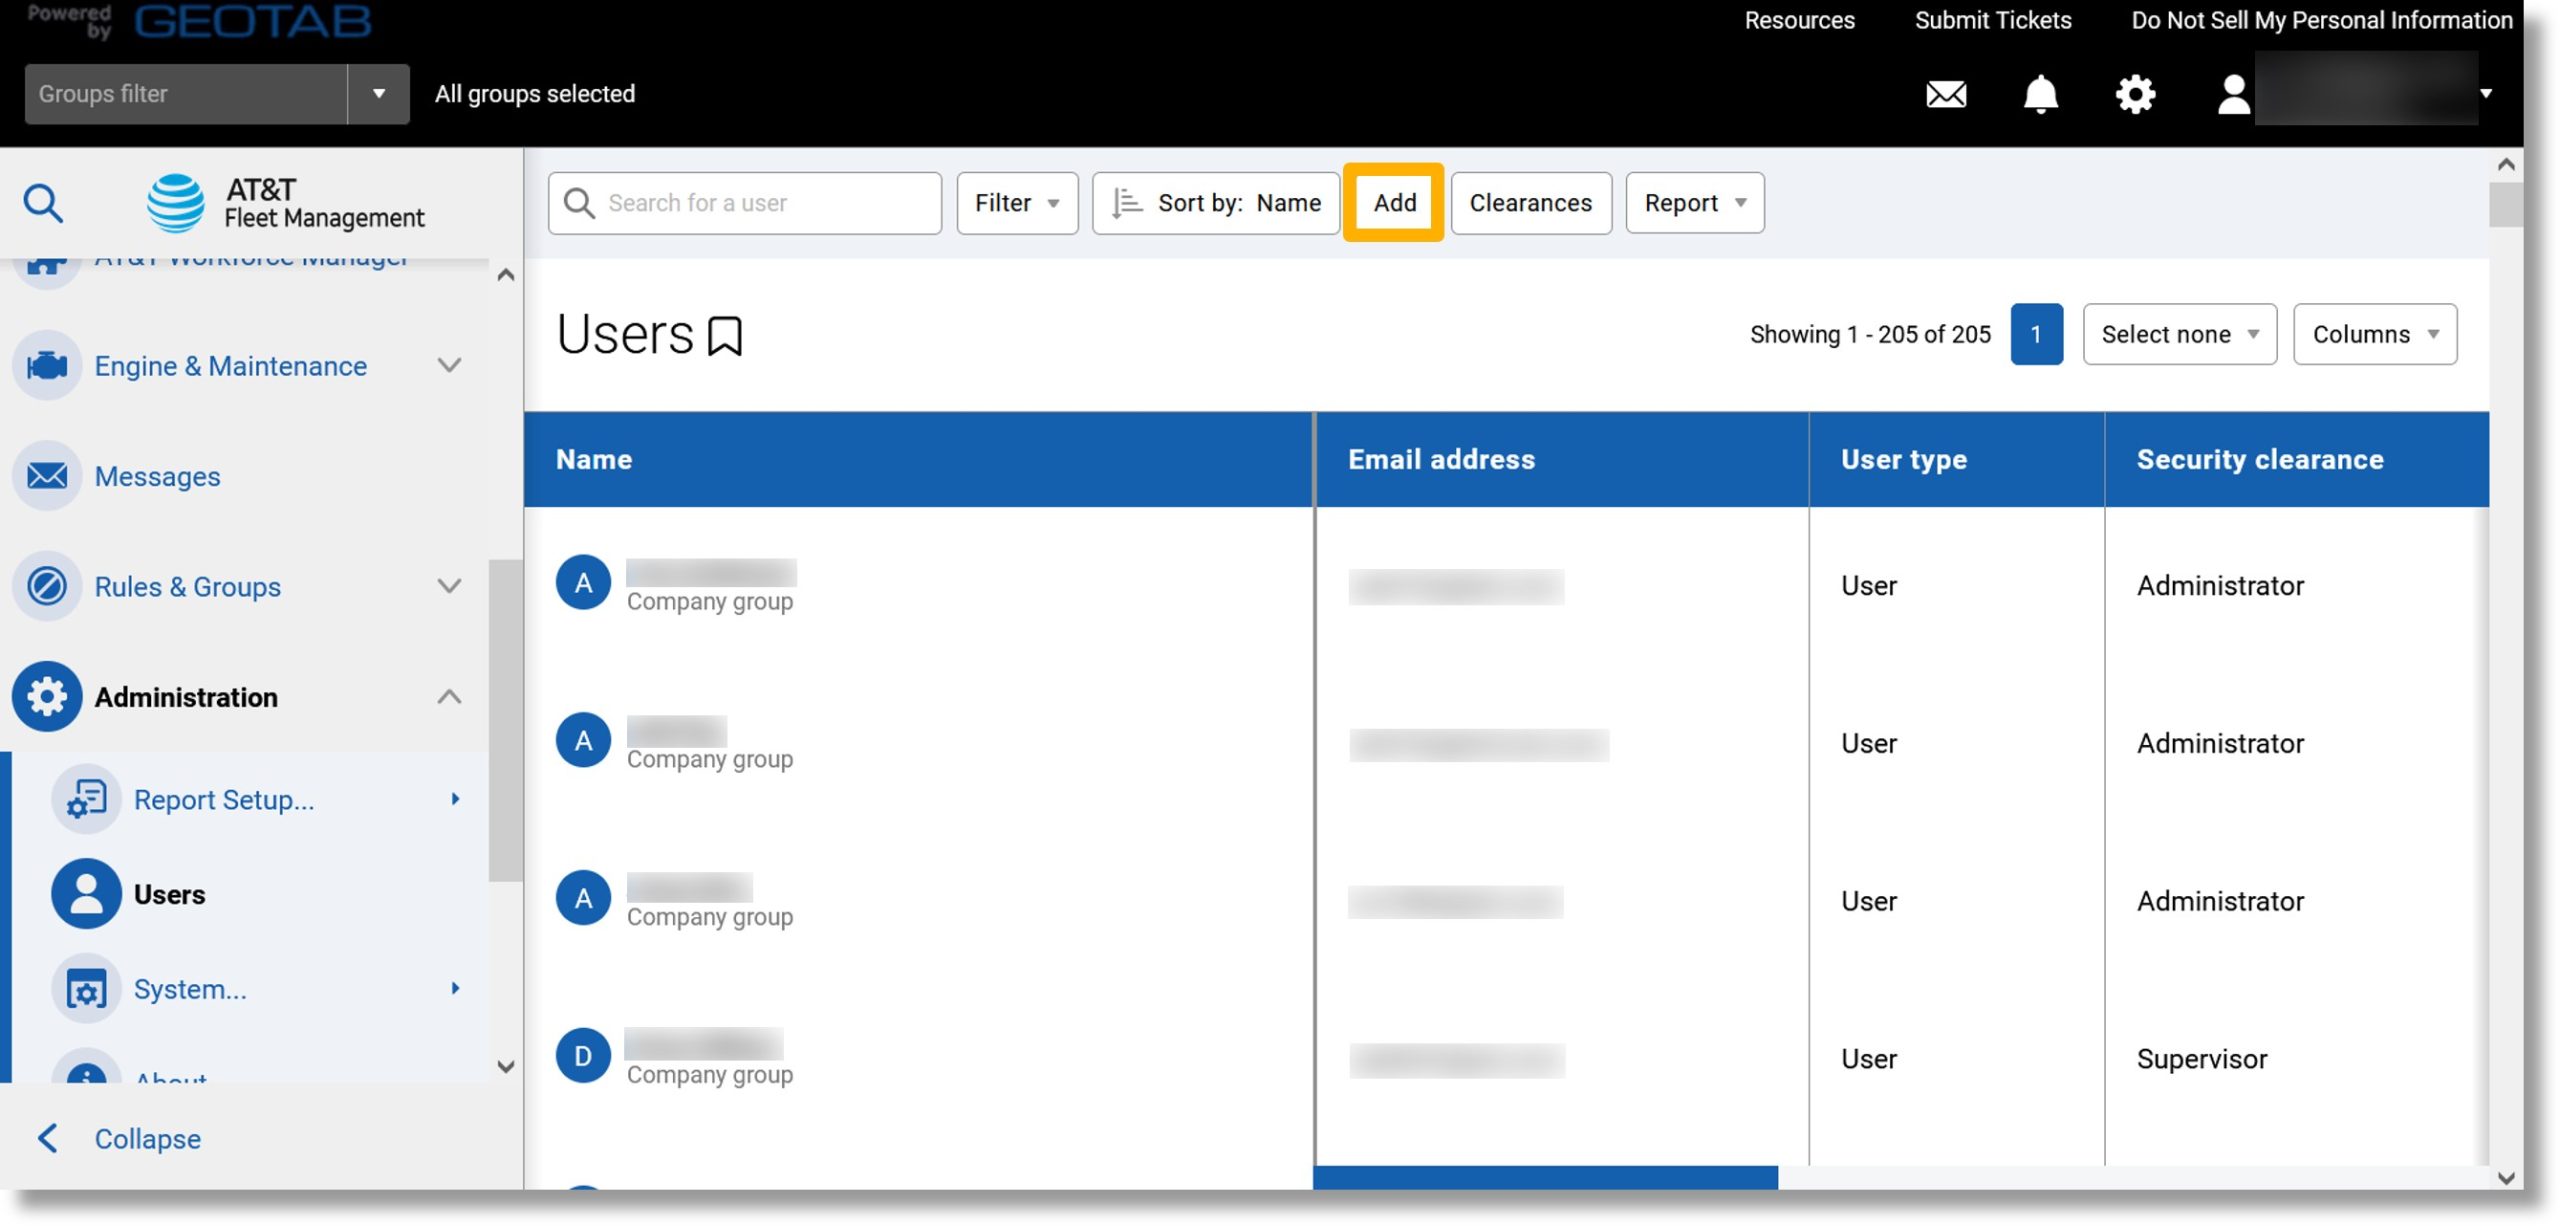
- Scroll down to Administration in the menu to the left.
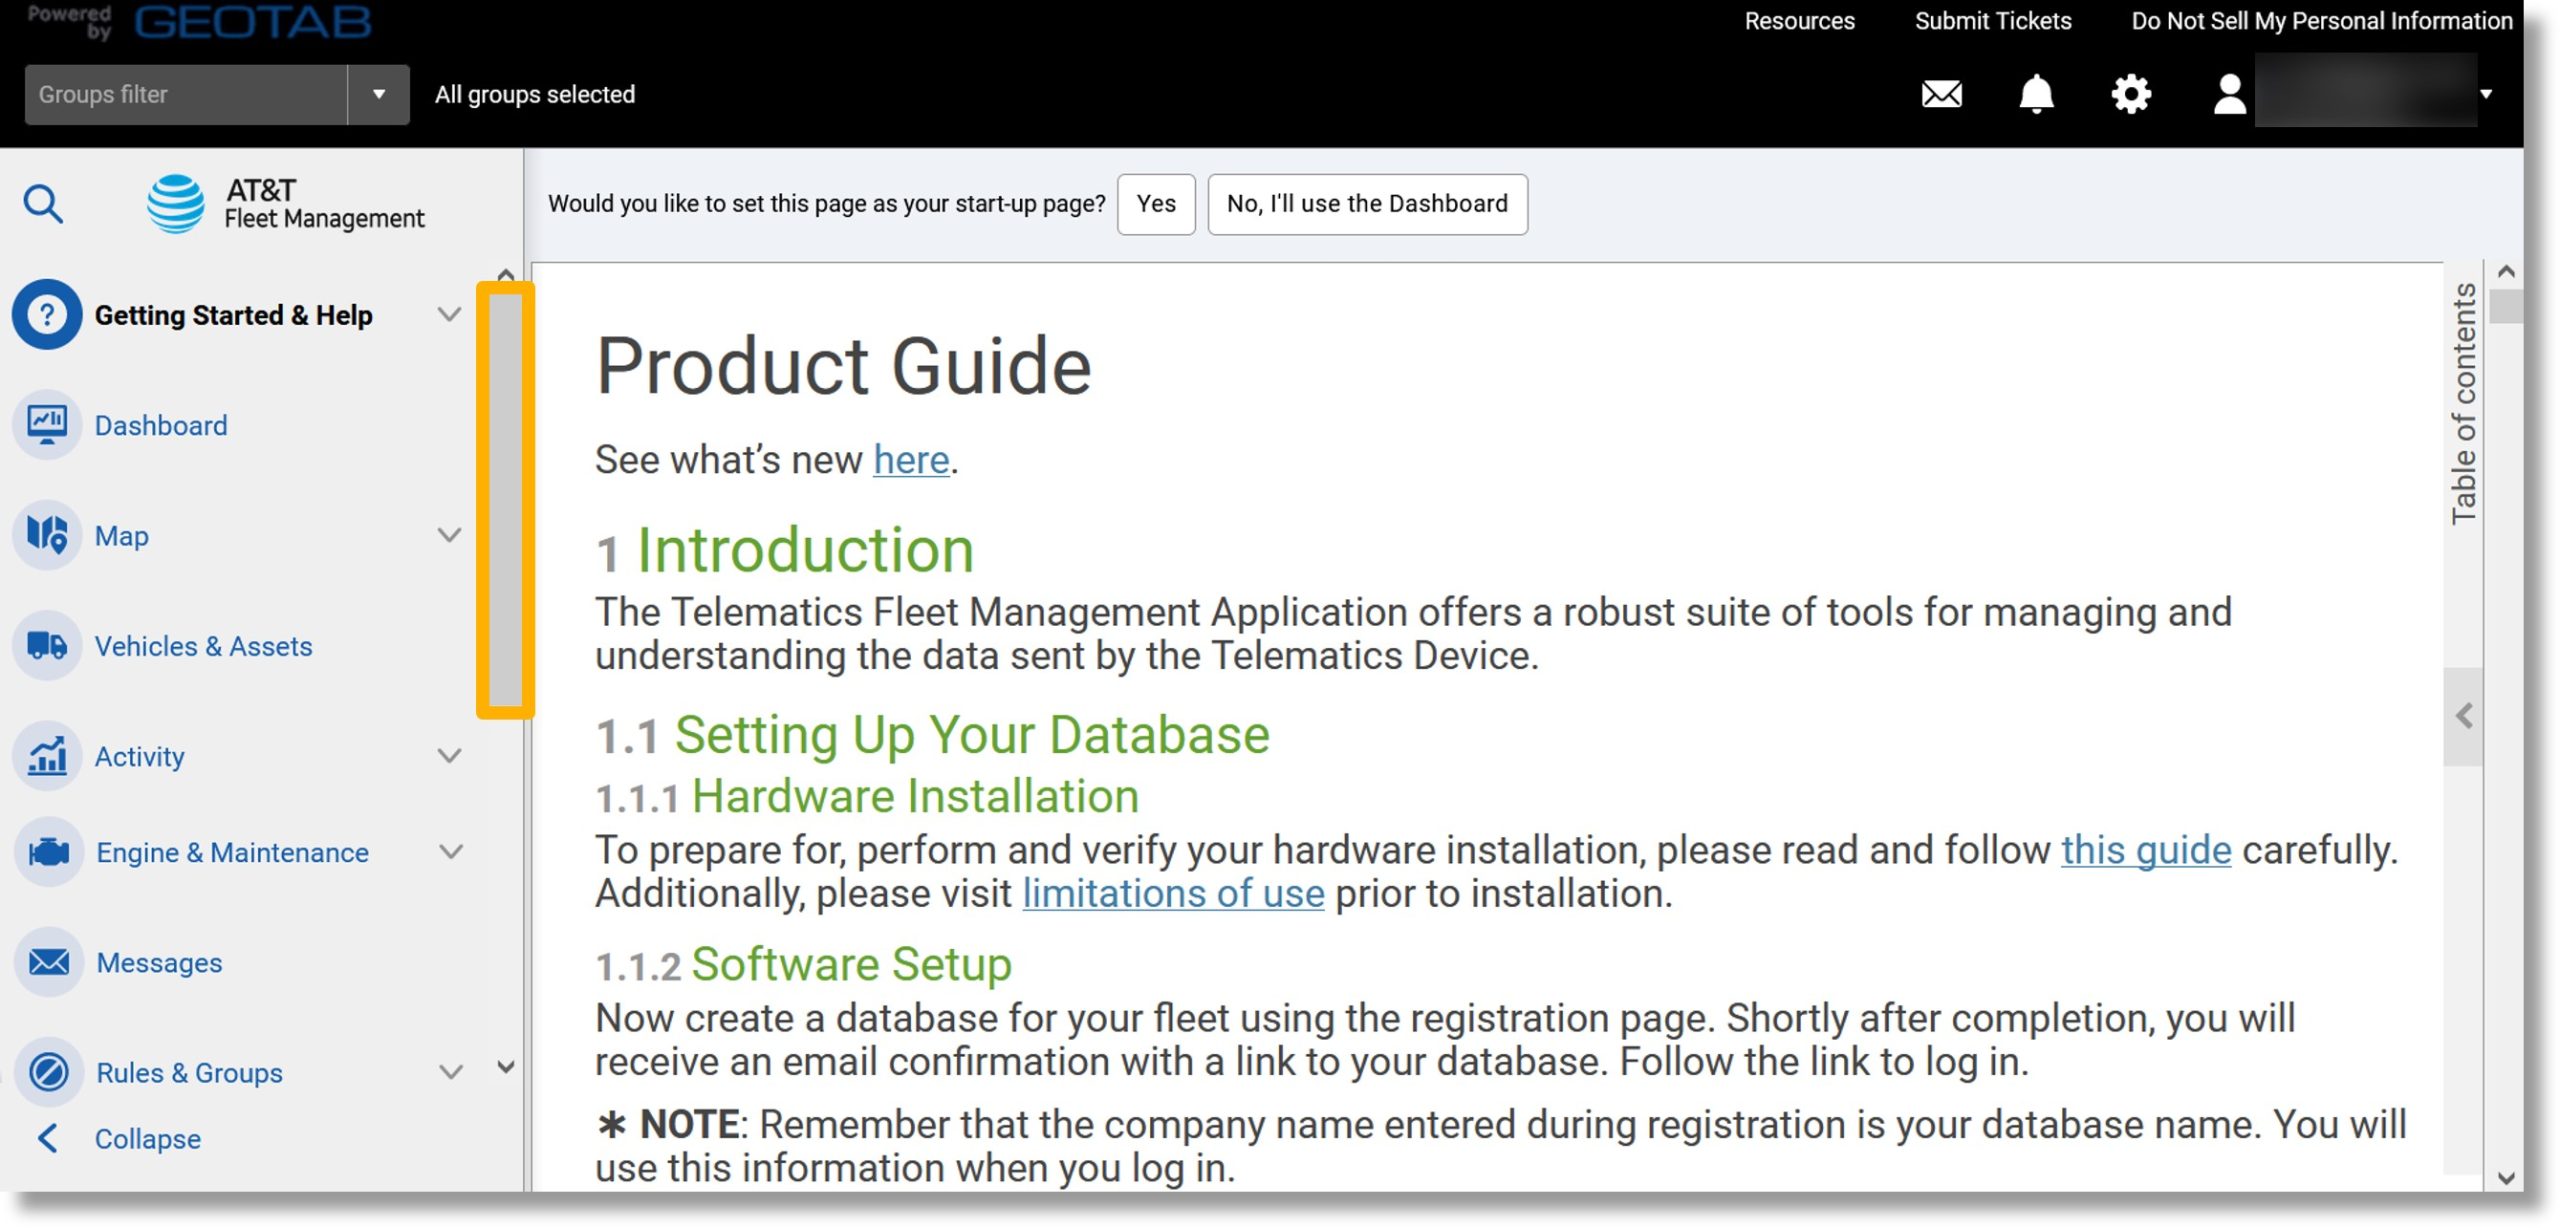
- Click on Administration.
- Click on Users.
- The user list displays.
- Click on the Add button at the top of the page.
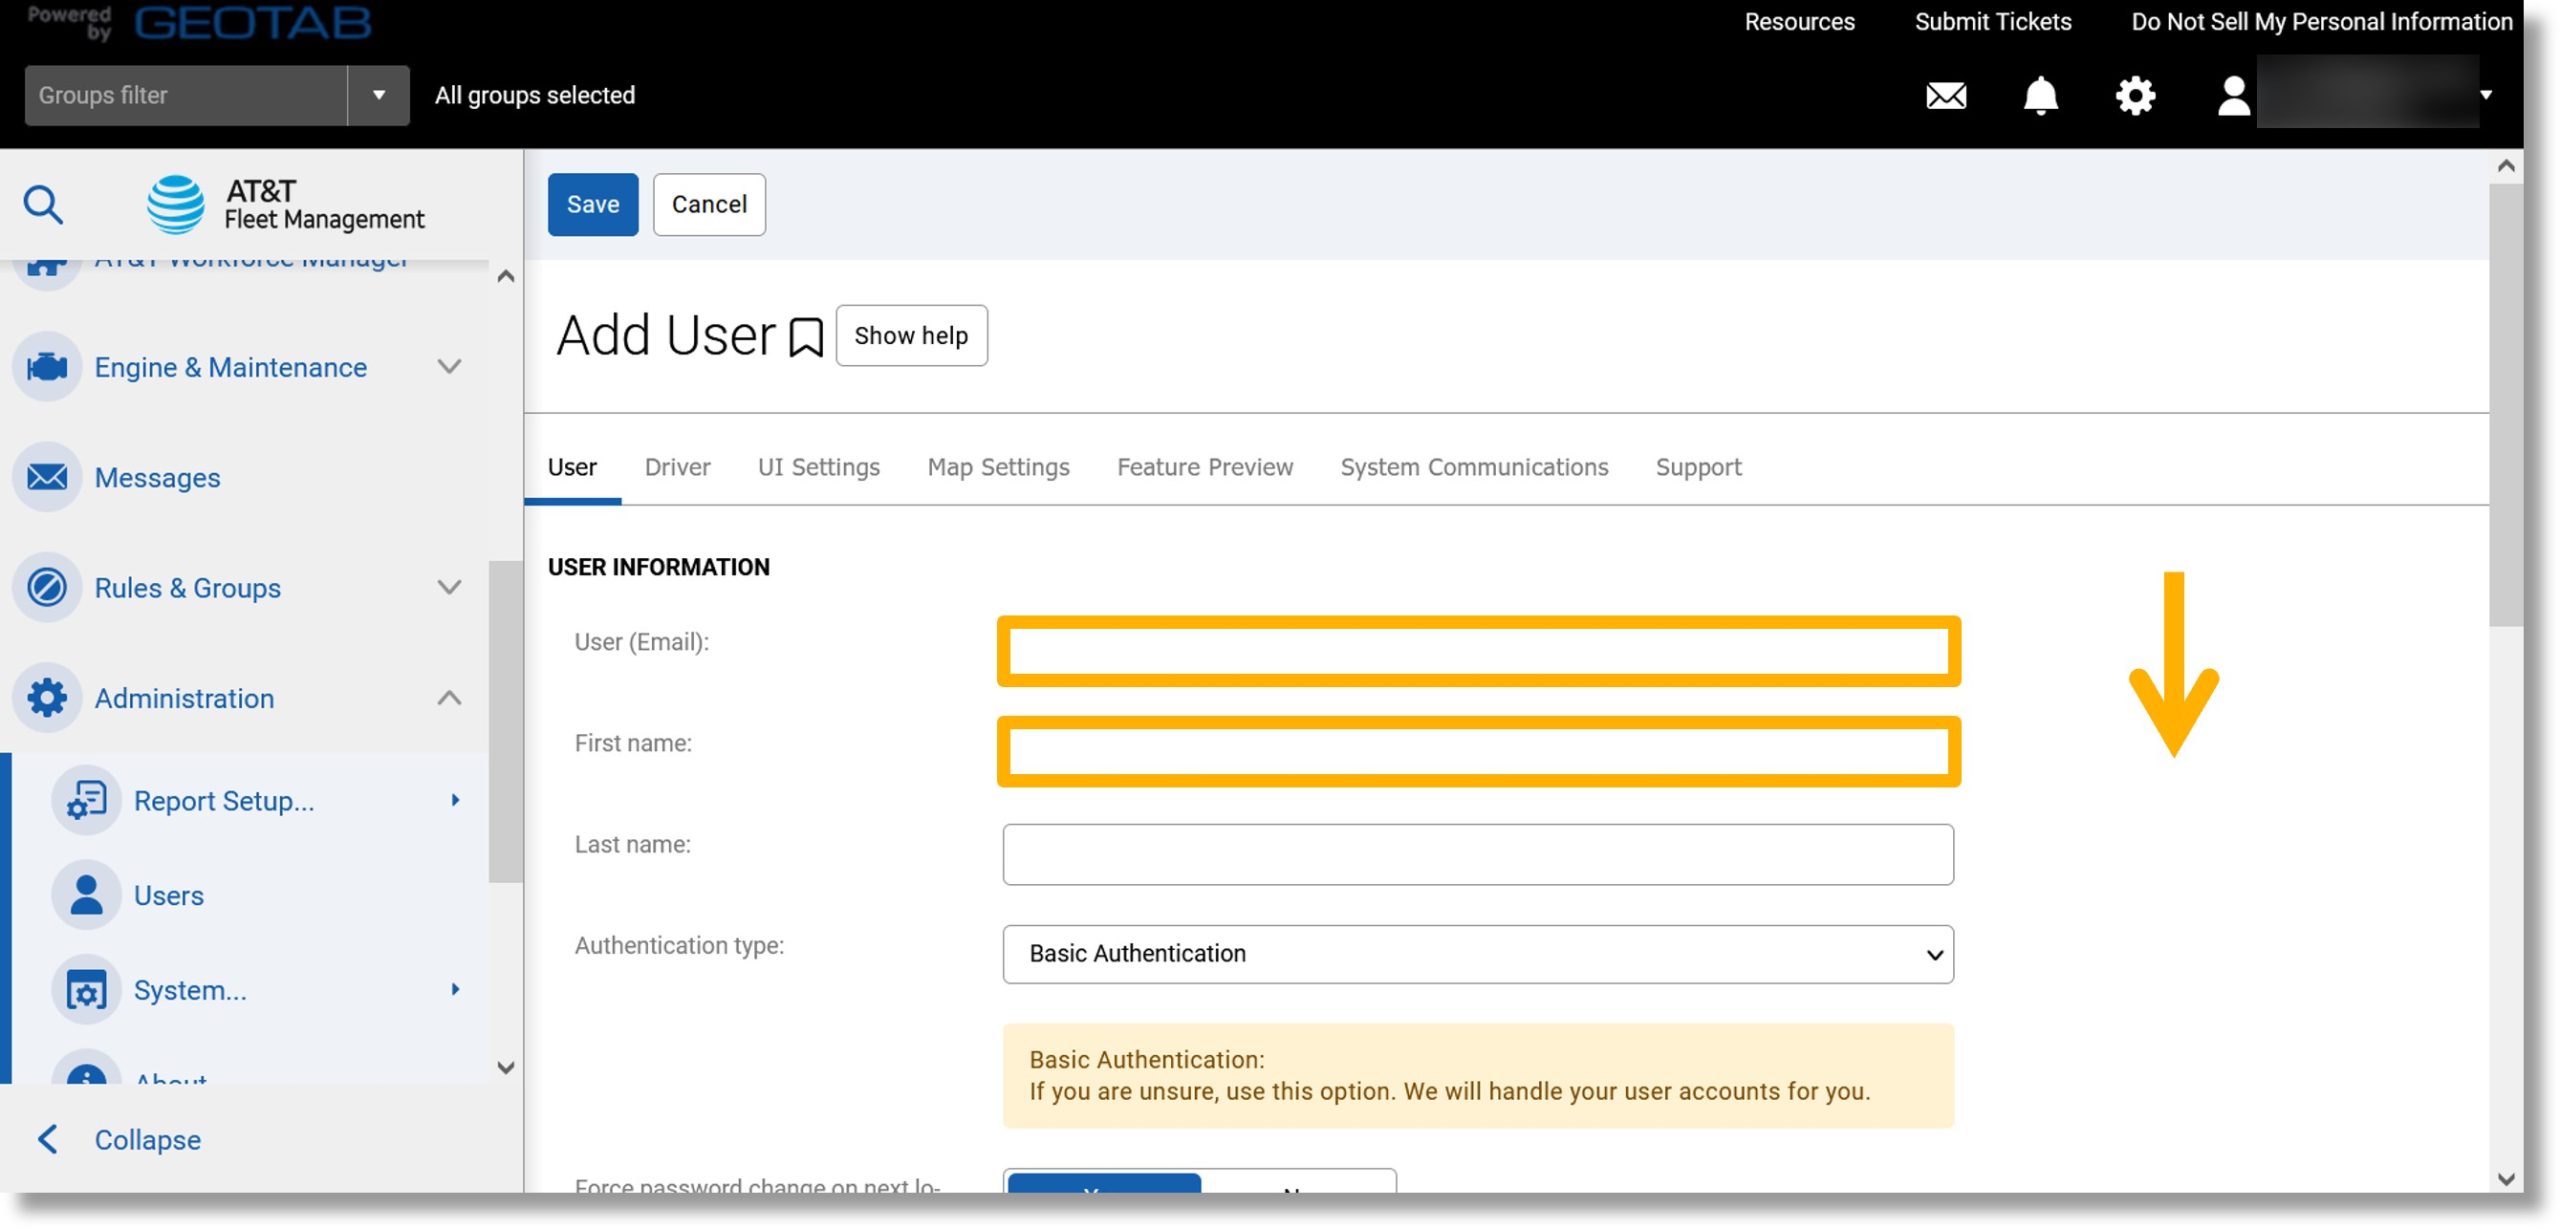
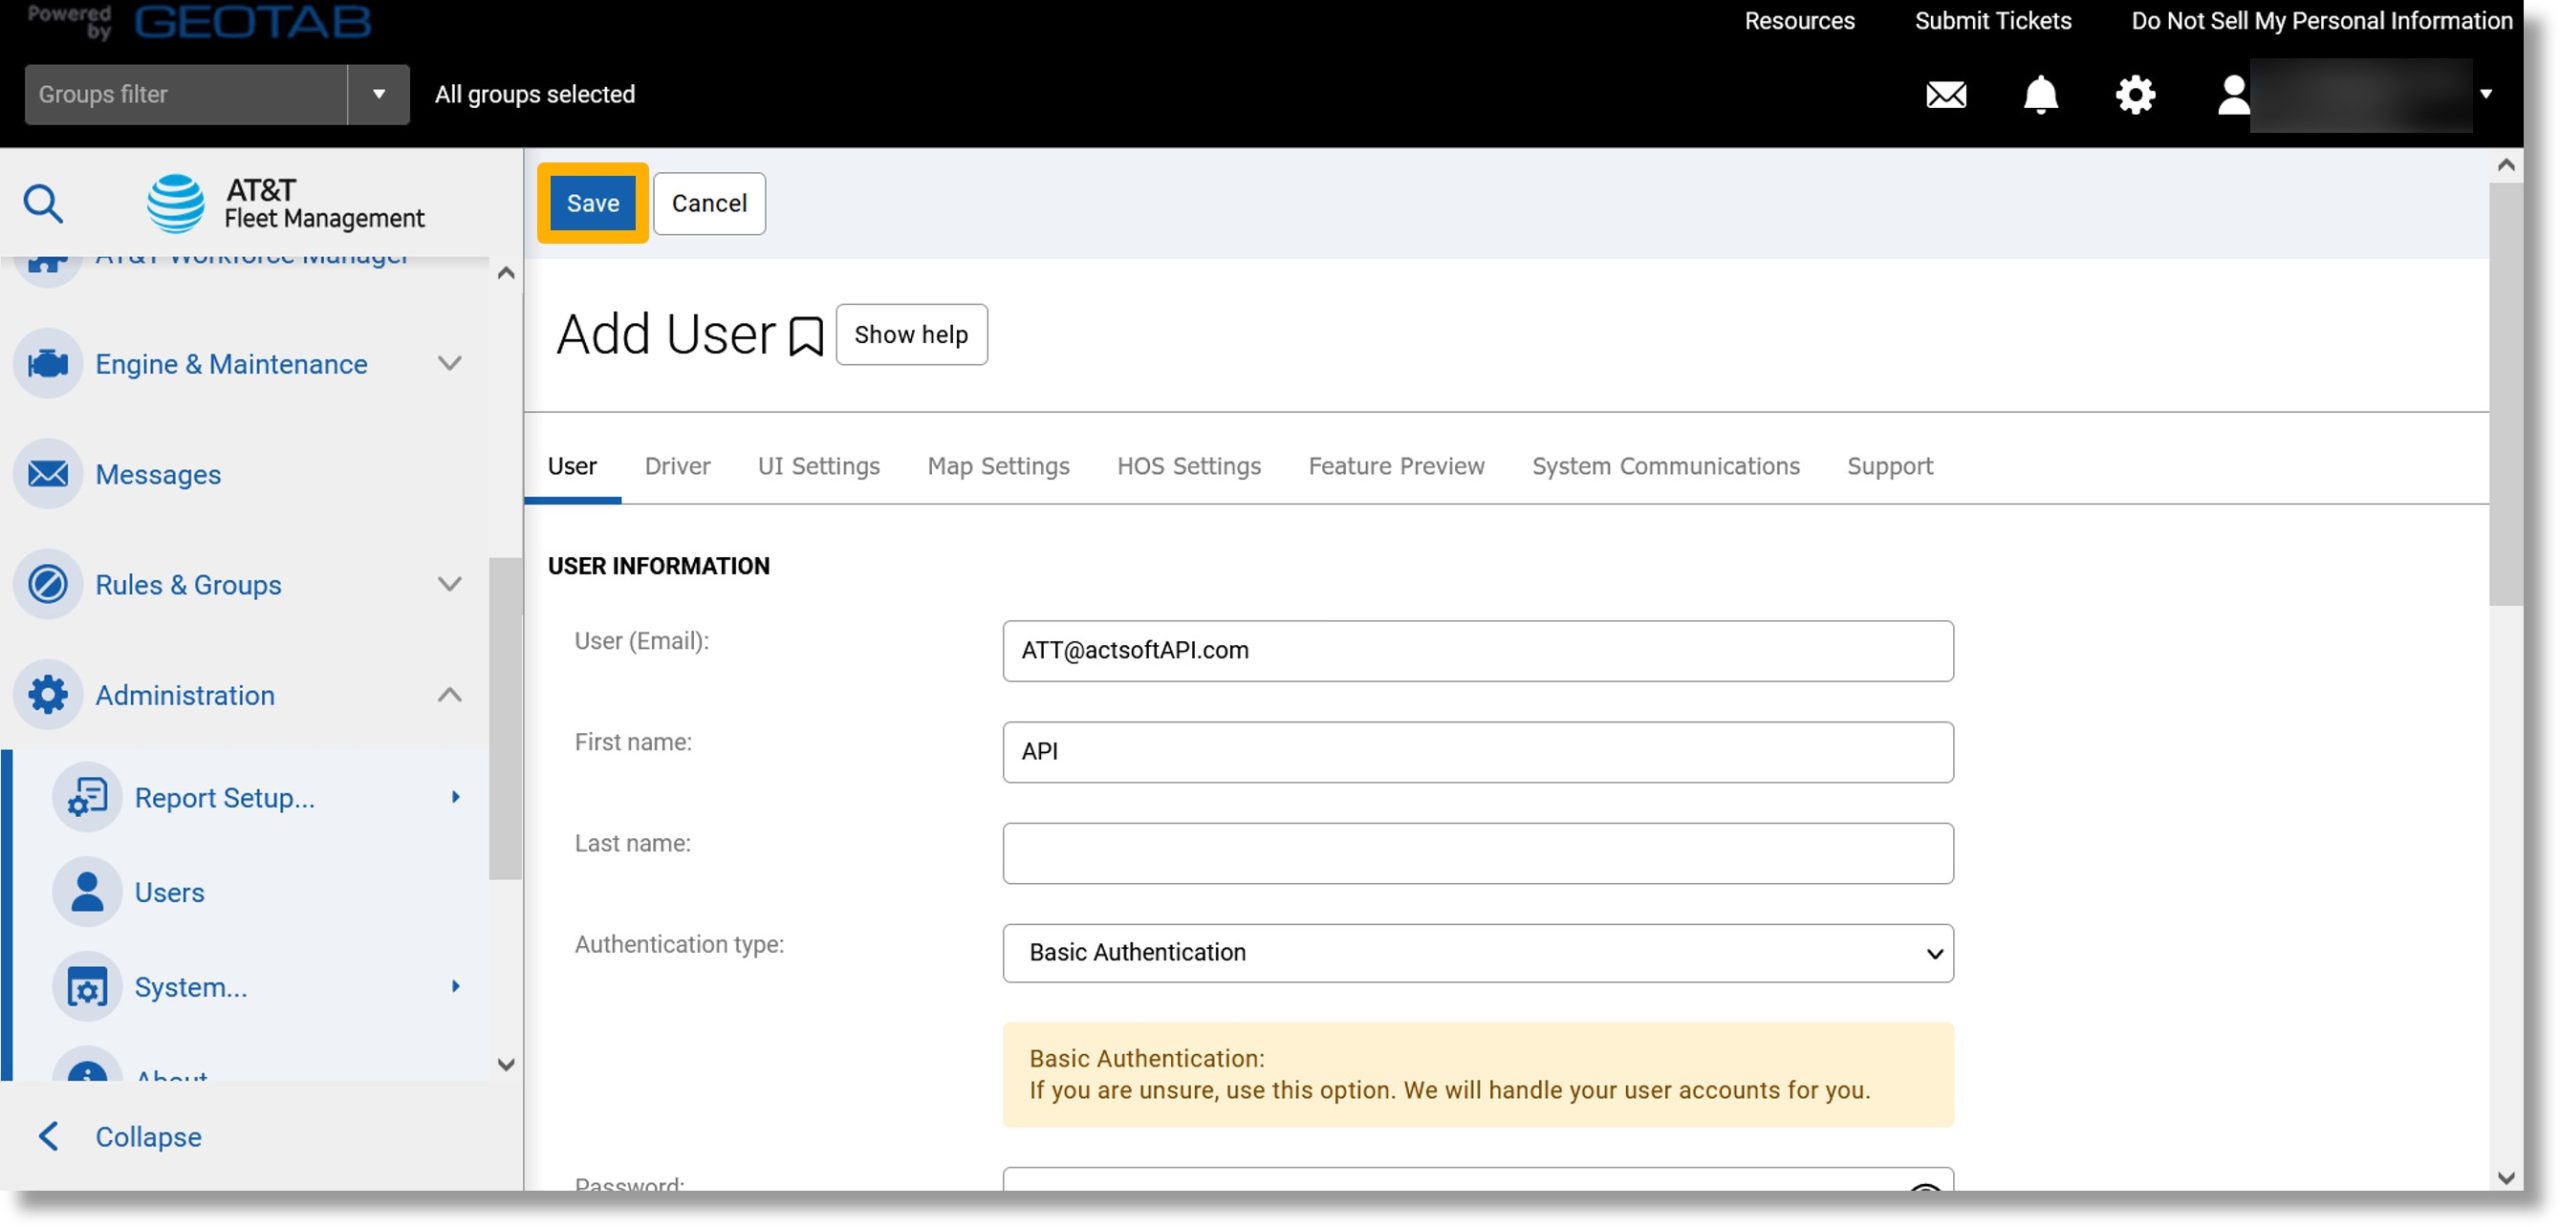
- Click in the field to the right of “User Email” and enter the desired email address.
Note: The email should be formatted as “<YourCompanyName>@actsoftAPI.com”.
- Click in the field to the right of “First name” and enter the desired name.
- Scroll down.
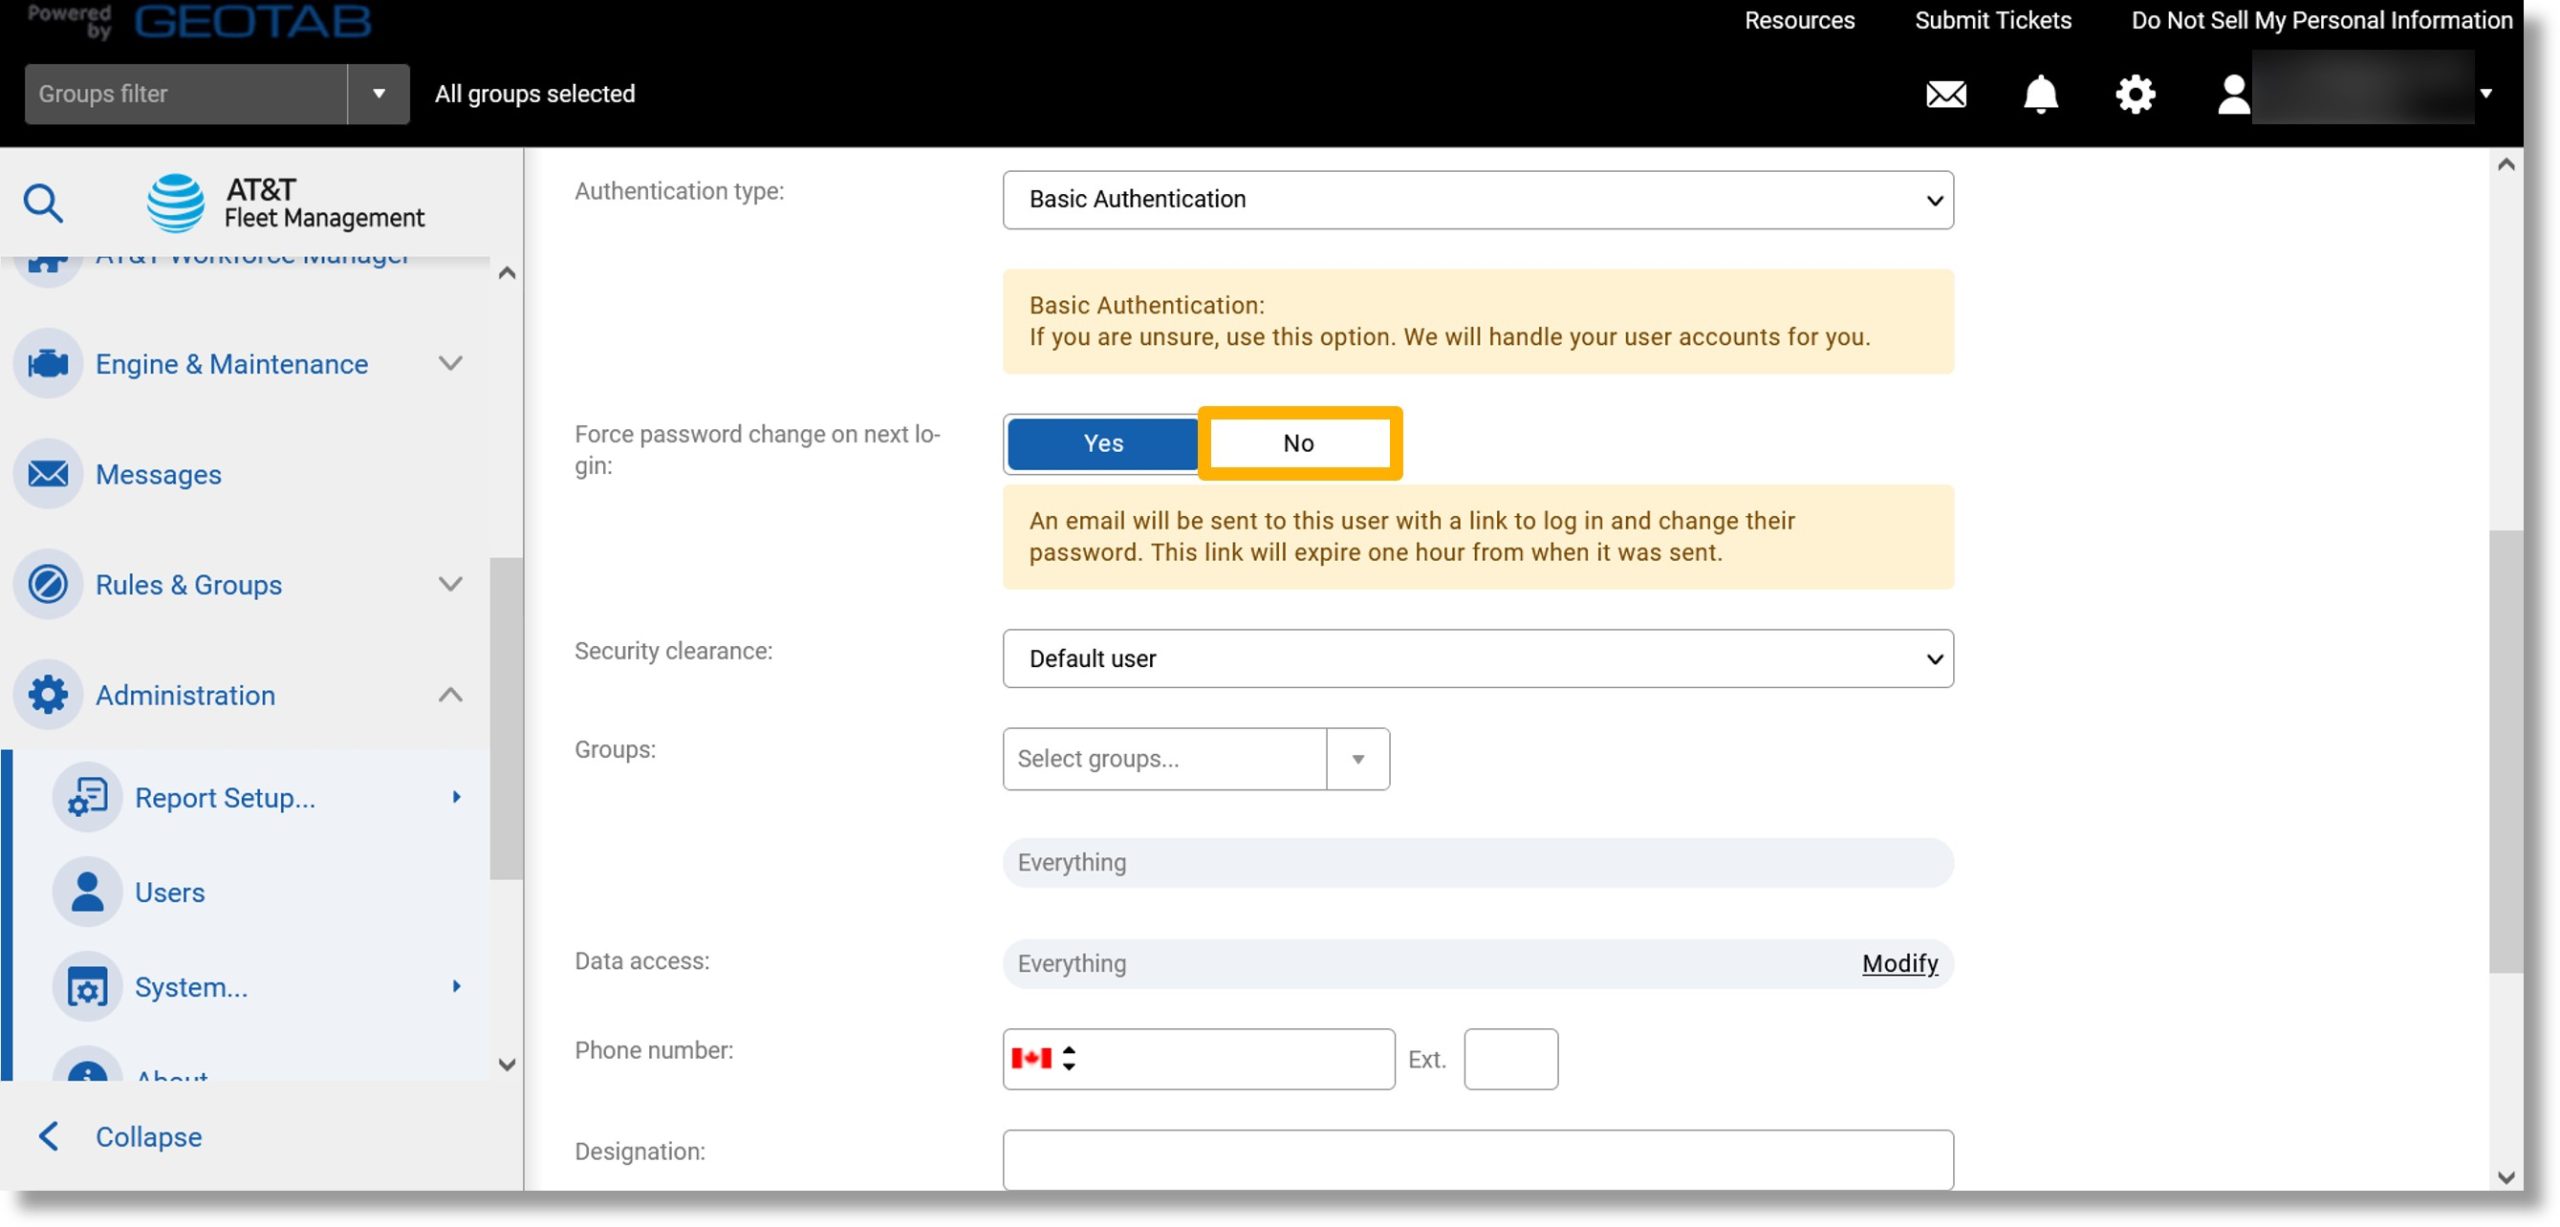
- Click on the No button to the right of “Force password change on next login”.
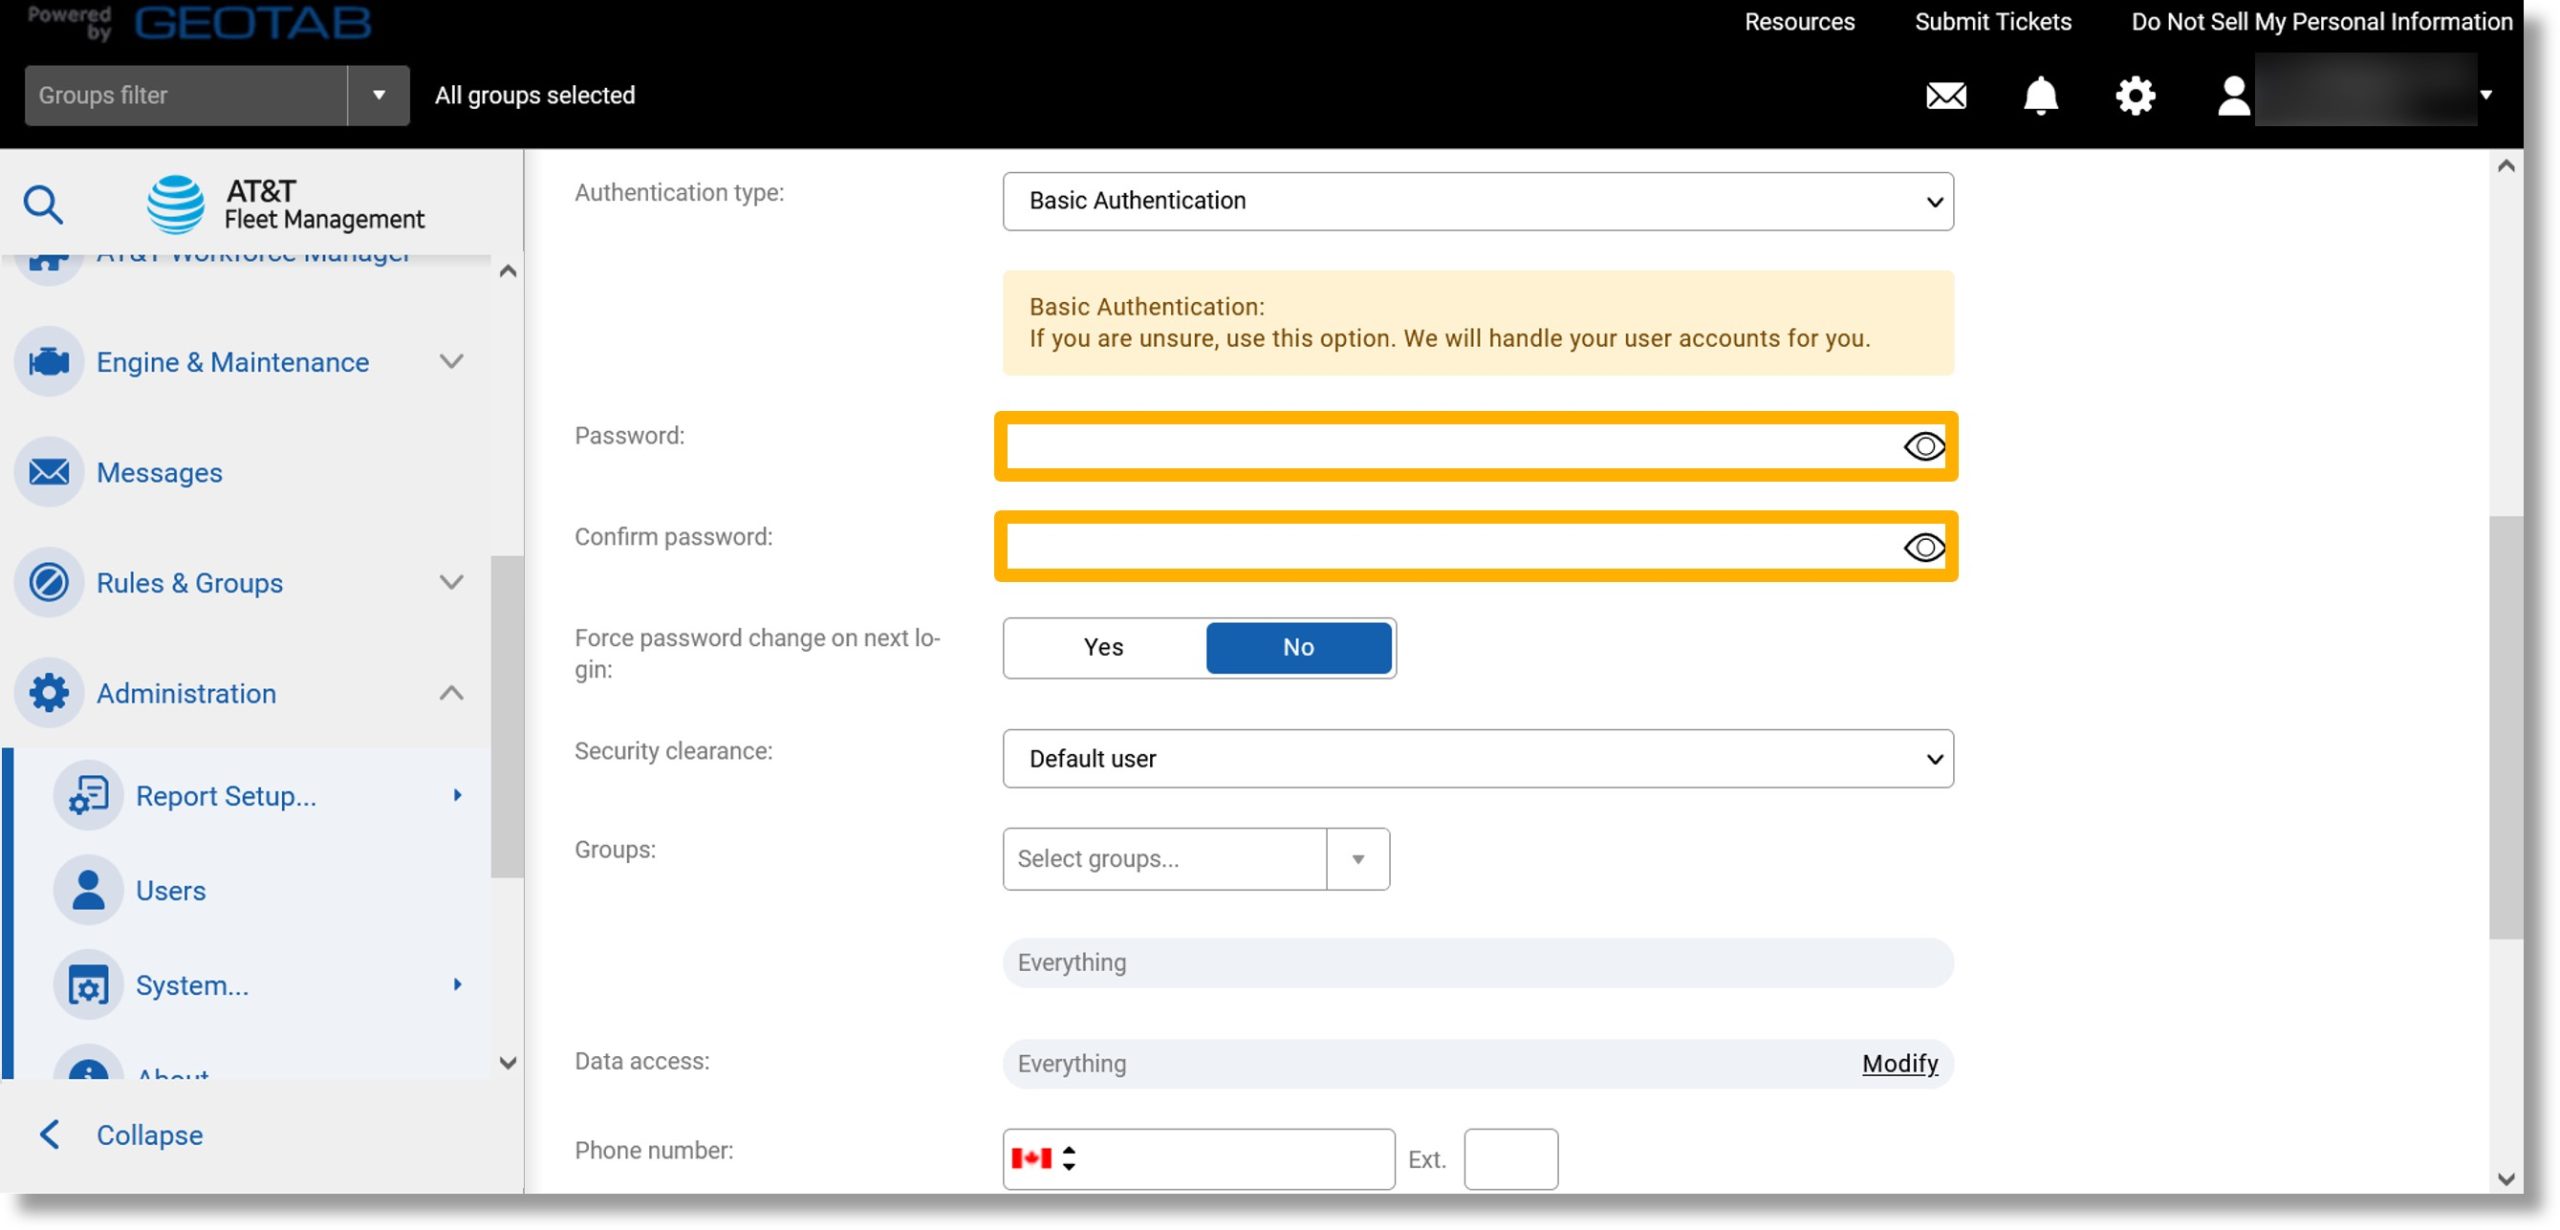
- The “Password” and “Confirm password” fields populate.
- Click in each field and enter the desired password.
Note: Make a note of the password2, as you will be required to provide these credentials later.
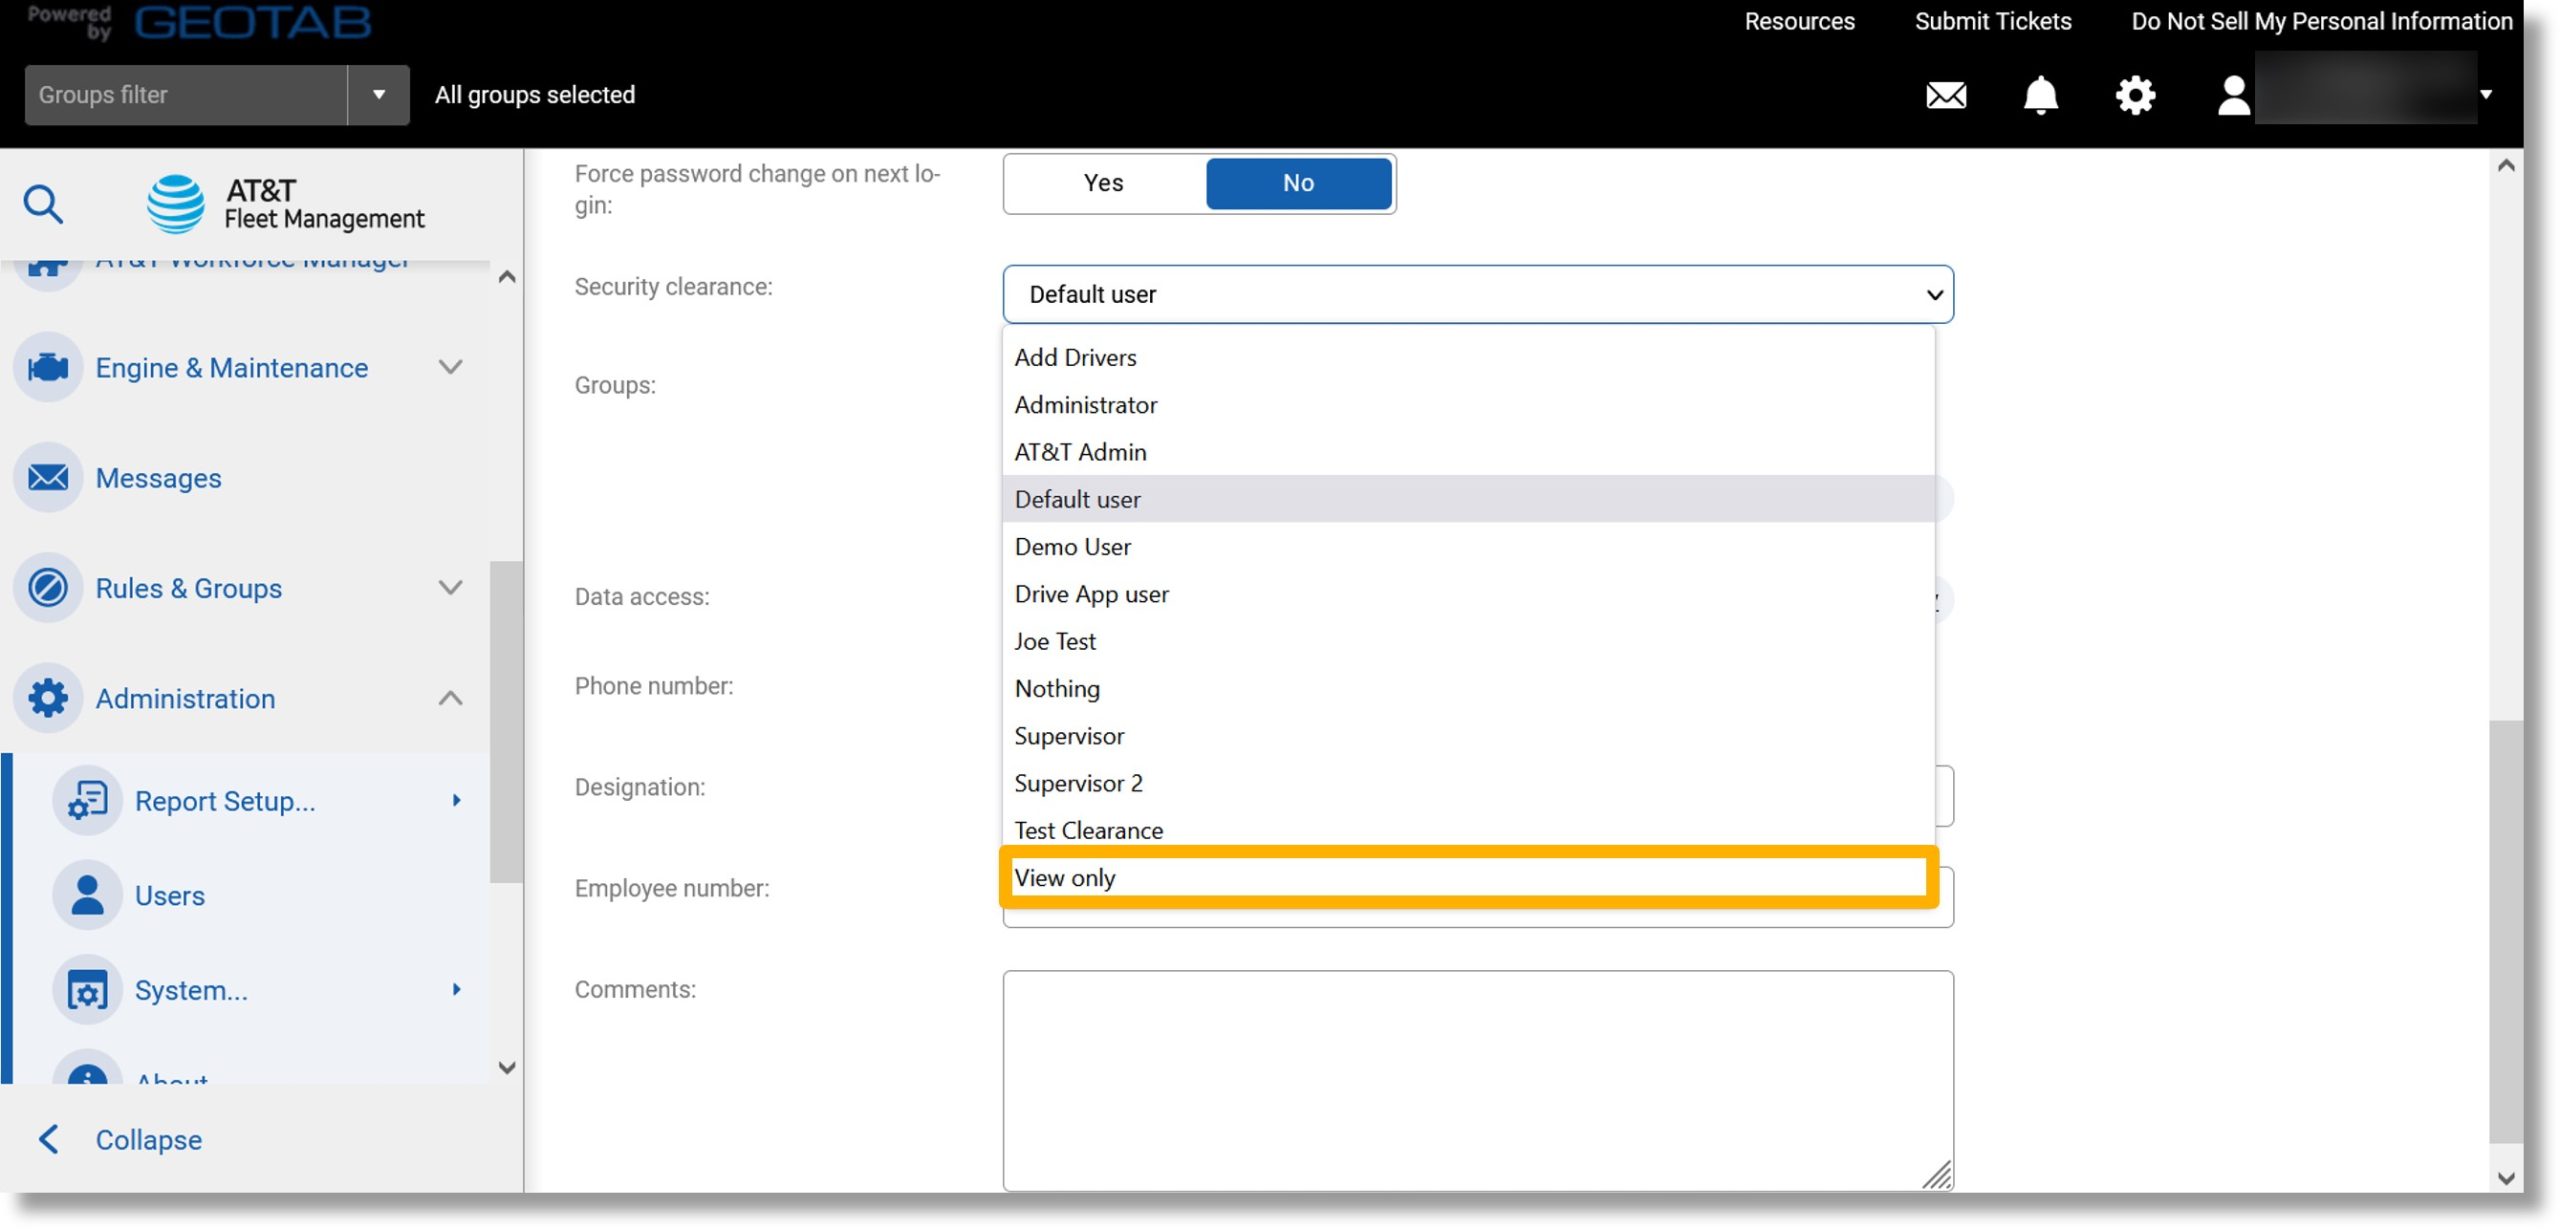
- Click on the drop down to the right of “Security clearance”.

- Click on View only in the menu.
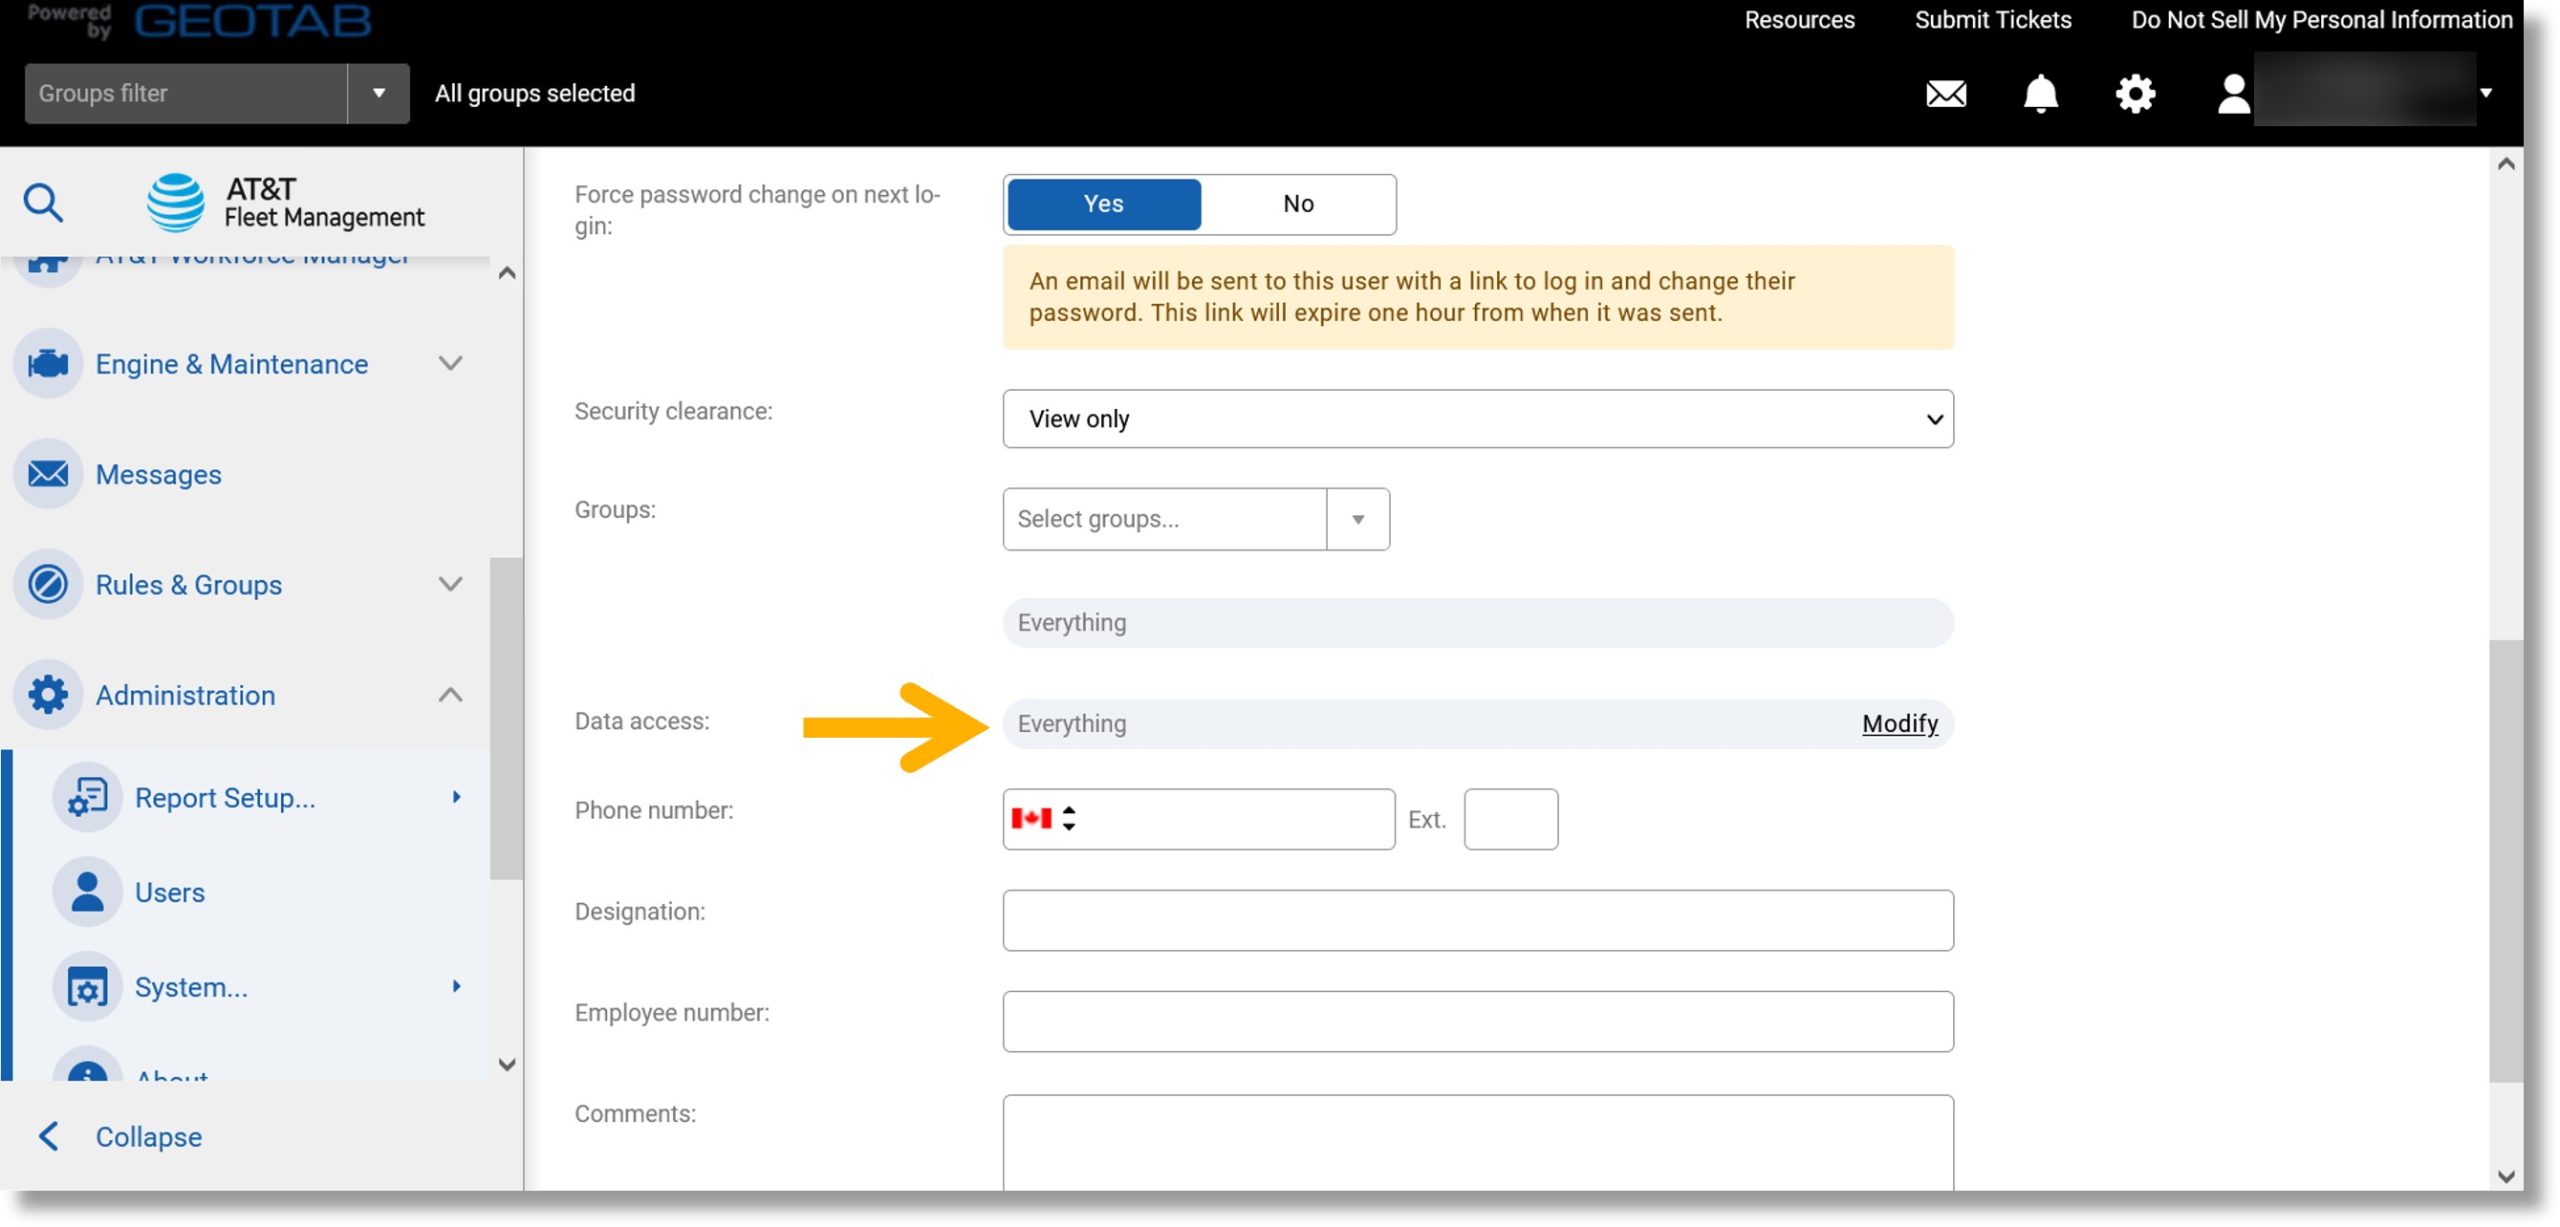
- Ensure the field to the right of “Data access” displays “Everything”.
Note: If another value is present, click on the X on the right side of the field.
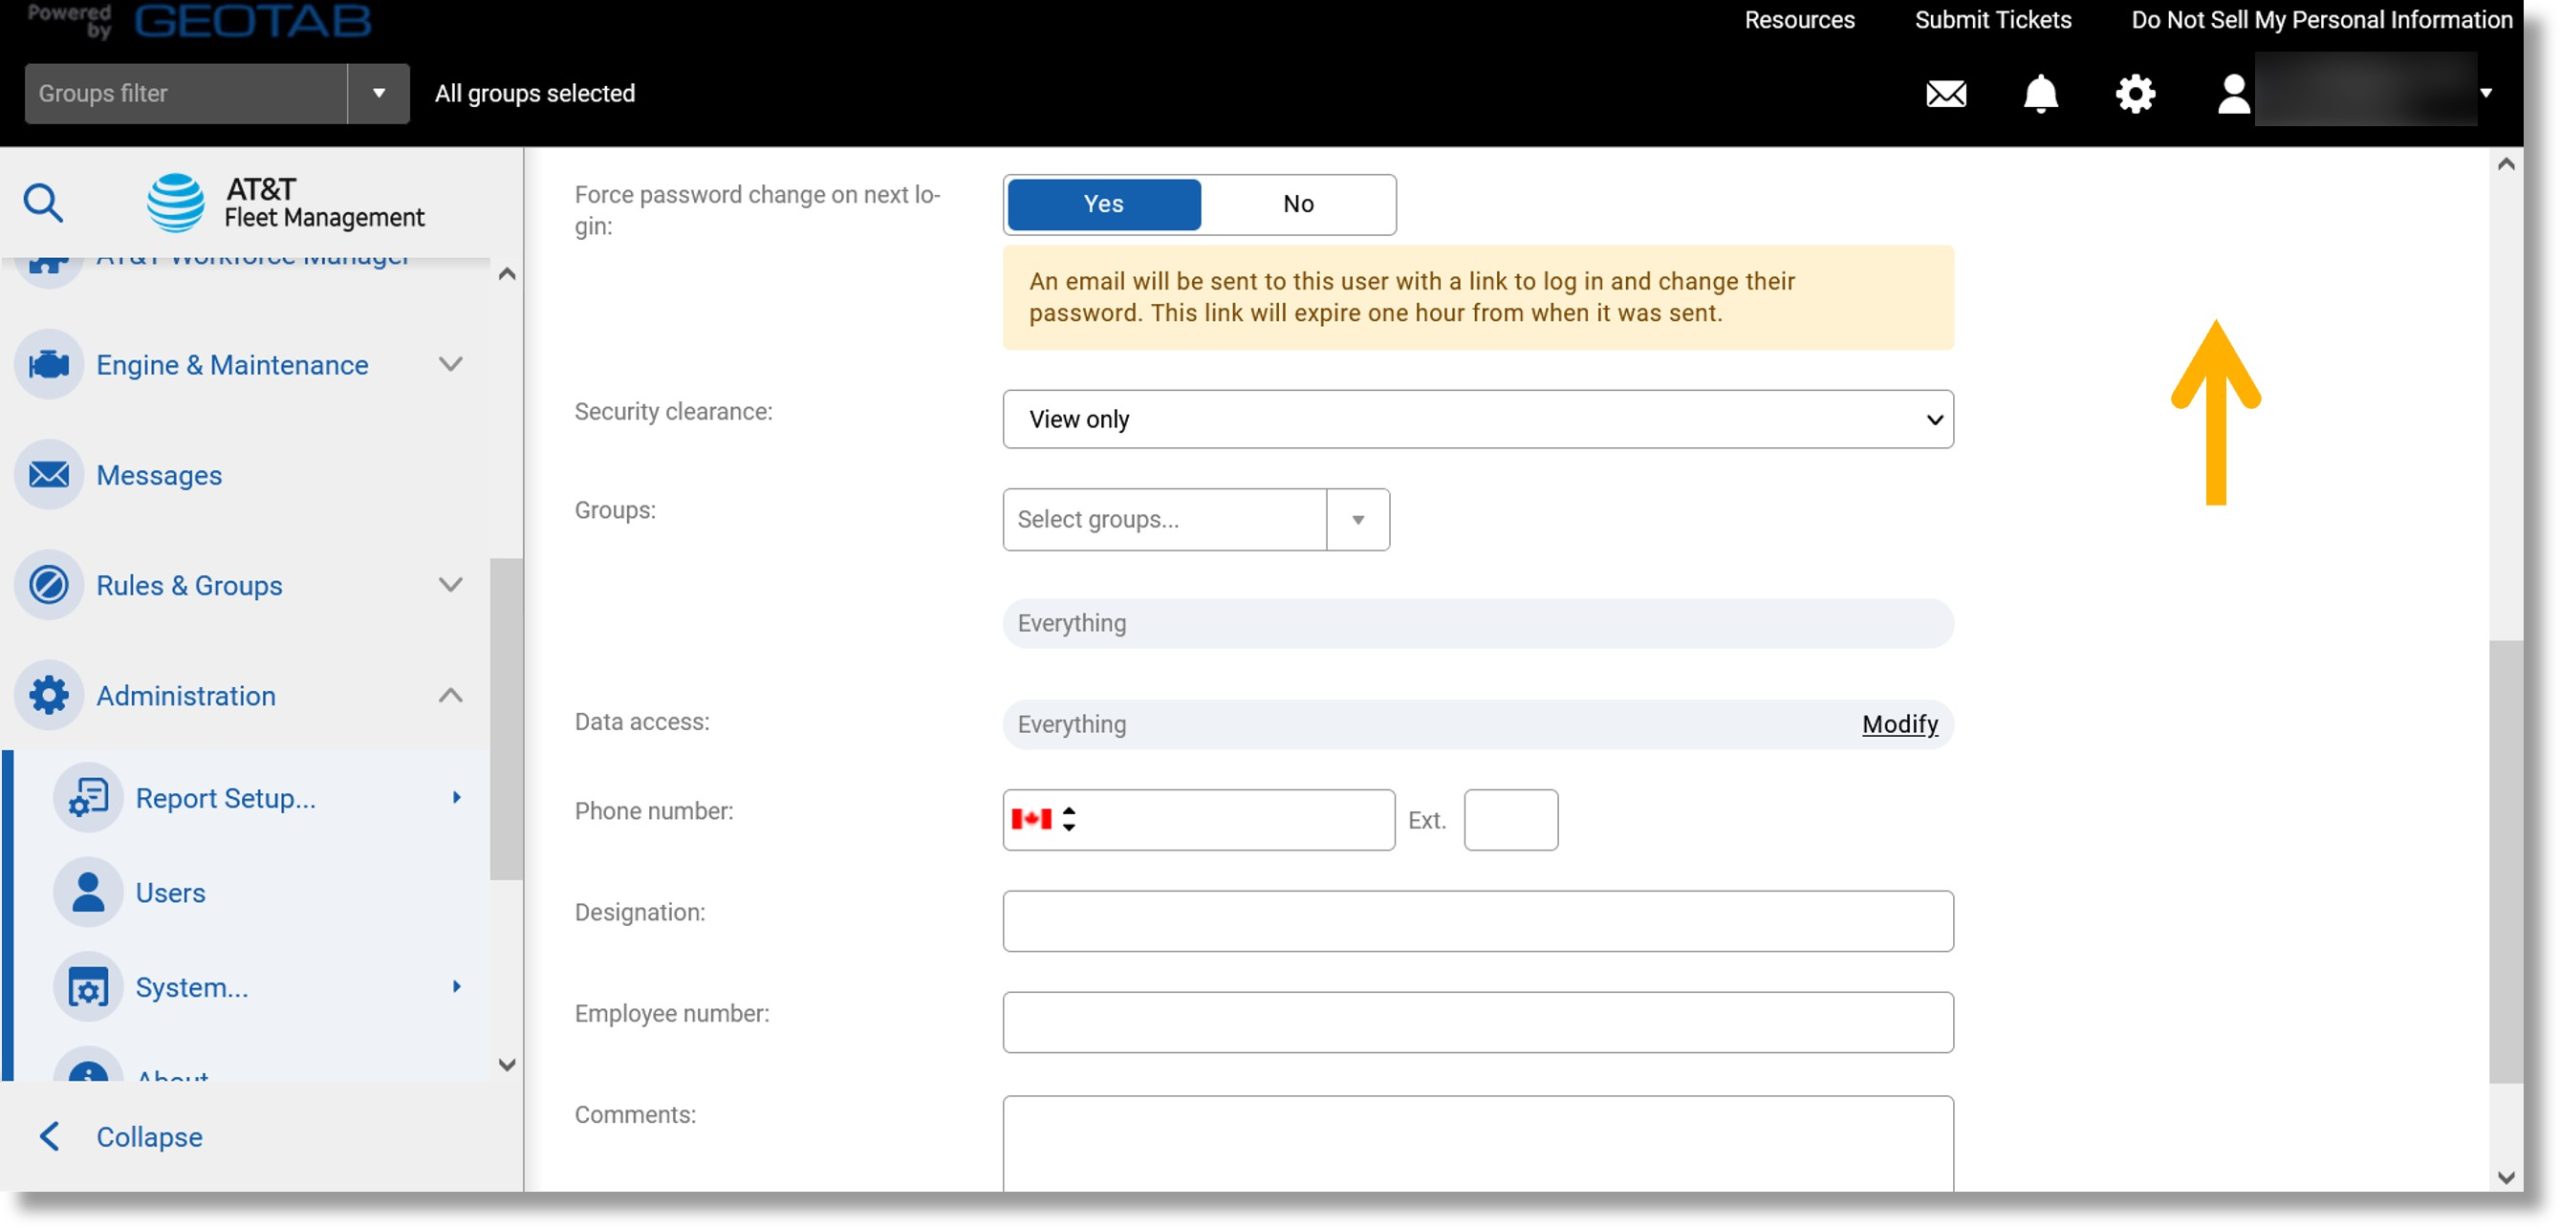
- Scroll up.
- Click on the Save button.
Create an Add-in
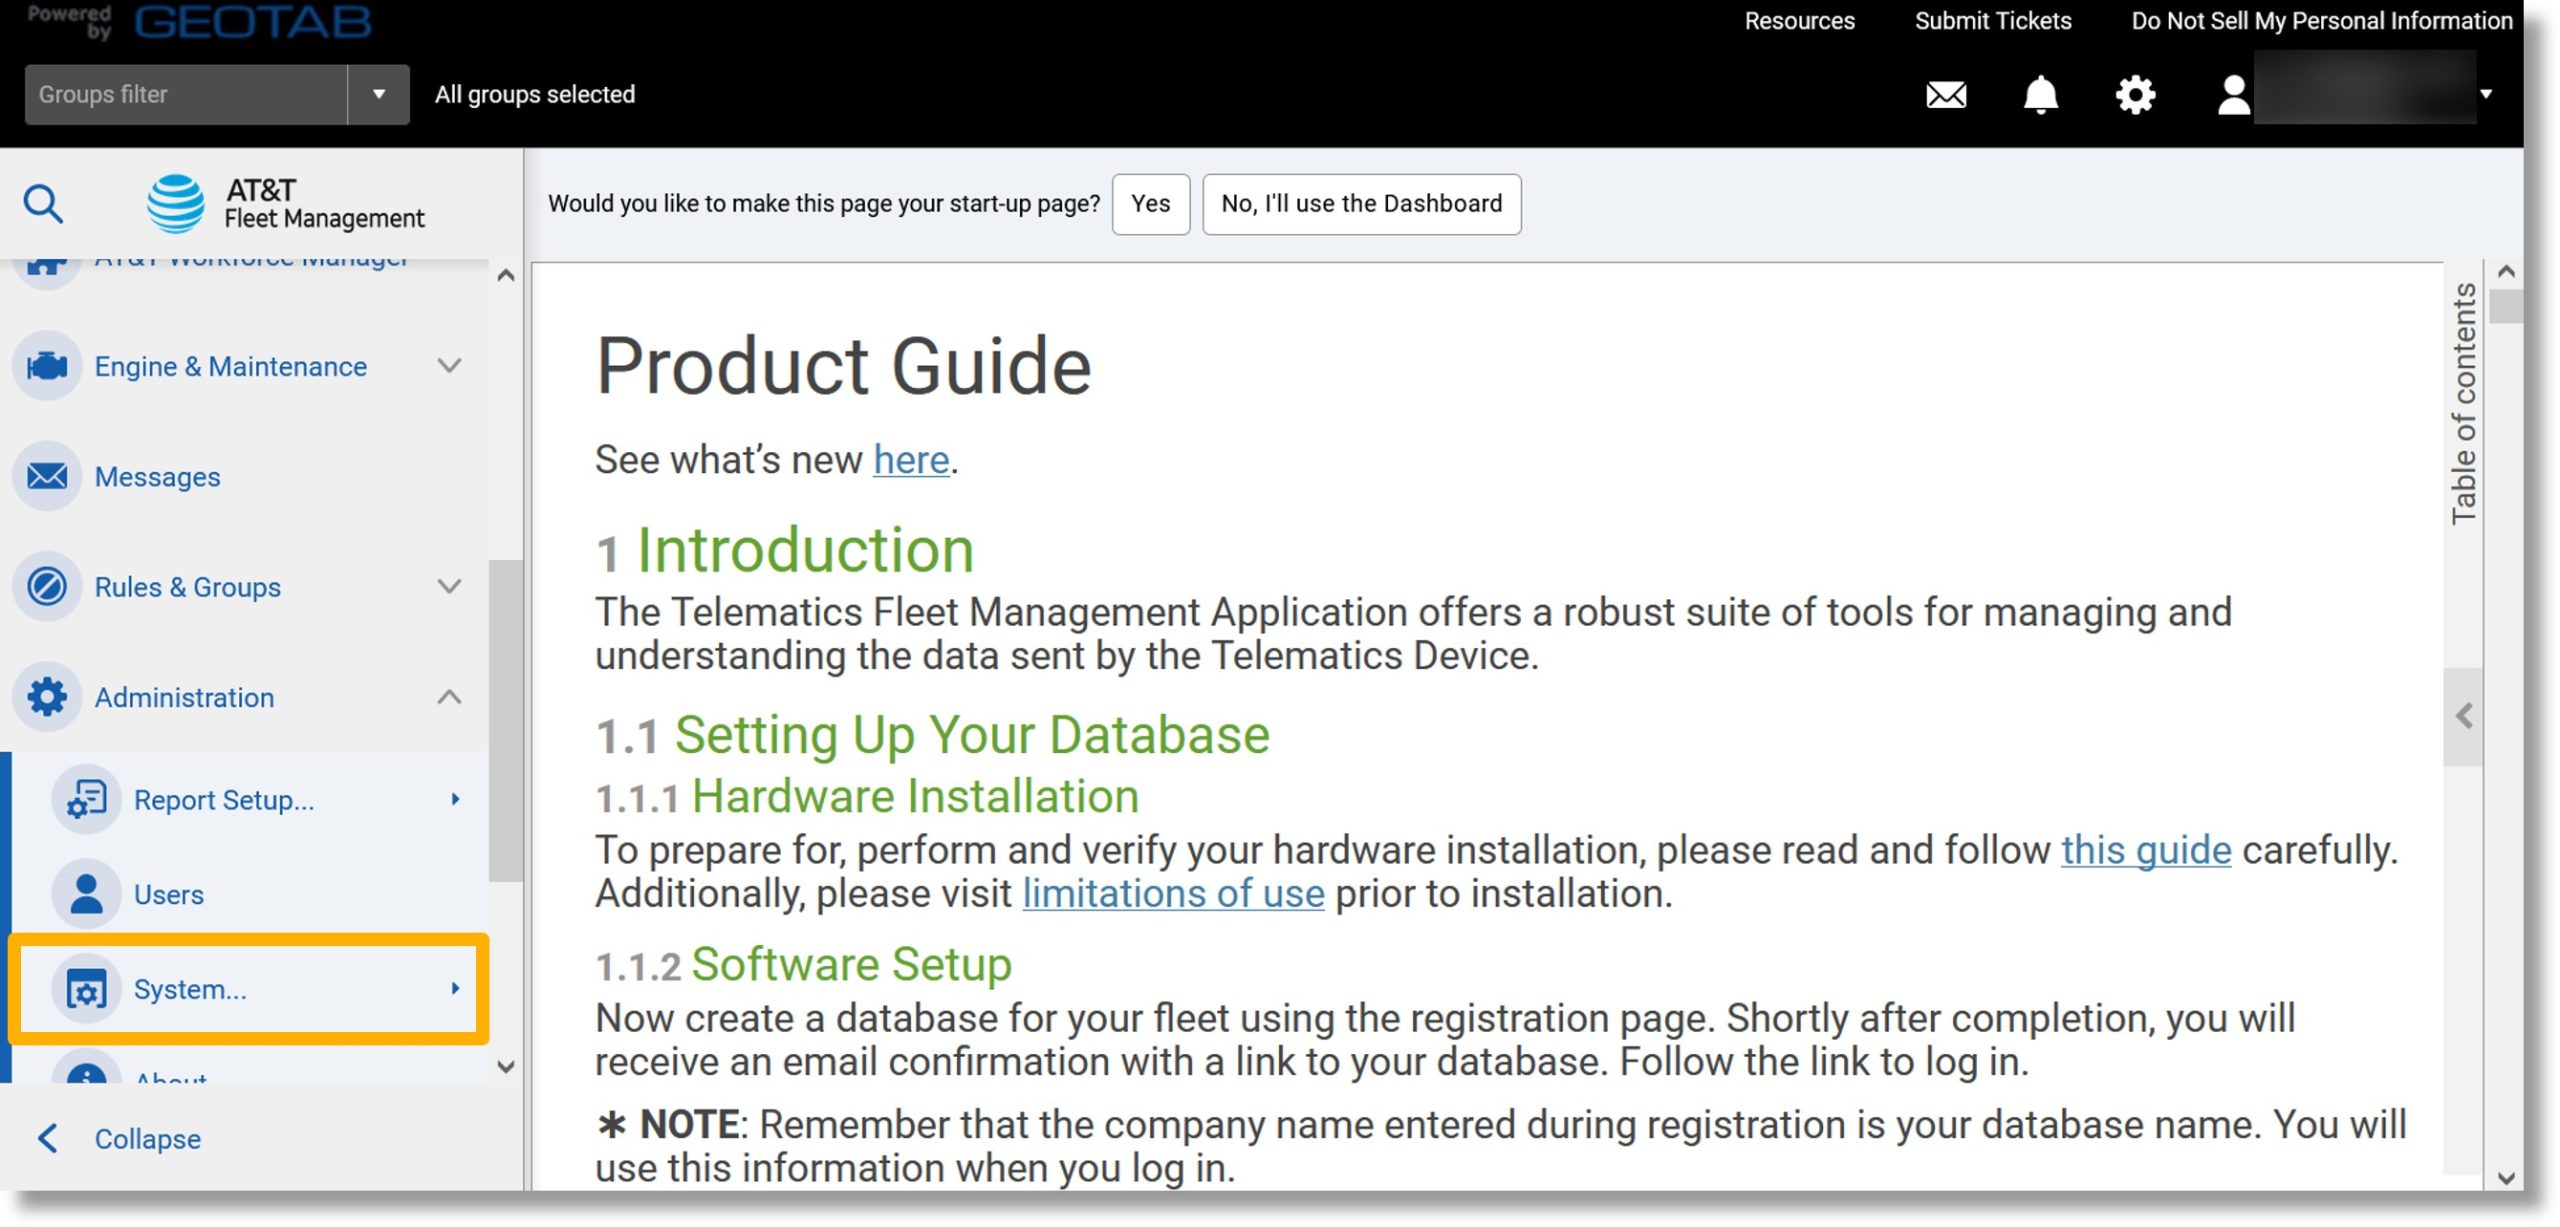
- Scroll down to Administration in the menu on the left.

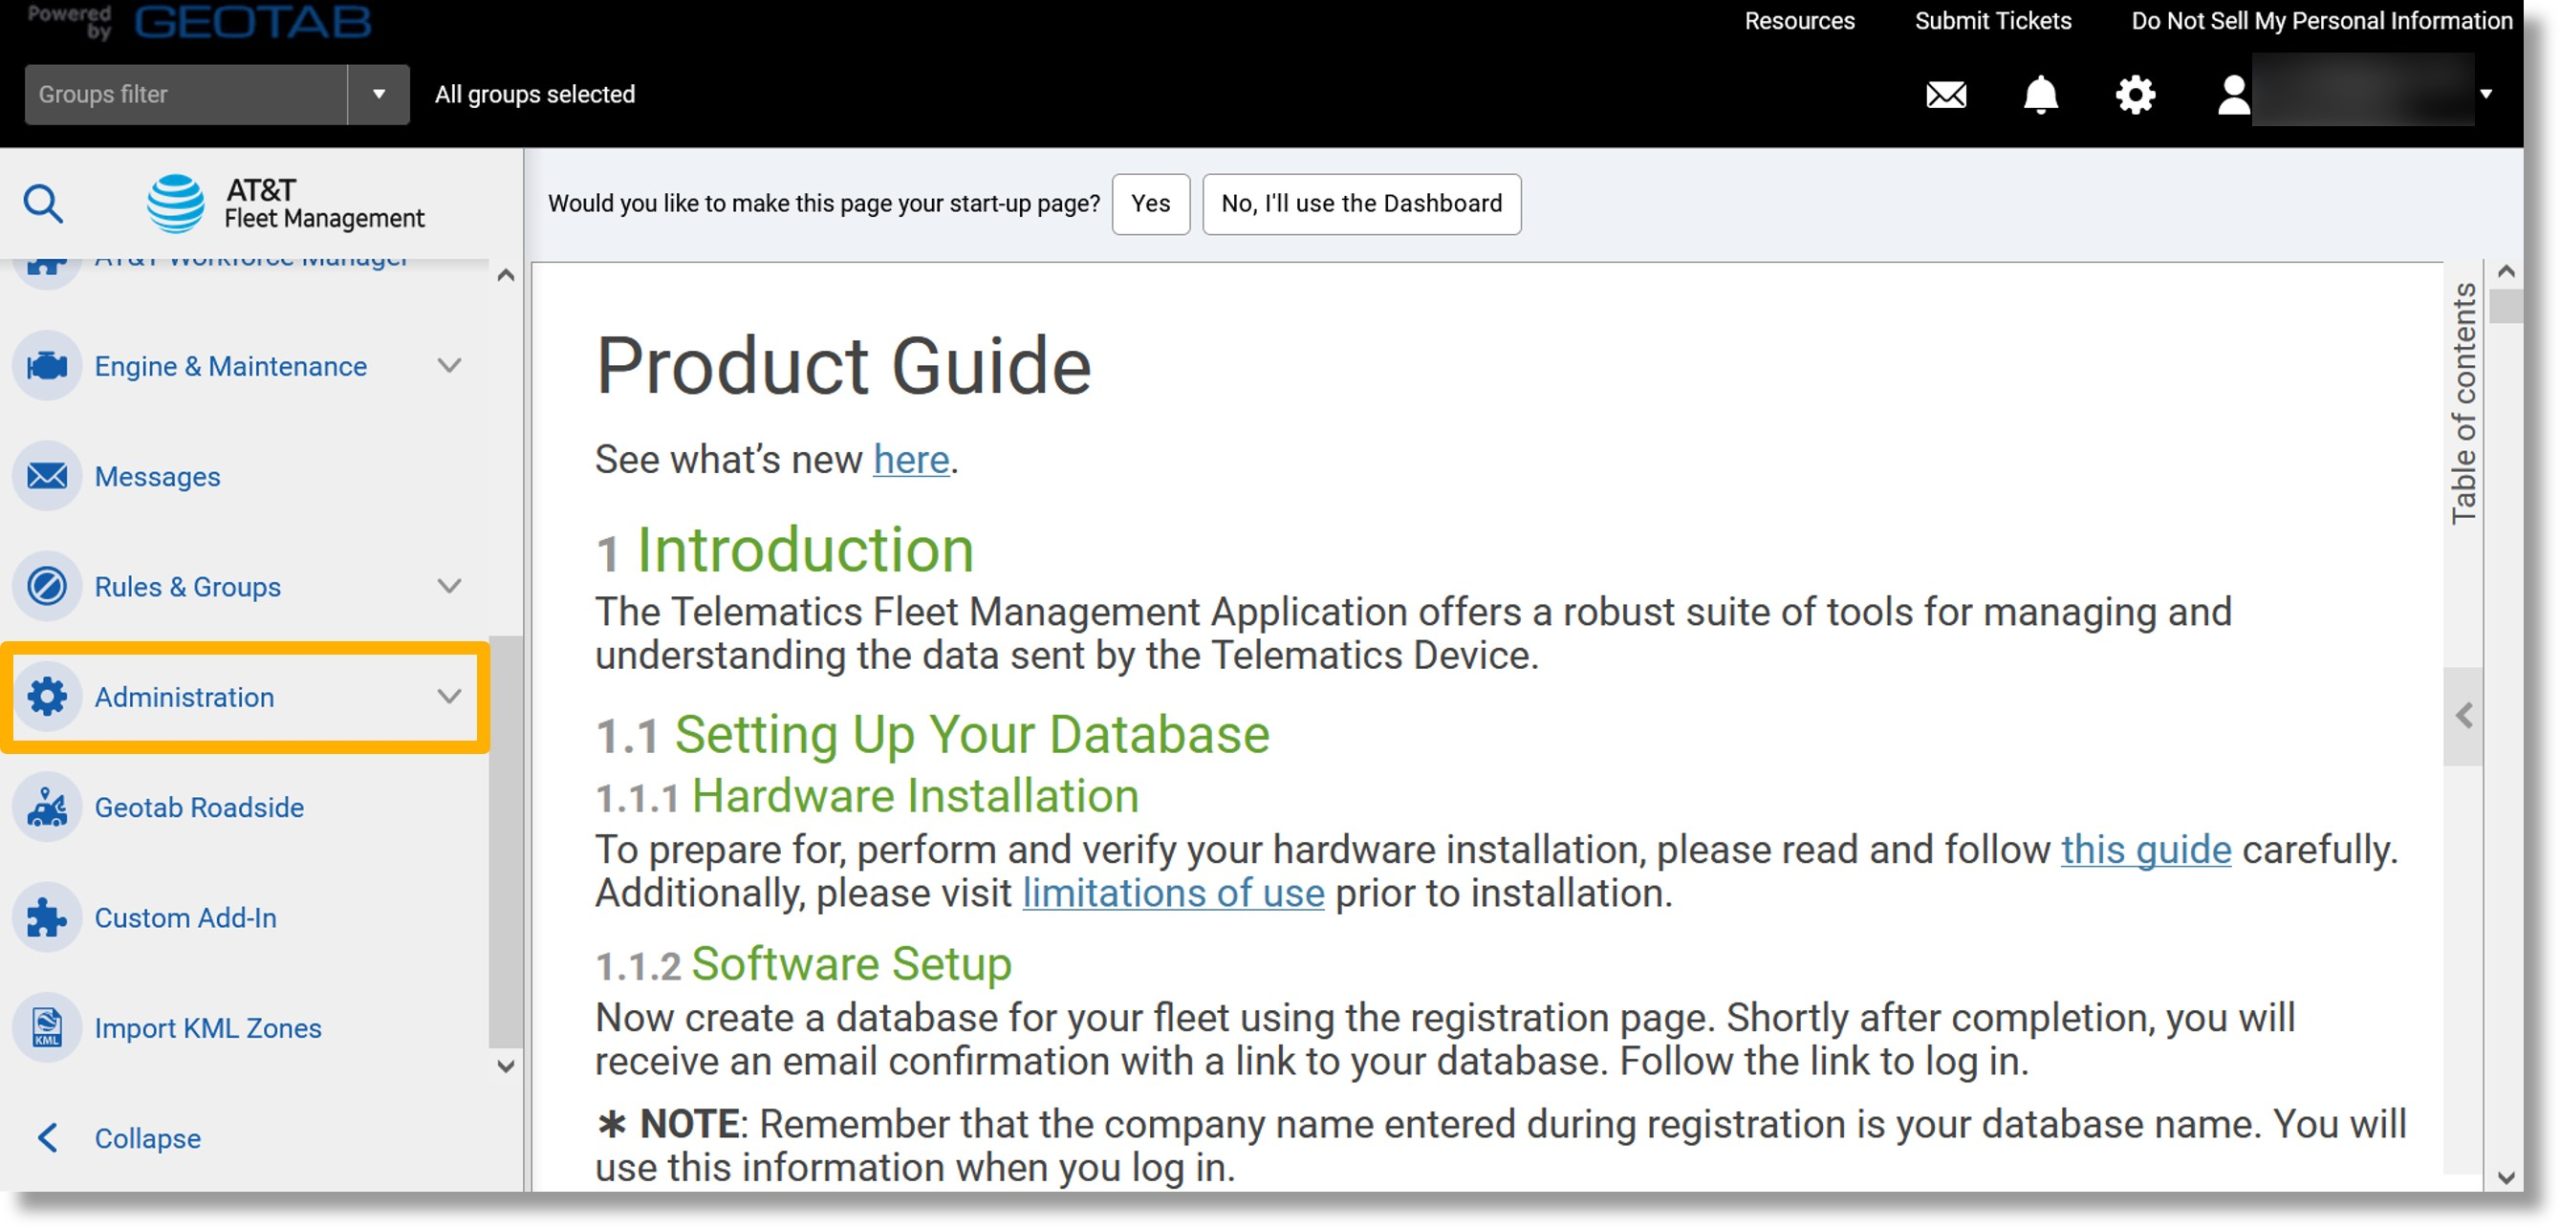
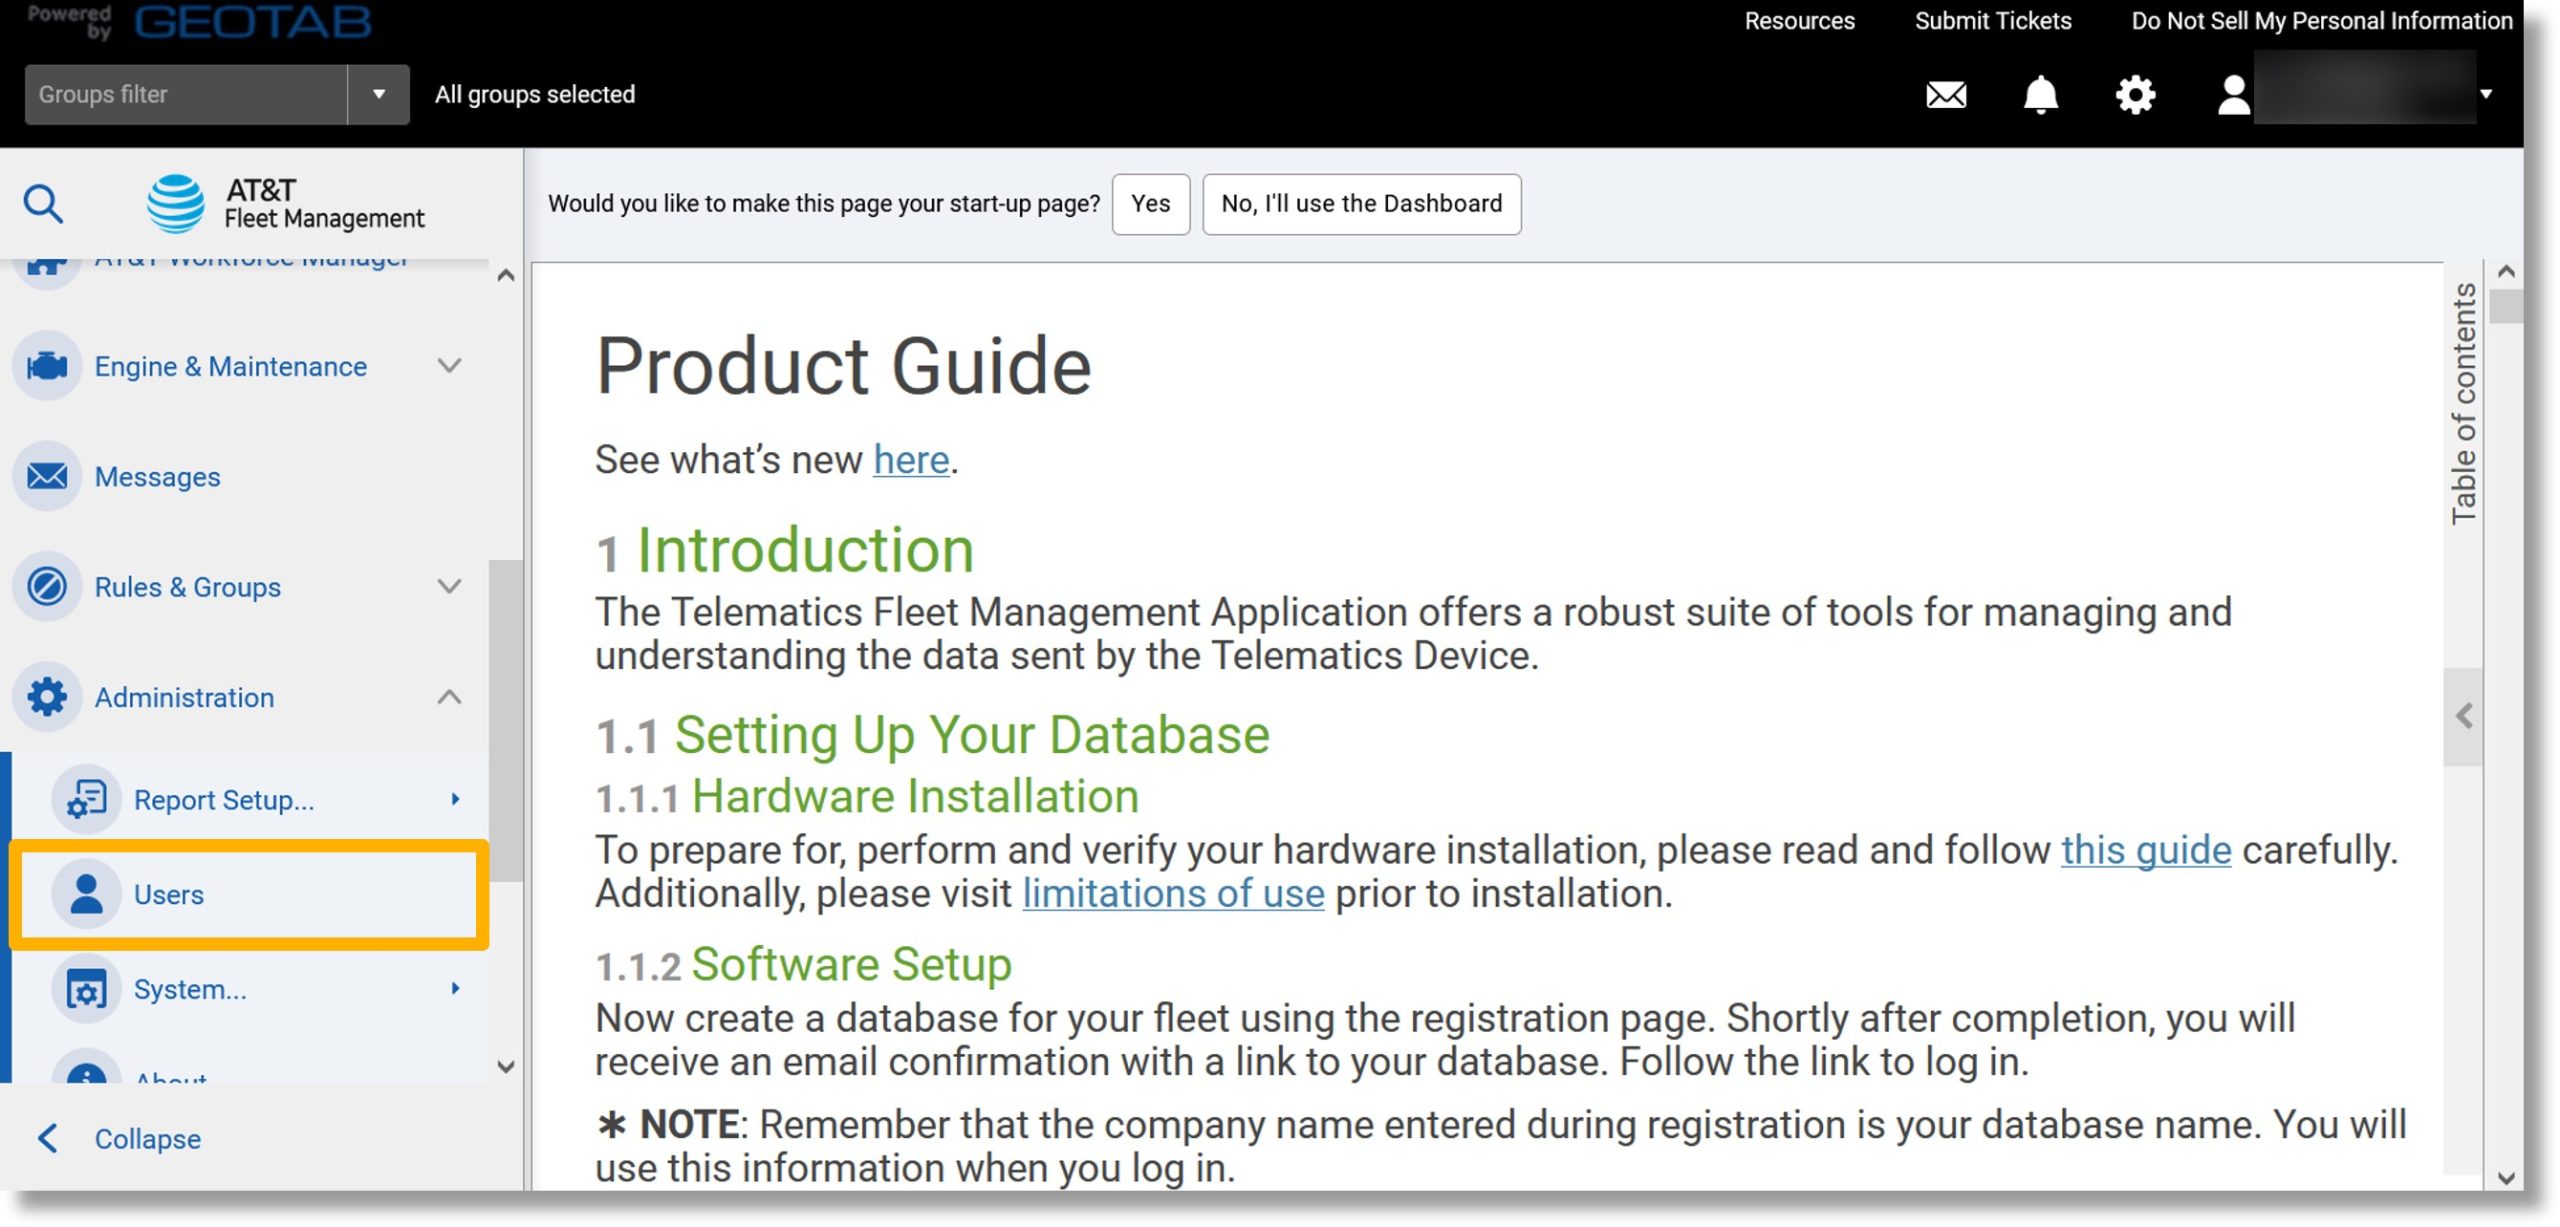
- Click on Administration.

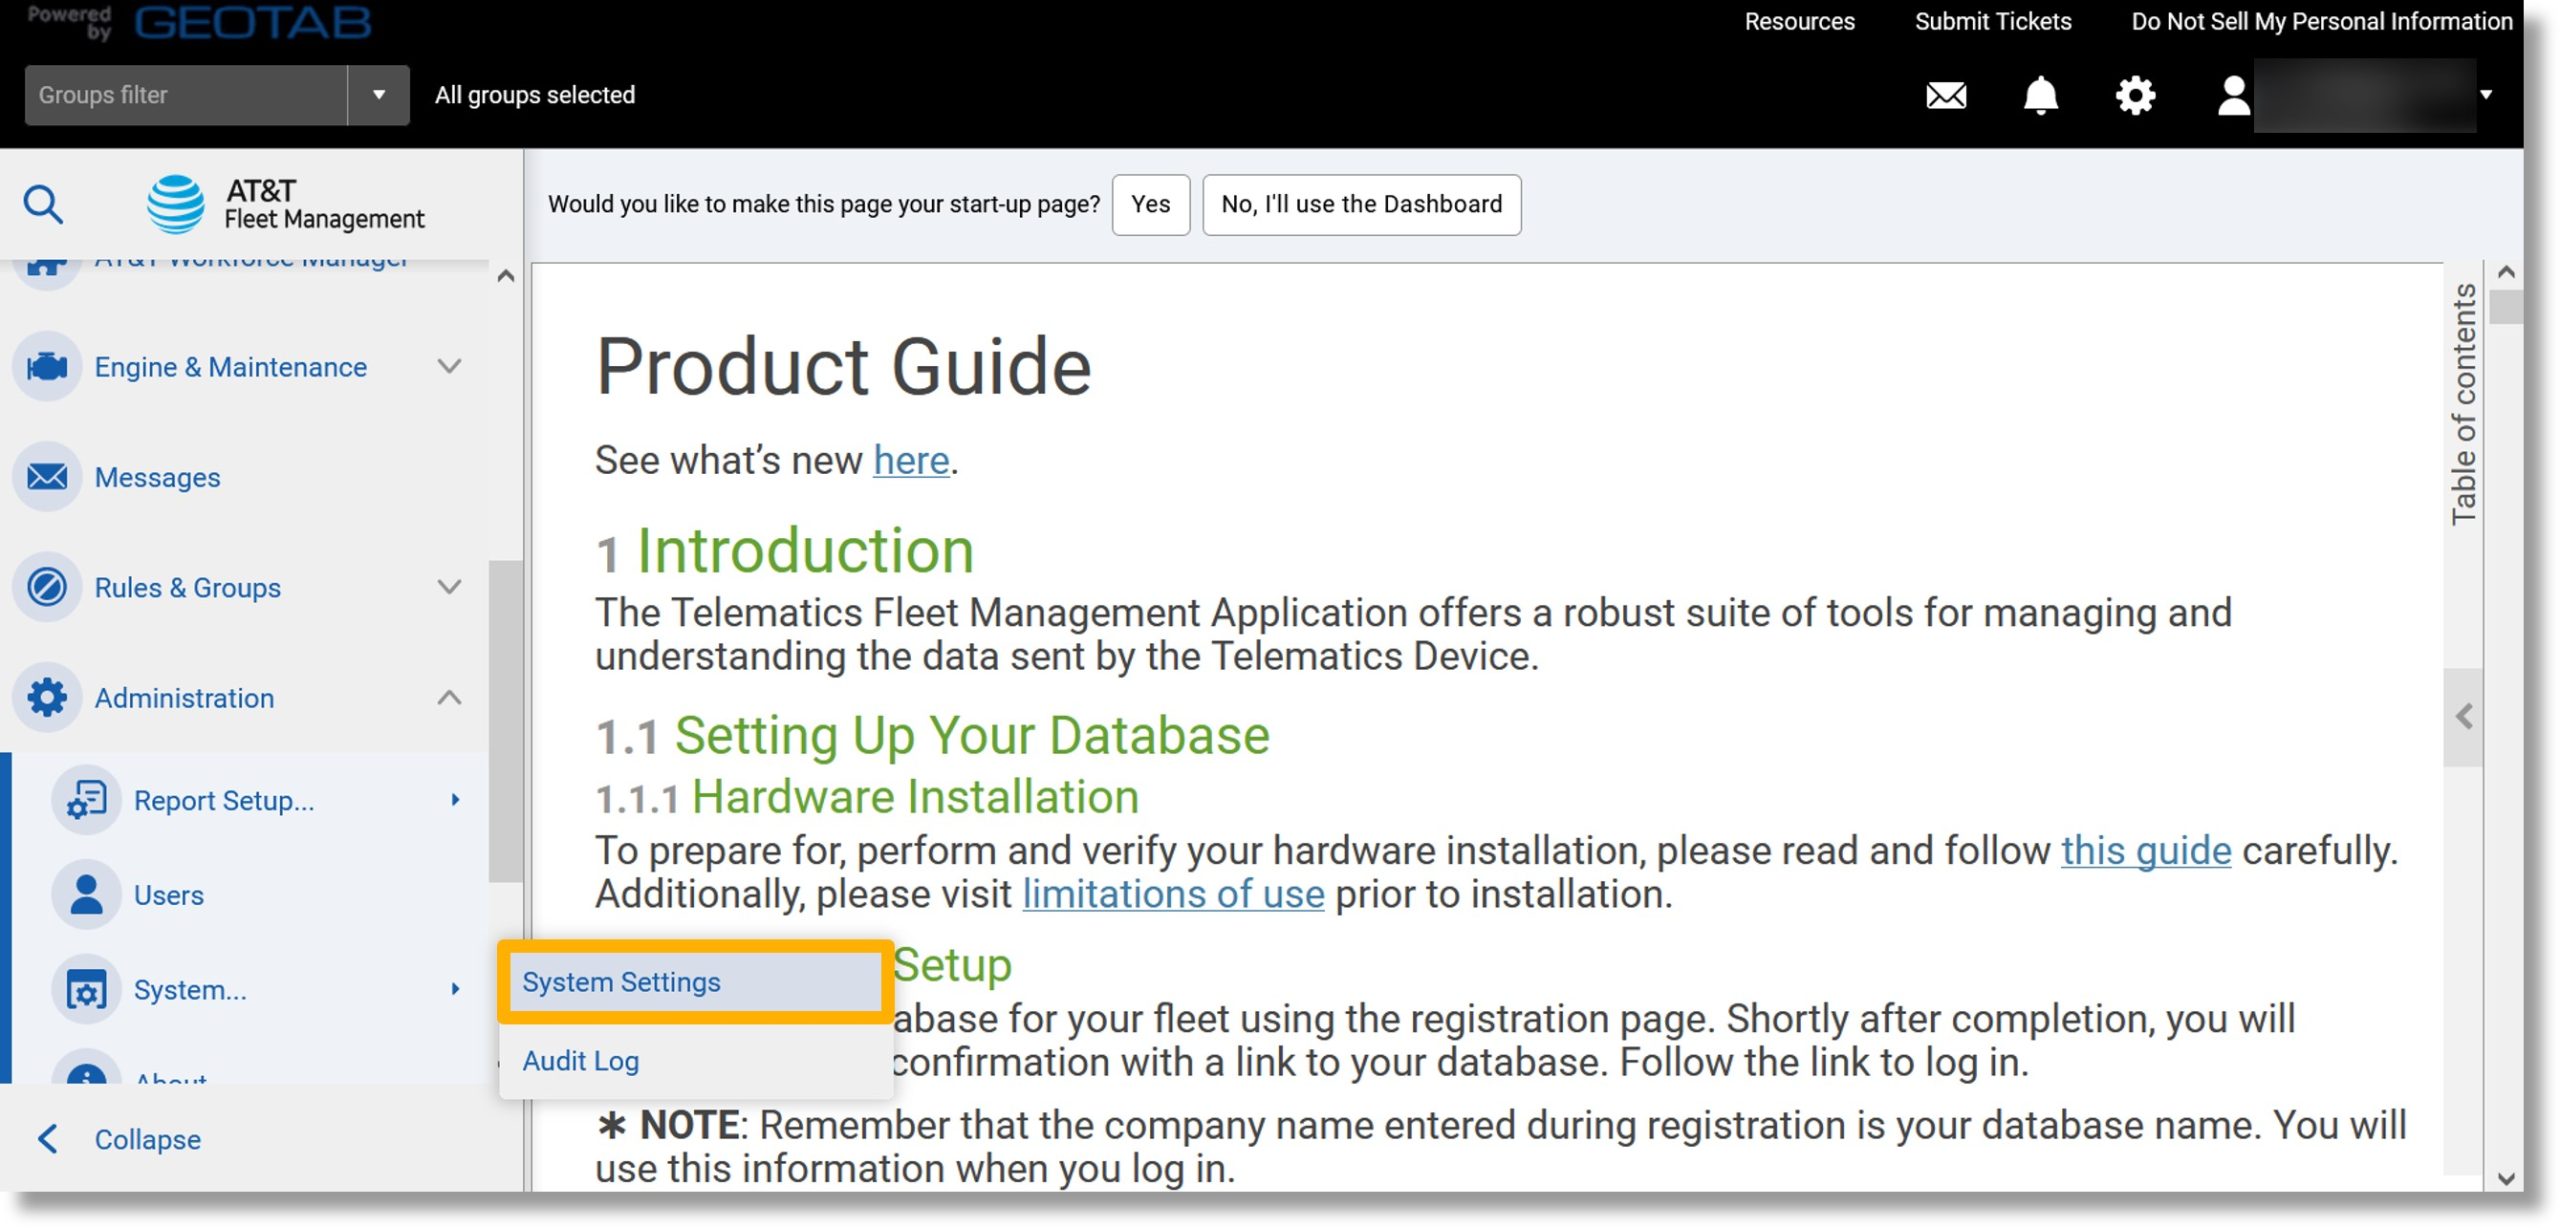
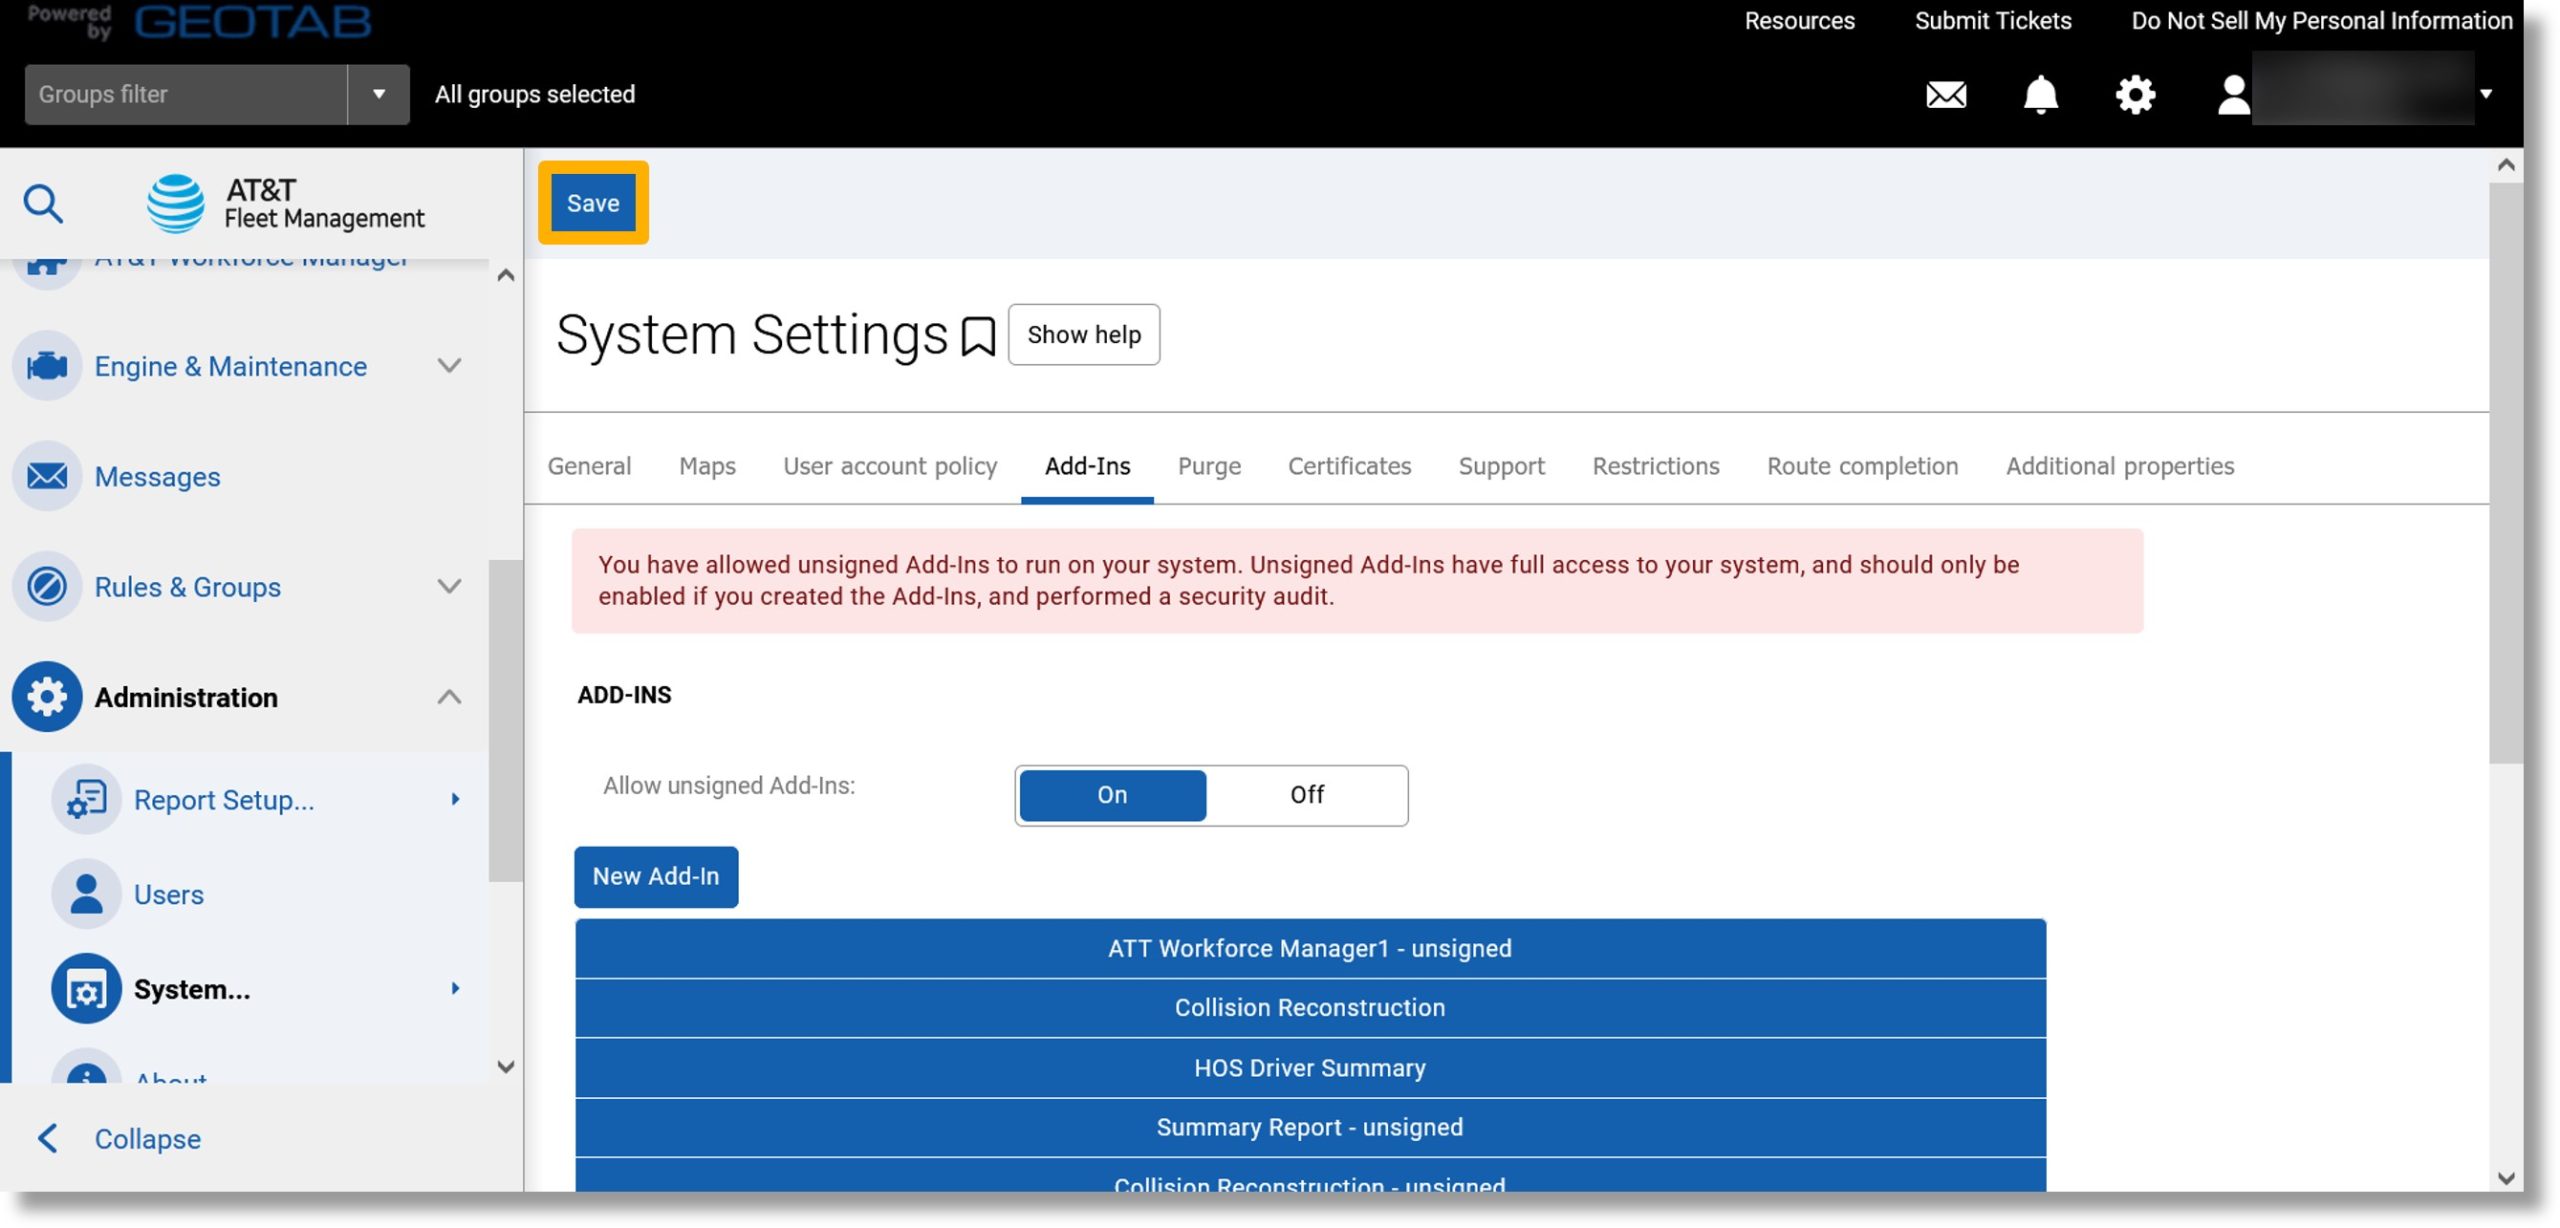
- Click on System….
- Click on System settings.
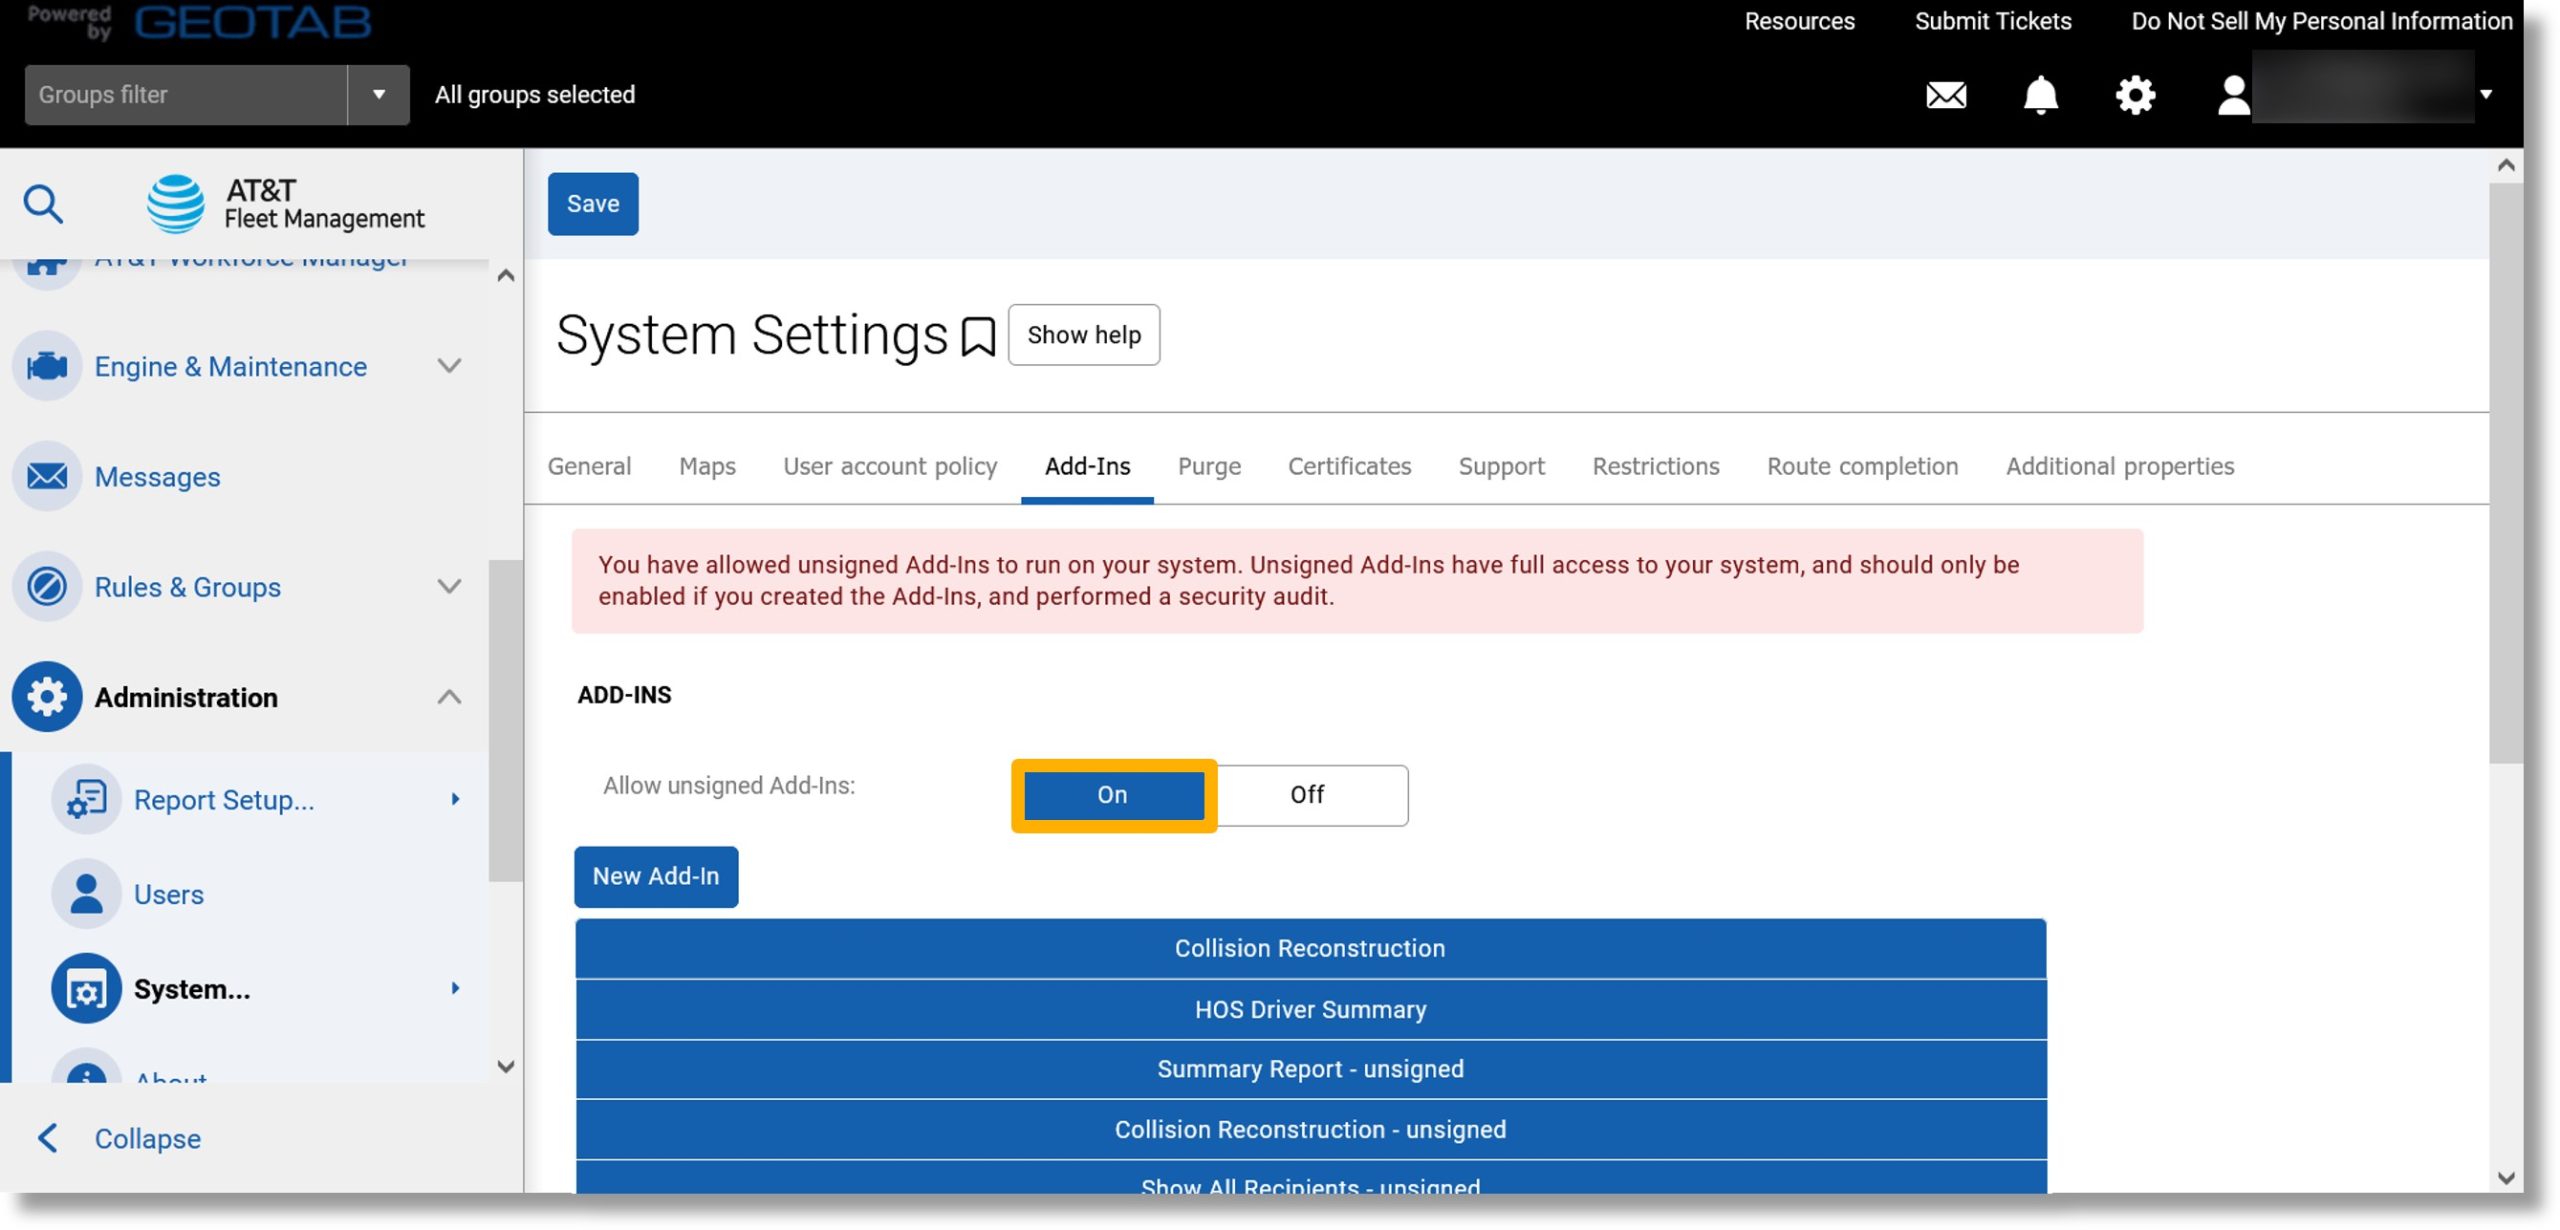
- Click on the Add-ins tab.

- Click the On button to the right of “Allow unsigned Add-ins”.
Note: This setting may already be enabled.
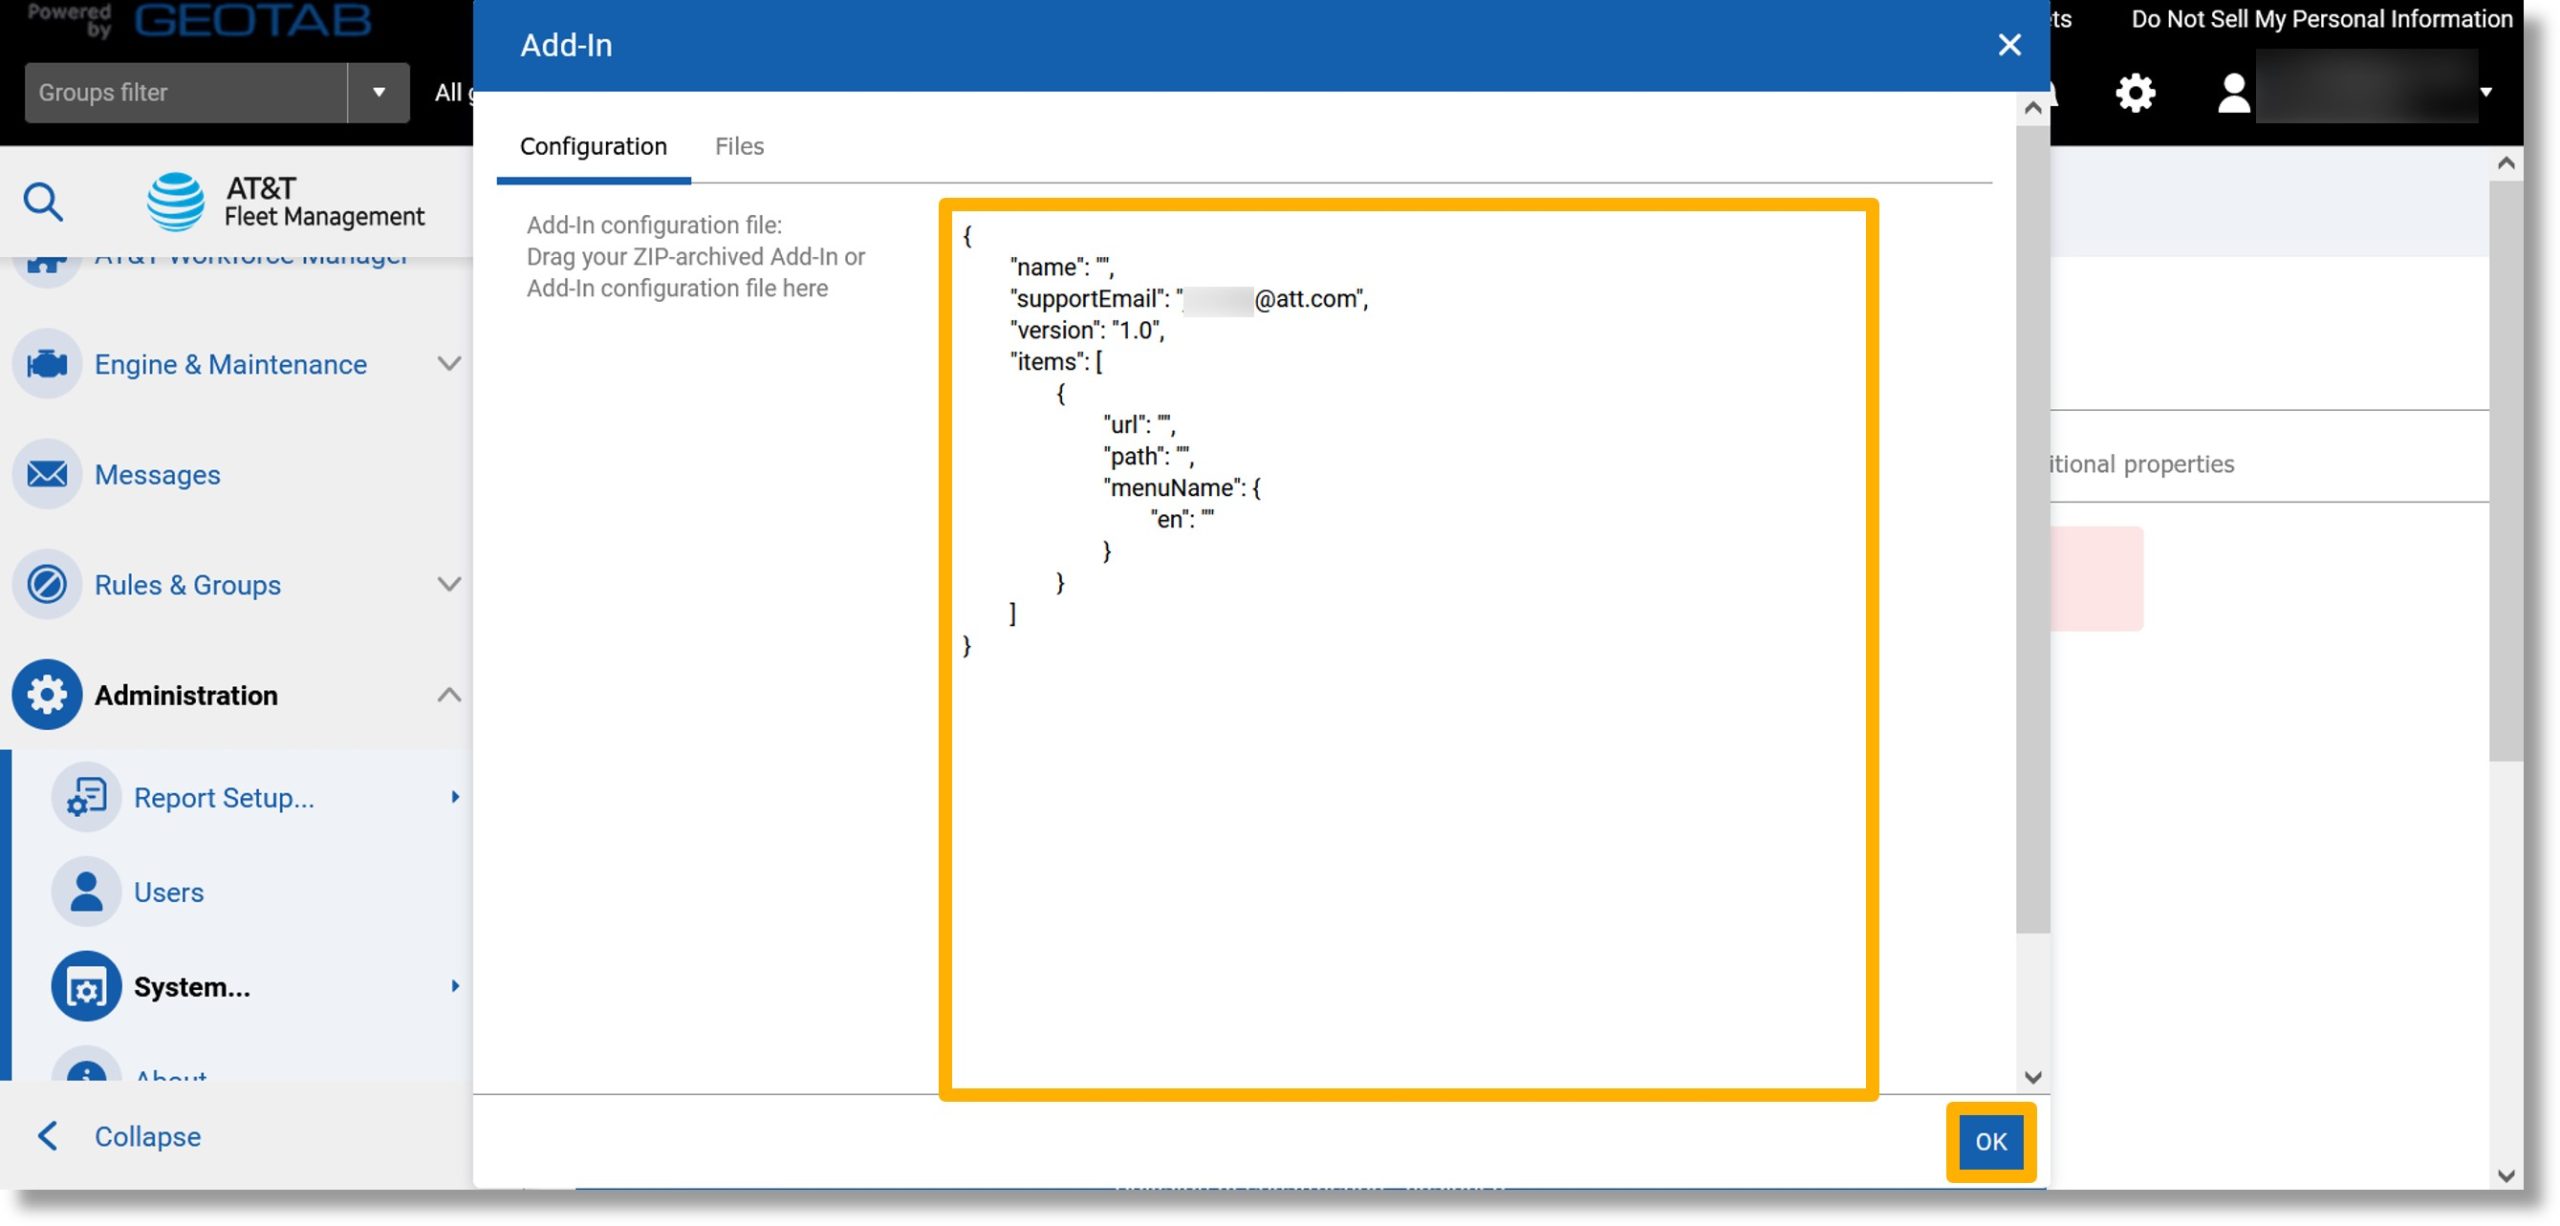
- Click on the New Add-In button.

- Replace the json code in the field with the code below.
- Click the Ok button.
|
{
“name”: “ATT Workforce Manager”,
“supportEmail”: “support@actsoft.com”,
“version”: “1.0”,
“items”:
[
{
“path”: “ActivityLink”,
“url”: “ATTWFMIFrame.html”,
“icon”: “https://actsoftcdn.z19.web.core.windows.net/GeotabATT/geotab_wfm_icon.png”,
“menuName”: {
“en”: “AT&T Workforce Manager”
}
},
{
“page”: “map”,
“click”: “https://actsoftcdn.z19.web.core.windows.net/GeotabATT/attLaunchButton.js”,
“icon”: “https://actsoftcdn.z19.web.core.windows.net/GeotabATT/geotab_wfm_icon.png”,
“buttonName”: {
“en”: “Launch AT&T Workforce Manager”
}
}
],
“files”: {
“ATTWFMIFrame.html”:
“<html>
<head>
</head>
<body>
<iframe src=https://actsoftcdn.z19.web.core.windows.net/GeotabATT/attindex.html style=width:100%;height:100%;border:none;></iframe>
</body></html>”
}
}
|
- Click the Save button at the top of the page.
- The AT&T Workforce Manager Add-in displays.

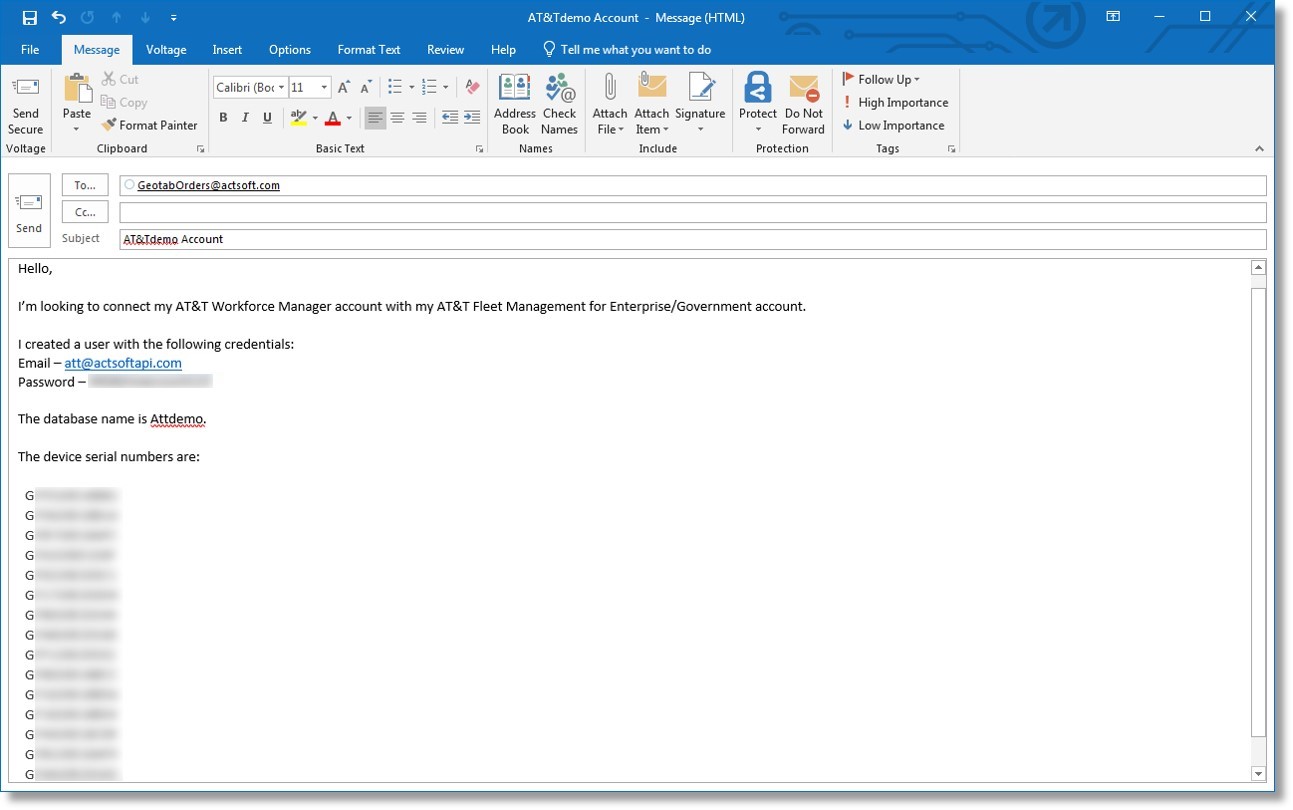
Contact the implementation team
- Compose an email to GeotabOrders@actsoft.com.
- Include the Email address and Password for the user created above.
- Provide a list of device Serial numbers.