TOP

AT&T Business Messaging

Learn how to use your AT&T Business Messaging service. Receive tips on how to log in to the AT&T Business Notification Center website to build lists and send messages, or integrate with notification applications. Use our step by step walk-throughs to learn how to create, edit, import, and export both contacts and groups.

Back to Product Page
Use the dropdown to get support, or purchase this product

User overview for AT&T Business Messaging – Seat License Administrator

Note: Users can be added by a Seat License Administrator. Enterprise Administrators are not able to add users.

View activated and deactivated users+

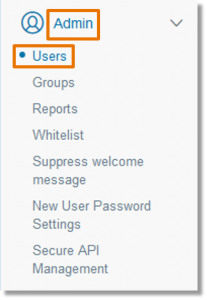
  1. From the list on the left side of the screen, click Admin. Then, click Users.

    From the list on the left side of the screen, click Admin. Then, click Users.

  2. The user list appears.

    The user list appears.

Add a new user+

  1. From the user administration screen, click + New User.

    From the user administration screen, click + New User.

  2. Select the radio button to the left of “Single” to add one user.

    Select the radio button to the left of "Single" to add one user.

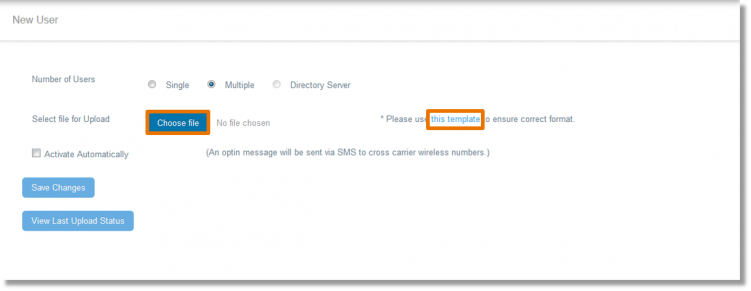
    Note: The “Multiple” users option requires a specific template link. A file must be uploaded.

    The "Multiple" users option requires a specific template link. A file must be uploaded.

    Note: Select the “Secure user” option to enable secure messaging. This option is unavailable if the Administrator does not have secure licenses available.

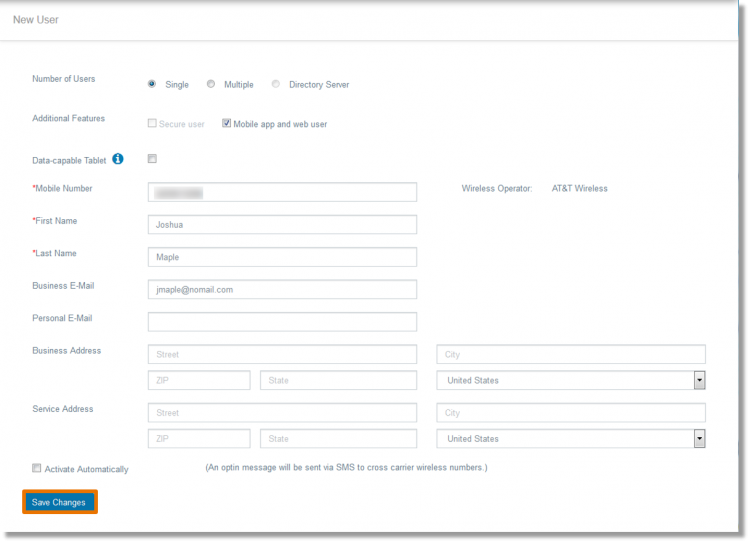
  3. Fill in the required and desired fields with the appropriate information.
    Note: Check the checkbox to the left of “Activate Automatically”
  4. Click Save Changes once complete.

    Fill in required and desired fields and click Save Changes.

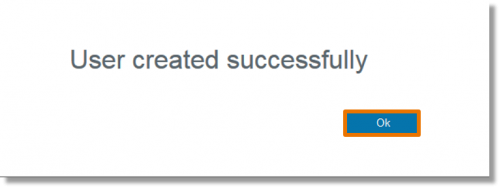
  5. A message box populates. Click OK.

    A message box populates. Click OK.

Activate a user+

  1. On the User Administration screen, select the appropriate user.
  2. Click the Options icon in the top right-hand corner of the screen.
    Note: The Options icon only appears once user(s) is selected.

    Select user(s) and click options icon

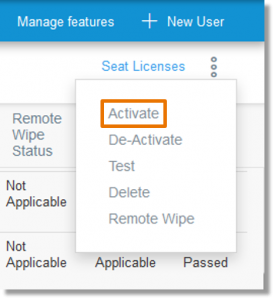
  3. Click Activate.

    Click Activate.

  4. A message populates that the user is activated successfully.
  5. Click OK.

    Click OK

Edit a user+

  1. On the User Administration screen, find the user you wish to edit.
  2. Click the Options icon to the left of the user.

    Click the Options icon

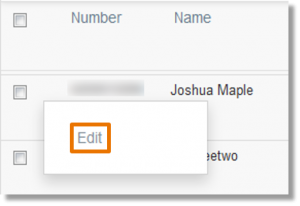
  3. Click Edit.

    Click the ellipses icon and then Edit.

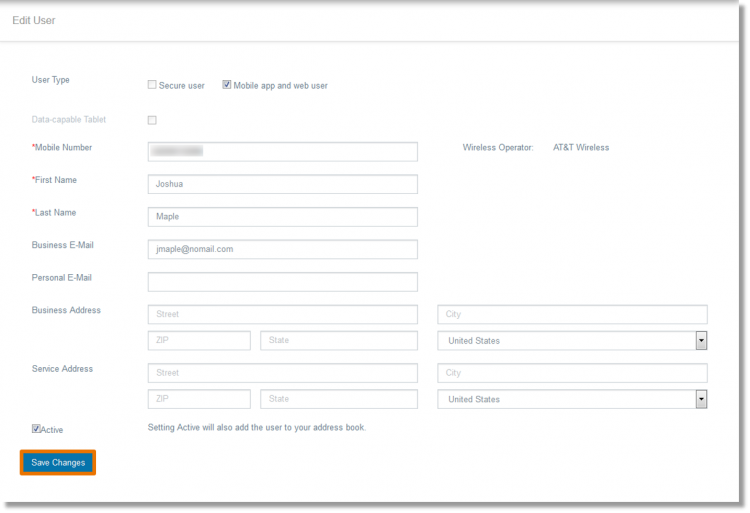
  4. Make the appropriate changes and click Save Changes.

    Make the appropriate changes and click Save Changes.

  5. A message populates that the user is updated successfully. Click OK.

    Click OK.

Send a test message to a user+

  1. On the User Administration screen, select the appropriate user.
  2. Click the Options icon in the top right-hand corner of the screen.
    Note: The Options icon only appears once user(s) is selected.

    Select user(s) and click options icon

  3. Click Test.

    Click Test.

  4. A message populates that the test passed. Click OK.

    A message populates that the test passed. Click OK.

Remote wipe a user's mobile device+

The Administrator can remotely remove all Business Messaging data stored on a user’s mobile device (phone or tablet). The secure and non-secure data that will be removed includes all messages, attachments, contacts, and groups (private, public, and shared public), user name, password, and PIN.

This process does not apply to AT&T Business Notification Center (Web) accounts. To remove a Web user account, please refer to Deactivate a user.

  1. On the User Administration screen, select the appropriate user.
  2. Click the Options icon in the top right-hand corner of the screen.
    Note: The Options icon only appears once user(s) is selected.

    Select user(s) and click options icon

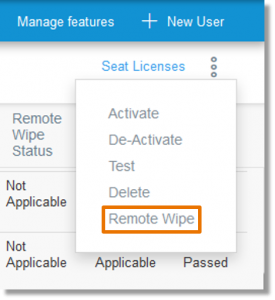
  3. Click Remote Wipe.

    Click Remote Wipe.

  4. A message populates to confirm the remote wipe. Click Yes.

    Click Yes.

Deactivate a user+

  1. On the User Administration screen, select the appropriate user.
  2. Click the Options icon in the top right-hand corner of the screen.
    Note: The Options icon only appears once user(s) is selected.

    Select user(s) and click options icon

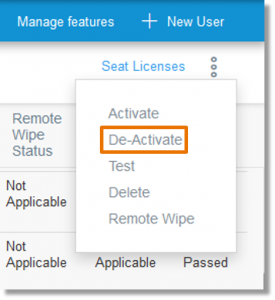
  3. Click Deactivate.

    Click Deactivate.

  4. A message populates that the user is successfully deactivated. Click OK.

    Click OK

Delete a user+

  1. On the User Administration screen, select the appropriate user.
  2. Click the Options icon in the top right-hand corner of the screen.
    Note: The Options icon only appears once user(s) is selected.

    Select user(s) and click options icon

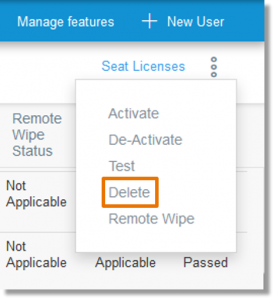
  3. Click Delete.

    Click Delete.

  4. The user is deleted from the user list and no longer shows.

Enable secure messaging+

  1. On the User Administration screen, select the appropriate user.
  2. Click the Options icon to the left of the user.
  3. Select Edit.

    Click the ellipses icon and then Edit.

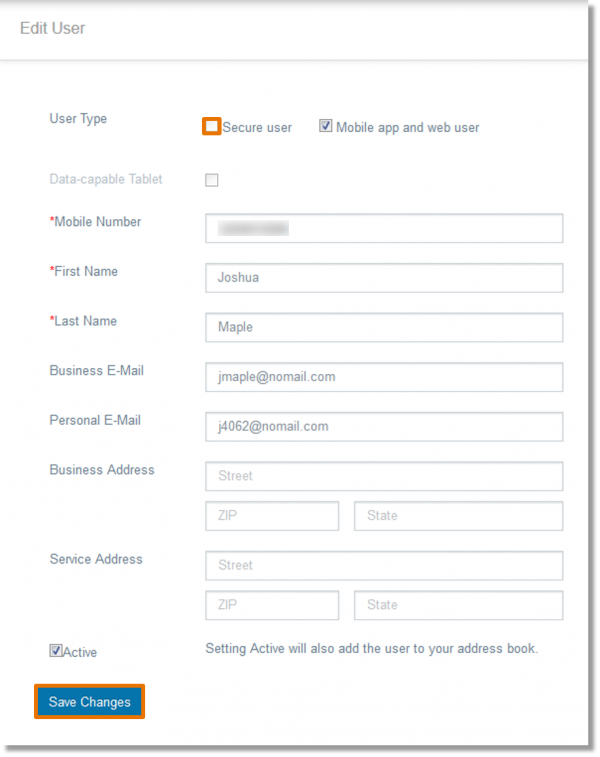
  4. On the Edit User Profile screen, select the Secure user option.
    Note: If the Administrator does not have secure licenses available, then this option will be unavailable.
  5. Select Save Changes.

    Click the checkbox to the ledt of Secure User and then click Save Changes.