Polycom Phones – How to Set or Change Date and Time | AT&T Office@Hand
Article #11098
Resolving incorrect date and time on Polycom phone. When a Polycom phone is added to to an account, the phone’s date and time is acquired from the RingCentral User account’s date and time settings. When the phone is unable to sync with RingCentral’s date and time servers, the phone may display an incorrect date and time.
Set or Change Date and Time on Polycom Phones
It is not uncommon for users within an account to be located in various time zones. If the date and time are incorrect for a specific user, it may be necessary to change or set the correct time zone for that user. To change or set the time as a User please see: User Hours – Set a User’s Hours of Operation and Time Zone – Admin | AT&T Office@Hand. Similarly, it may be necessary for an account Admin to set a Users time zone.
How to Set or Change Date & Time on Polycom Phone
- Press Menu/Home button.
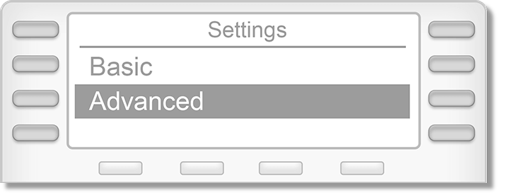
- Select Settings, and then go to Advanced.
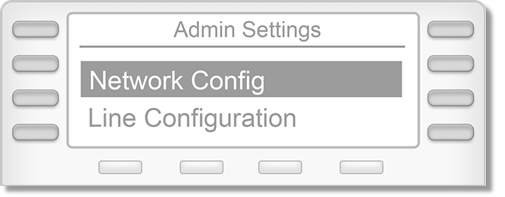
- Select Admin Settings.

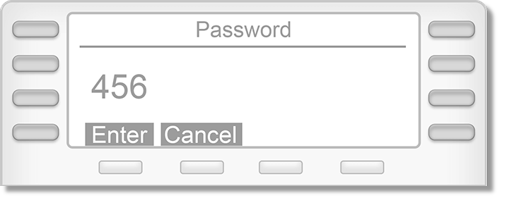
- Enter the phone’s admin password. The default password is 456 or just leave it blank.
- Select Network Configuration.
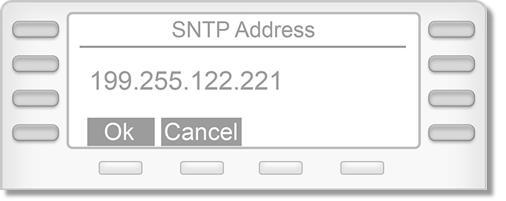
- Highlight SNTP Address then press Select.
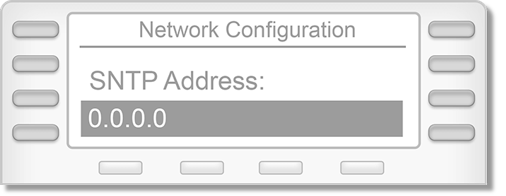
- Press the number key “#” to enter RingCentral’s SNTP Address, and then select
OK.
Note: Press the star (*) button to enter period (.)
| URL |
IP Address |
| ntp1.ringcentral.com |
199.255.122.221 |
| ntp2.ringcentral.com |
199.68.212.202 |
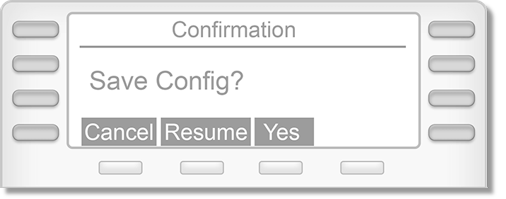
- Press the Back softkey or the Left Arrow Key button until you see the Save Config? prompt, then select Yes.
Note: Phones that will not work with RingCentral
- Polycom Lync CX Series phones (CX100, CX300, CX500, CX600, CX3000, CX5100)
- Retired Polycom SoundPoint IP phones: IP300 / IP301 / IP320 / IP330 / IP430 /
- IP500 / IP501 / IP600 / IP601
Retired Polycom SoundStation IP phones: IP4000 / SoundStation Premier
Related Polycom Topics:
Deskphones – Using Polycom IP Phones | AT&T Office@Hand
Office@Hand: Manual Provisioning for Polycom IP Phones
Office@Hand: Assisted Provisioning for Polycom IP Phones
Key Words: 11098, date, time, change, select, change, correct, set, fix, date and time, time and date, Polycom, phone
Was this page helpful? Yes No