TOP

AT&T Business Messaging

Learn how to use your AT&T Business Messaging service. Receive tips on how to log in to the AT&T Business Notification Center website to build lists and send messages, or integrate with notification applications. Use our step by step walk-throughs to learn how to create, edit, import, and export both contacts and groups.

Back to Product Page
Use the dropdown to get support, or purchase this product

Related Content

No related content found

Generating a report in the Business Notification Center for AT&T Business Messaging

  1. Access the AT&T Business Notification Center website.
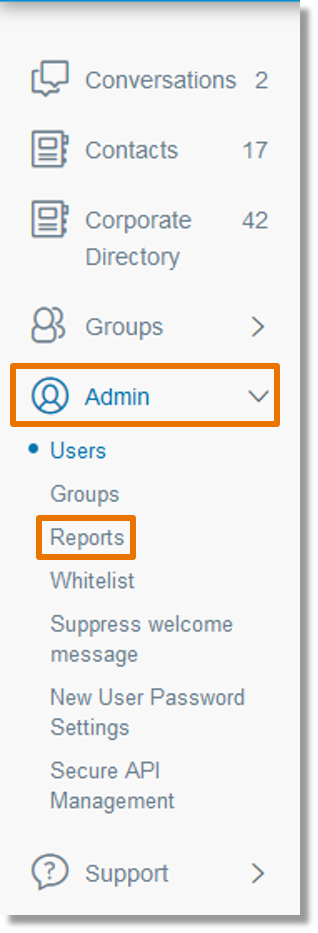
  2. Click Admin, and then click Reports.

    Click Admin, and then click Reports.

  3. The report page defaults to Messaging Report

Messaging Report
Accounts Report
Daily Report
Audit Report (Enterprise Administrator only)

Messaging Report

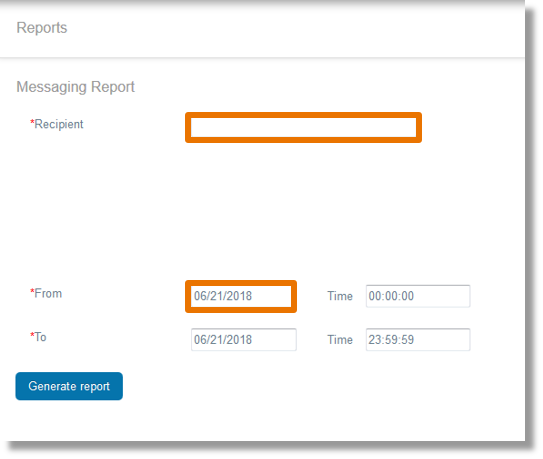
  1. Enter the user’s mobile number to the right of “Recipient”.
  2. Click inside the boxes to the right of “From” and “To” to enter the desired date and/or time of the report.

    Enter the recipient's number and the desired dates.

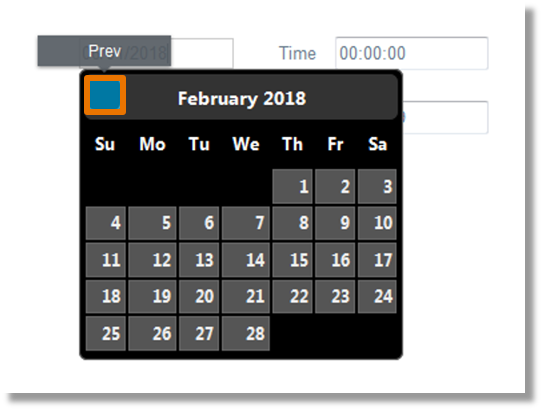
    Note: Move the mouse over the top right and top left of the calendar box to populate the blue box to go to previous and next month.

    Move the mouse over the top right and top left of the calendar box to populate the blue box to go to previous and next month.

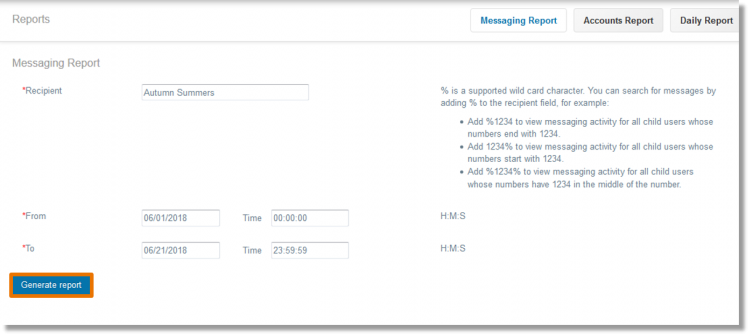
  3. Click Generate report.

    Click Generate report.

Accounts Report

  1. Click Accounts Report.

    Click Accounts Report.

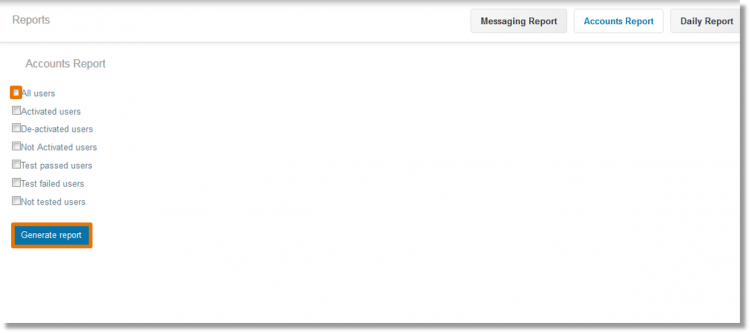
  2. Click the checkbox(es) to the left of the user types to be included in the report.
  3. Click Generate report.

    Click the checkbox(es) to the left of the user types to be included in the report. Click Generate Report.

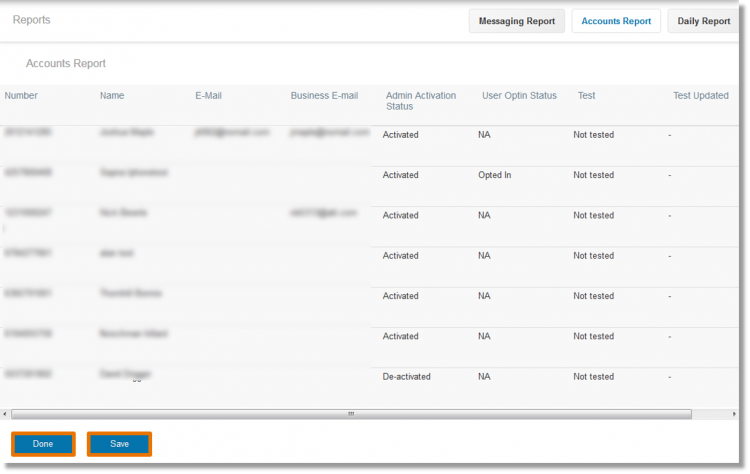
  4. The report displays.
  5. Click Save to save the report, or click Done to return to the initial “Accounts Report” page.

    Click Save to save the report, or click Done to return to the initial "Accounts Report" page.

Daily Report

  1. Click Daily Report.

    Click Daily Report.

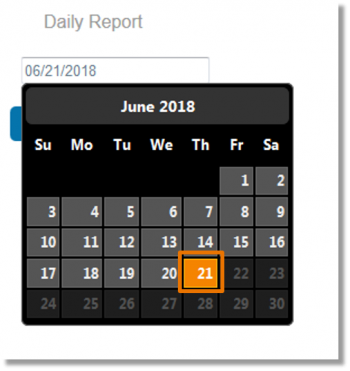
  2. Click in the date field to select the desired date.

    Click in the date field to select the desired date.

Audit Report

This option is available for the Enterprise Administrator only.

  1. Click Audit Report.

    Click Audit Report.

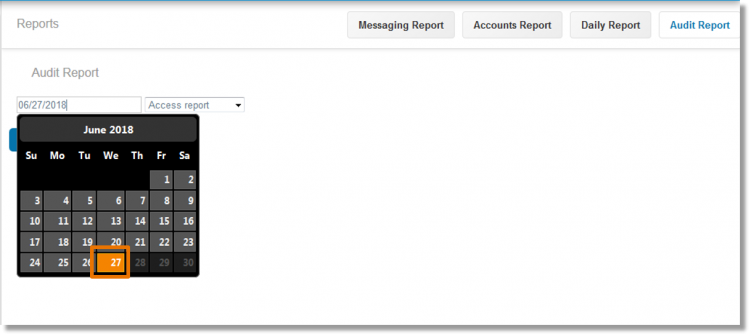
  2. Select the desired date of the Audit Report.

    Select the desired date of the Audit Report.

  3. Choose the desired audit report, and click Generate report.

    Choose the desired audit report, and click Generate report.